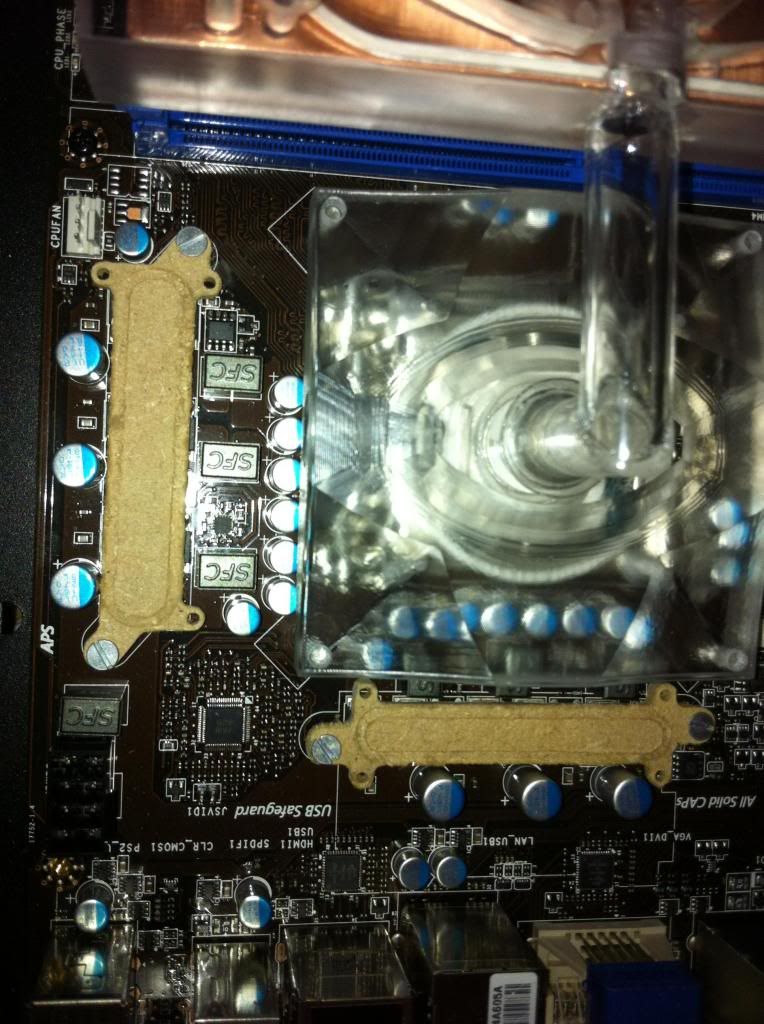
update 11 mdf mosfet prototype and copper base plate:
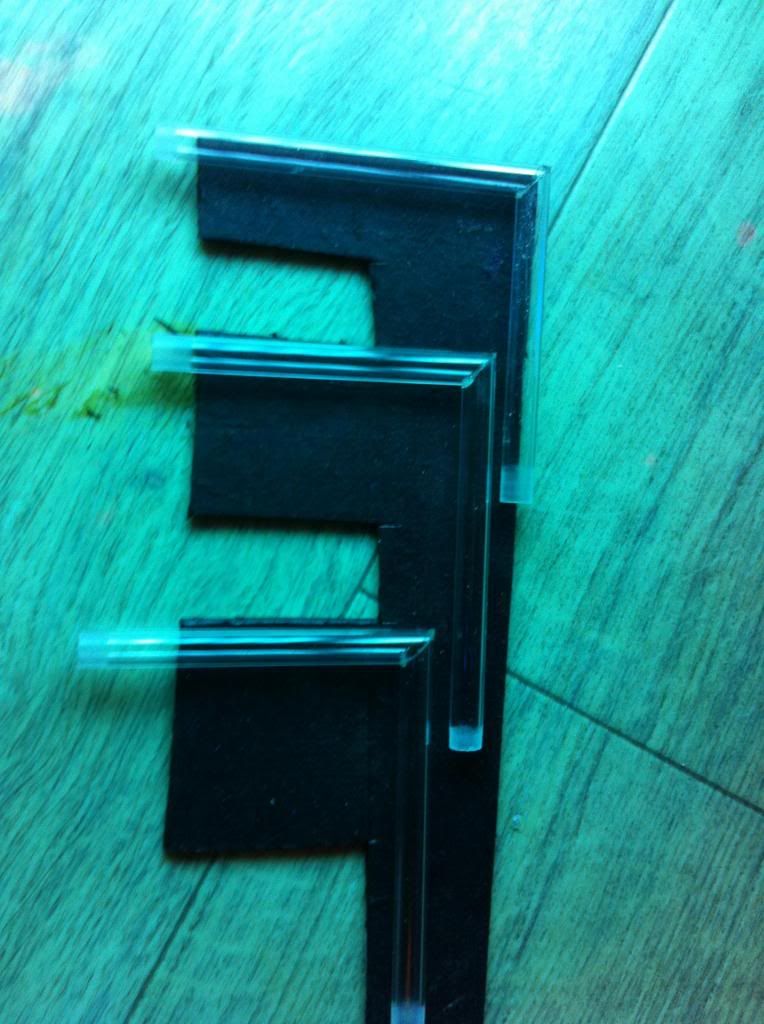
for the mosfet coolers I made again a prototype of mdf and after some tries it fit nicely:
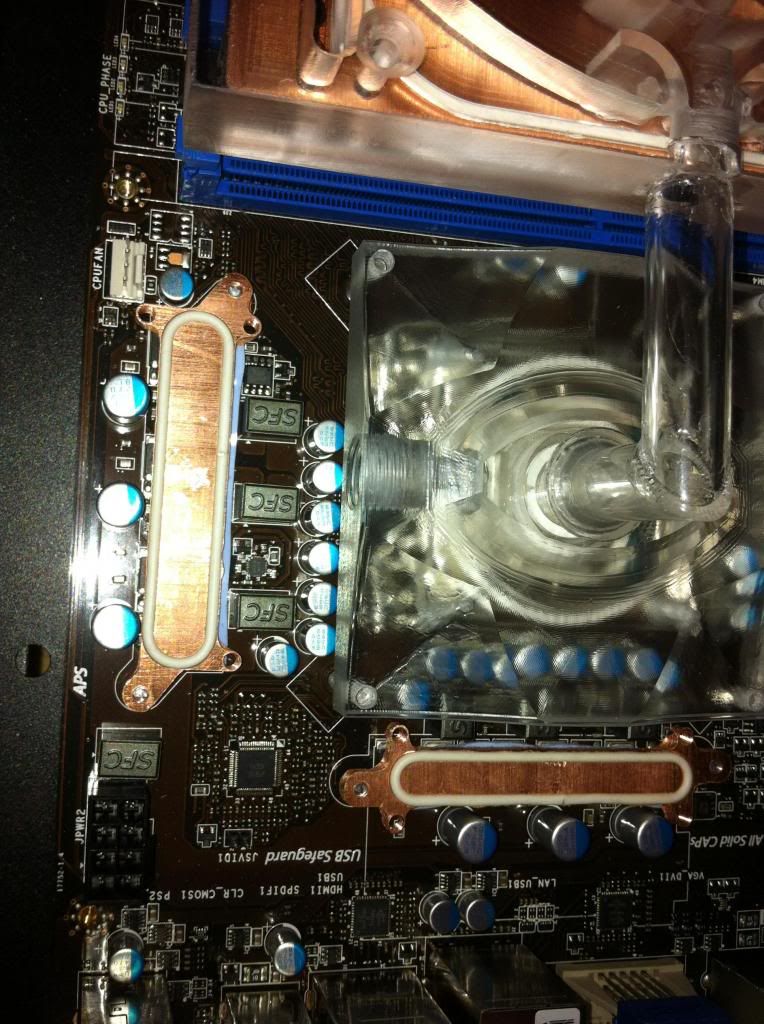
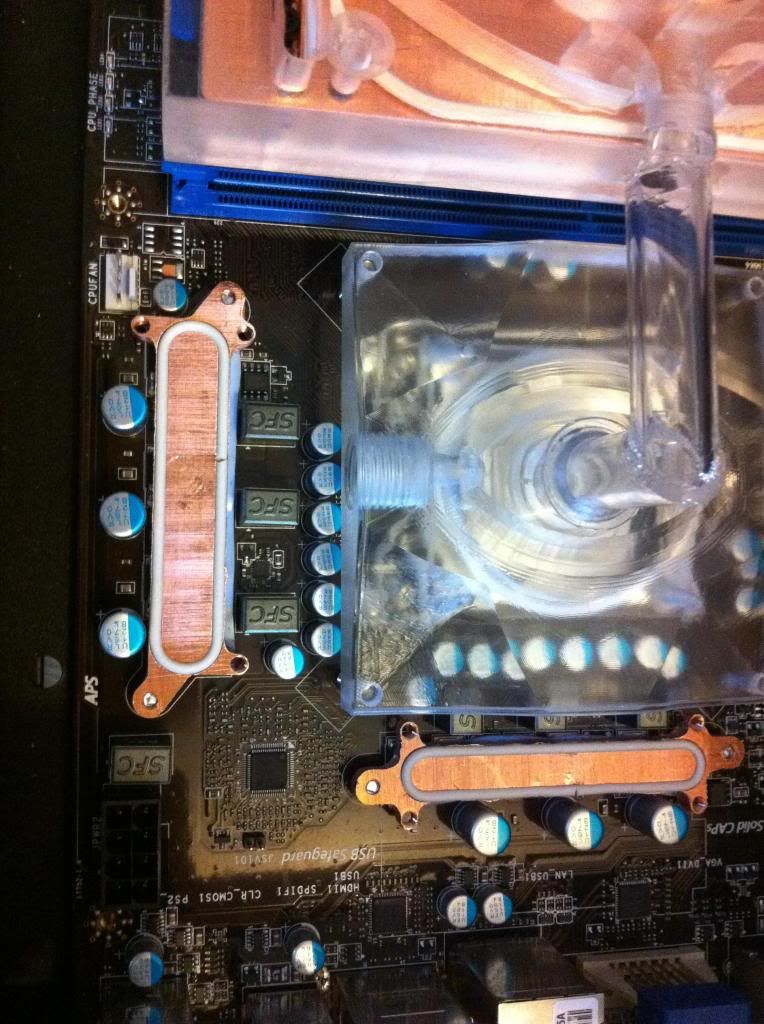
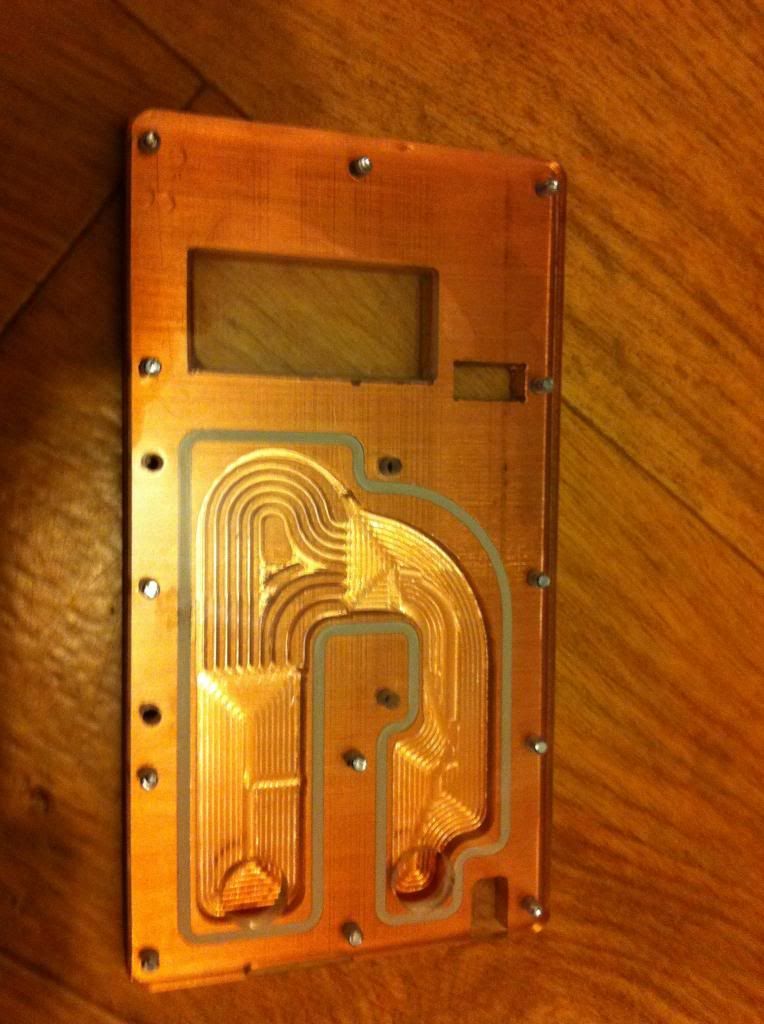
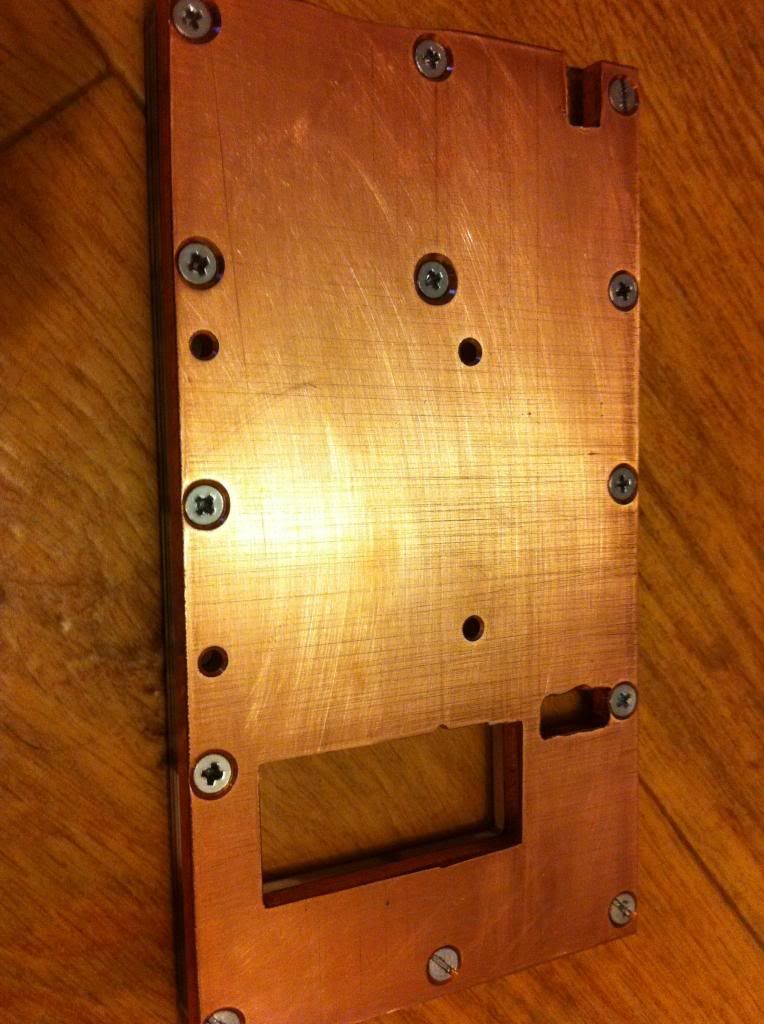
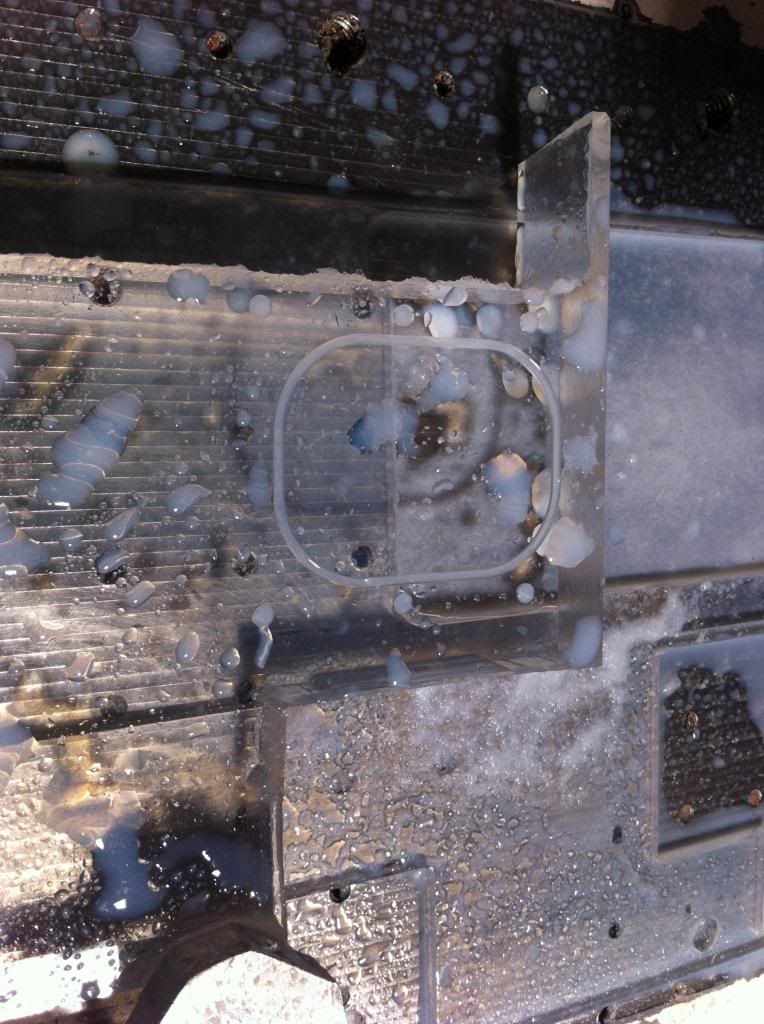
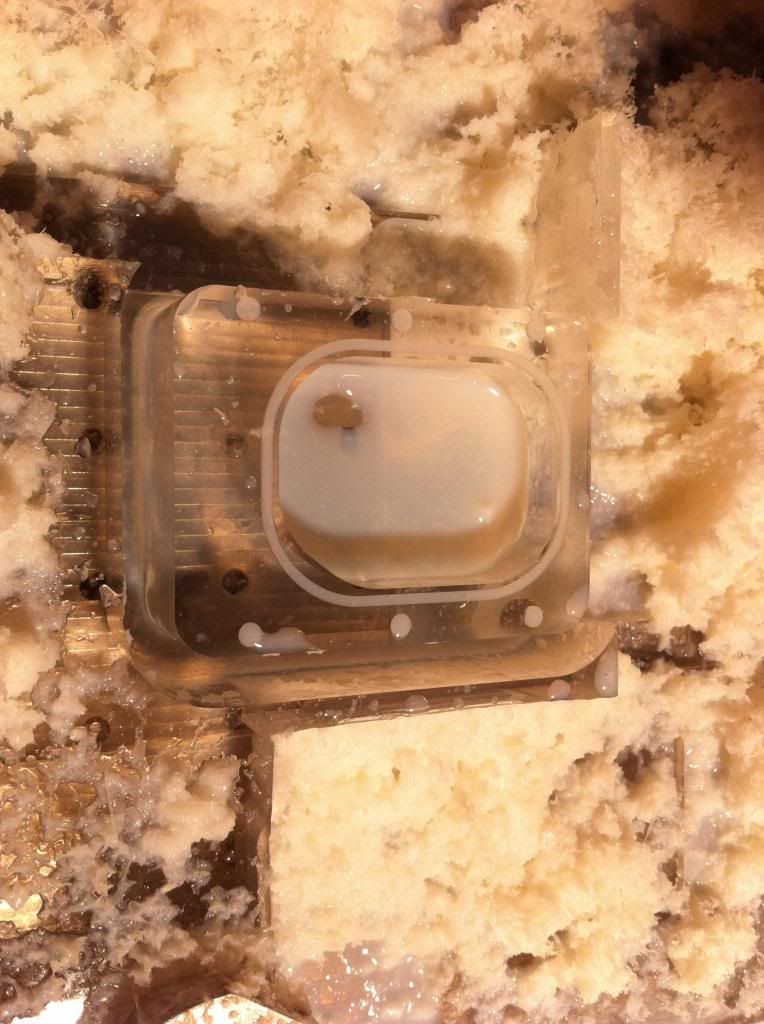
next I made the copper bottoms:
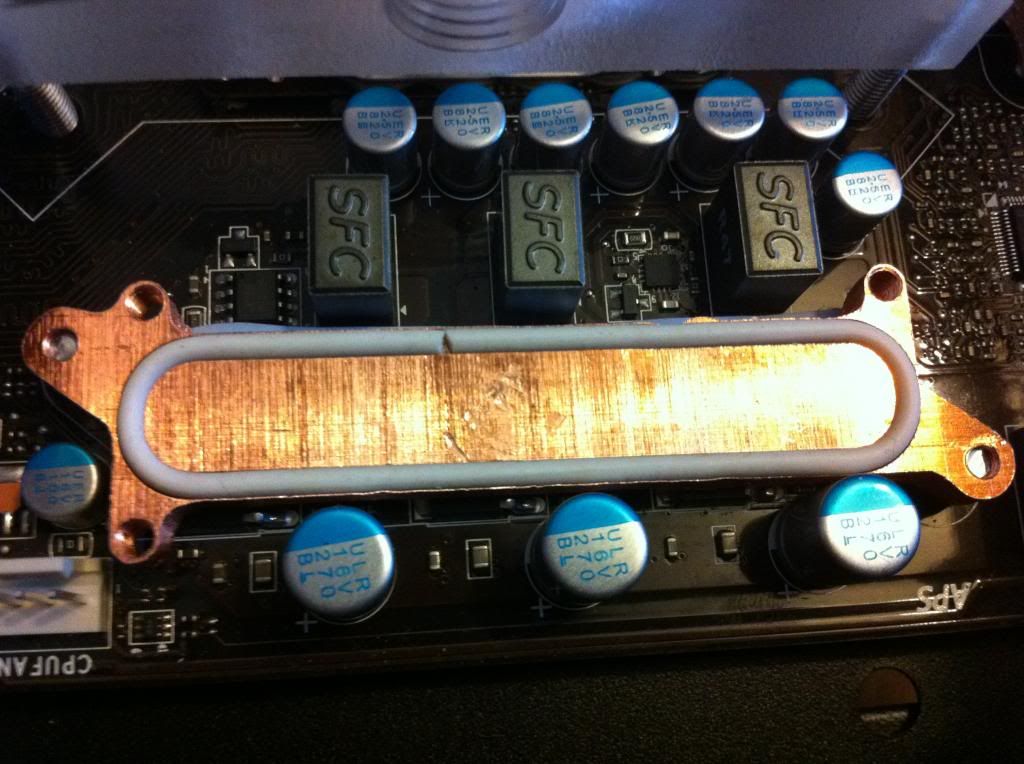
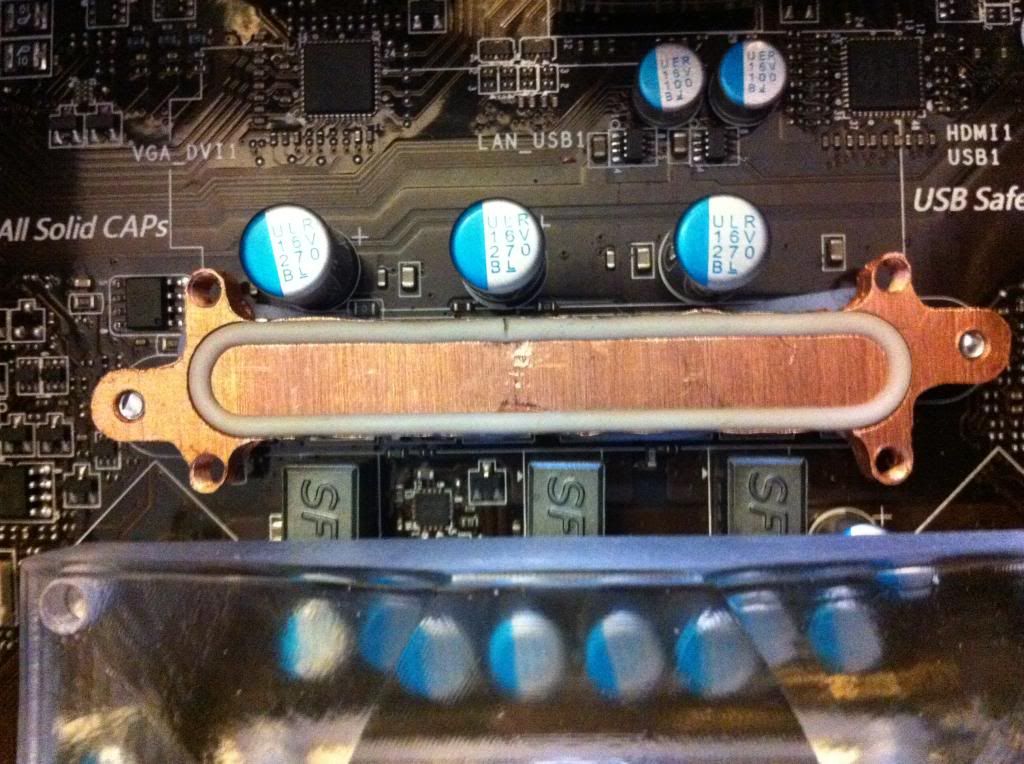
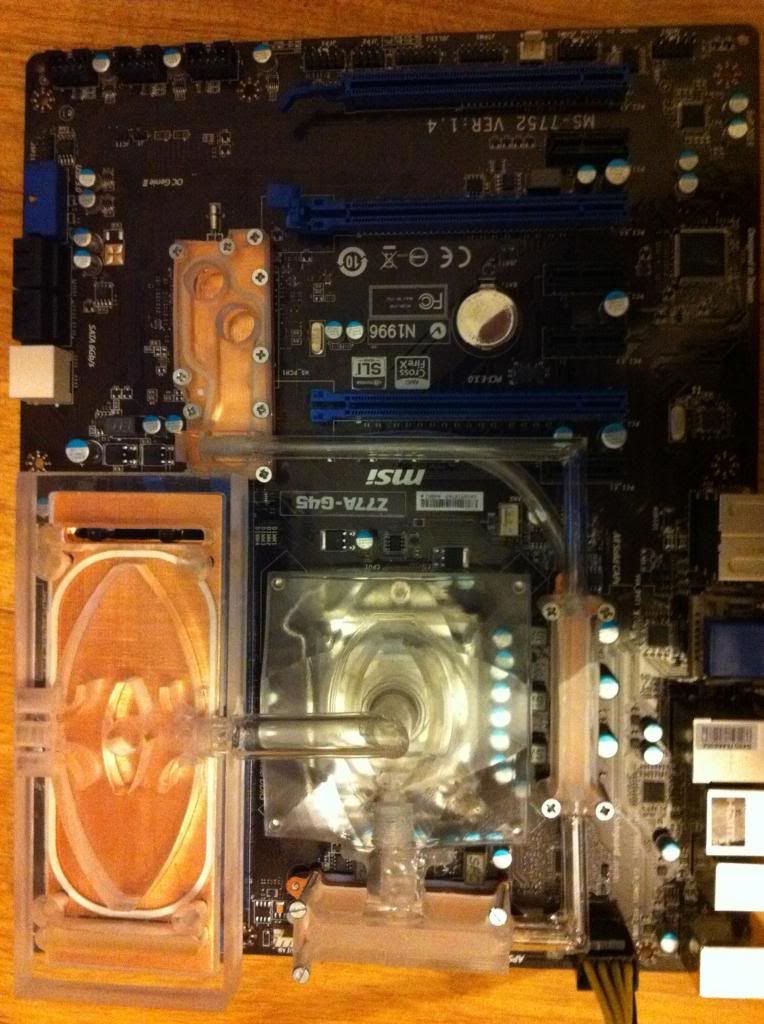
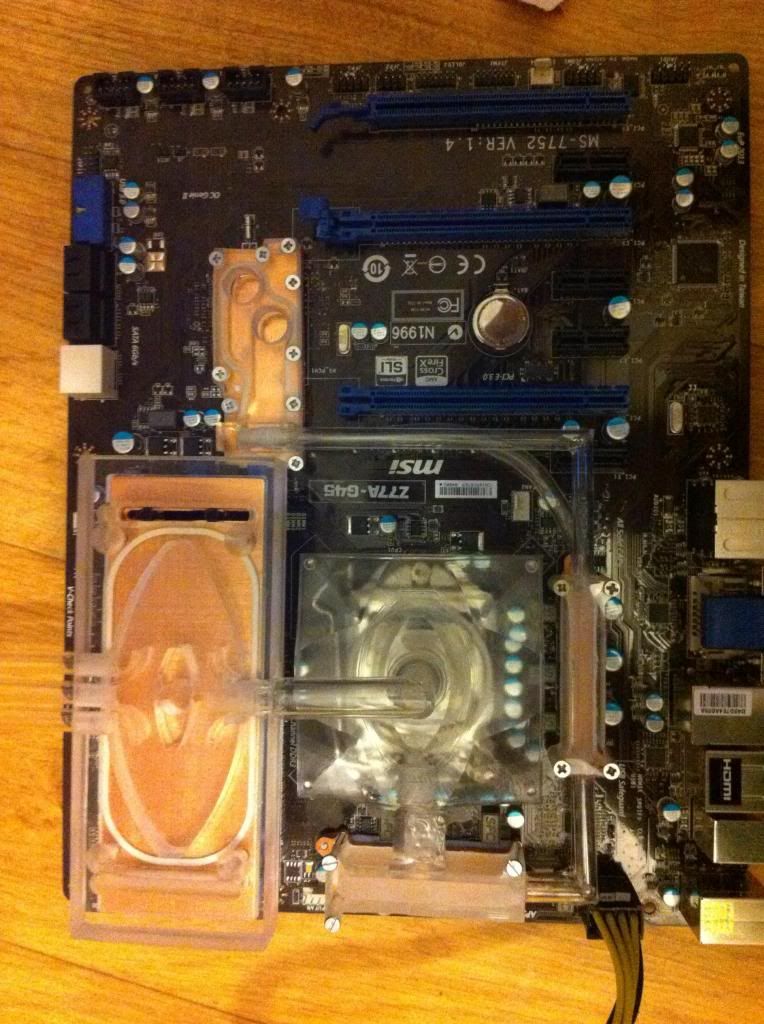
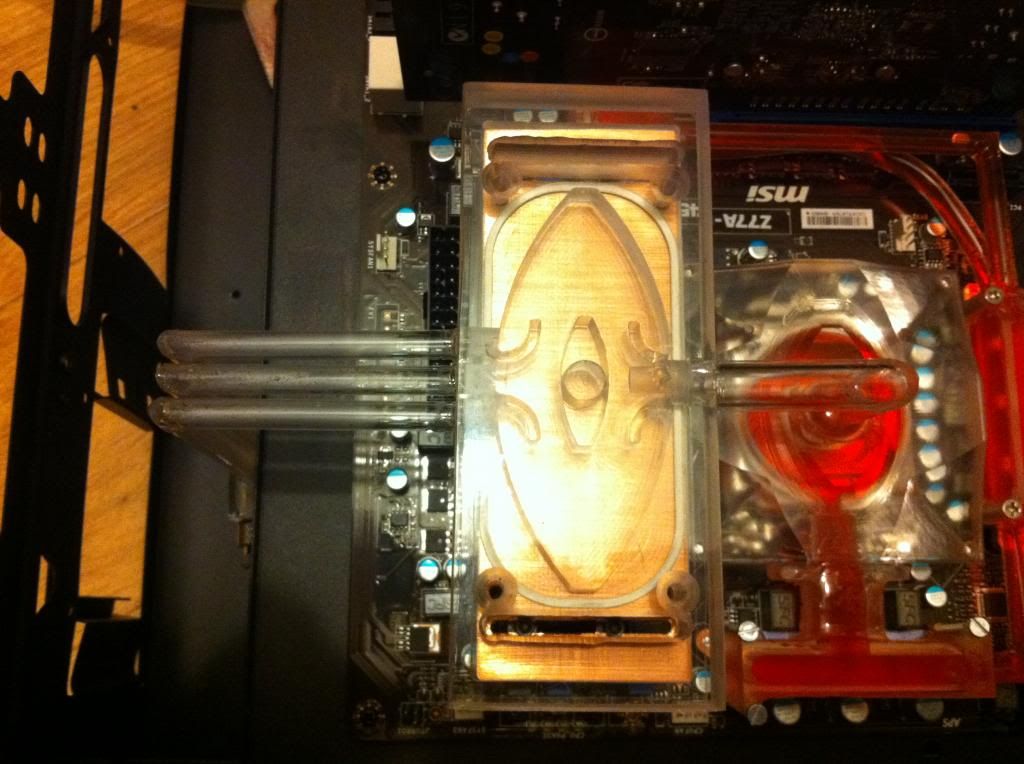
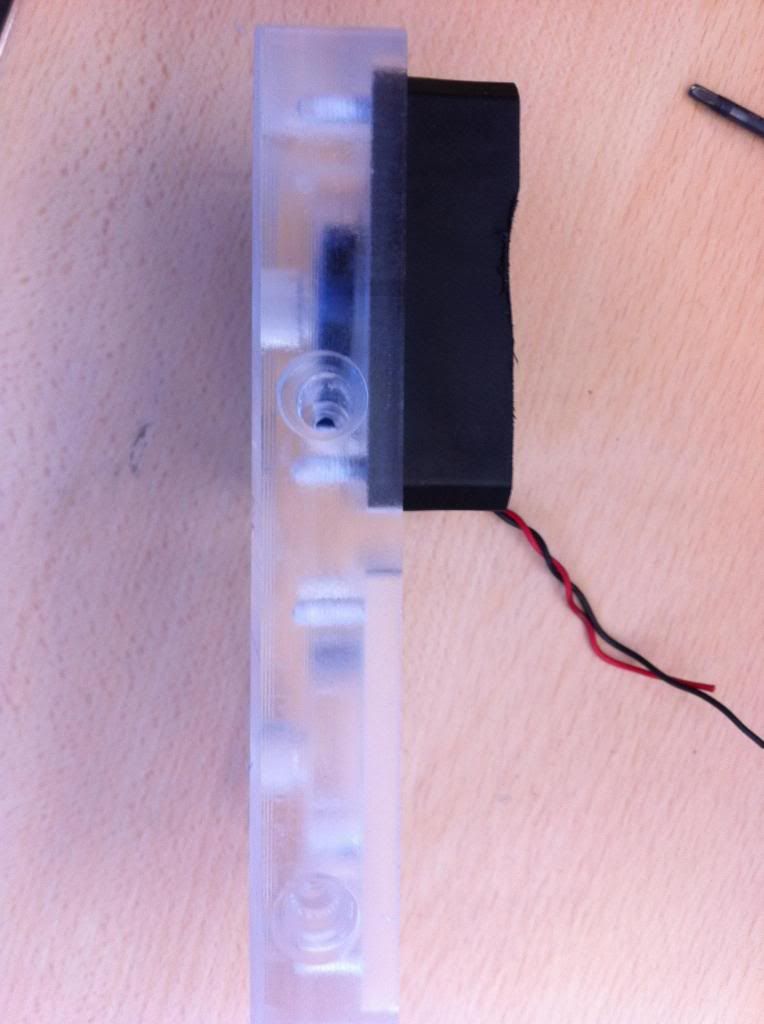
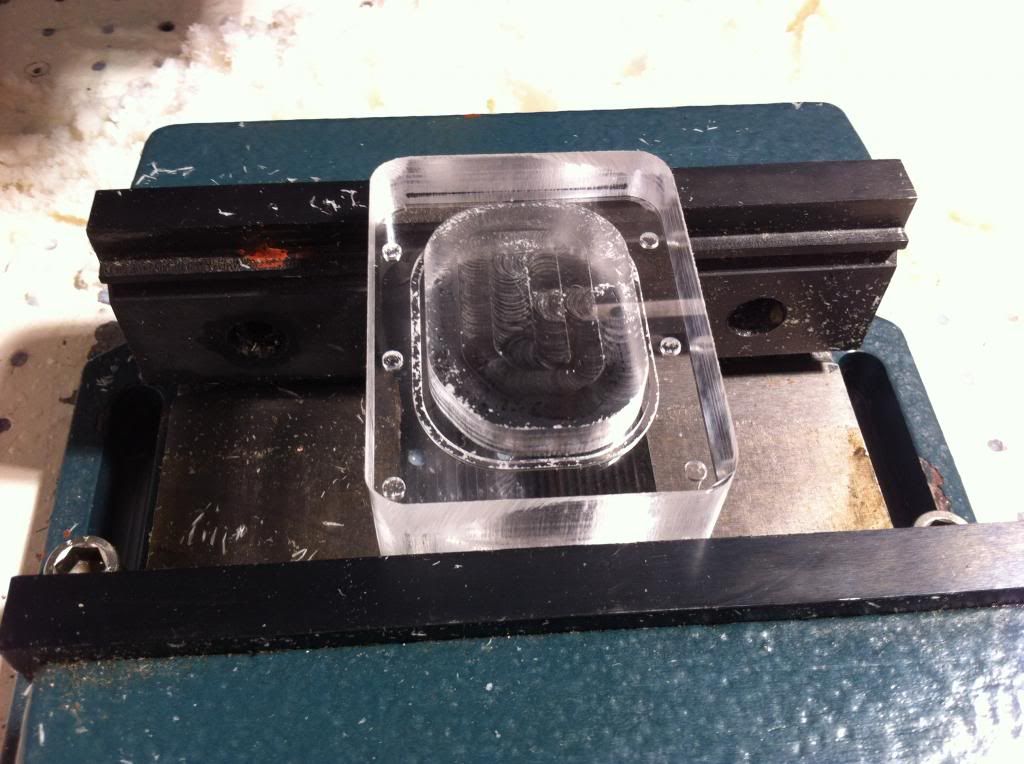
finally I made the Plexiglas tops, as you can see the top one connects directly to the cpu cooler.
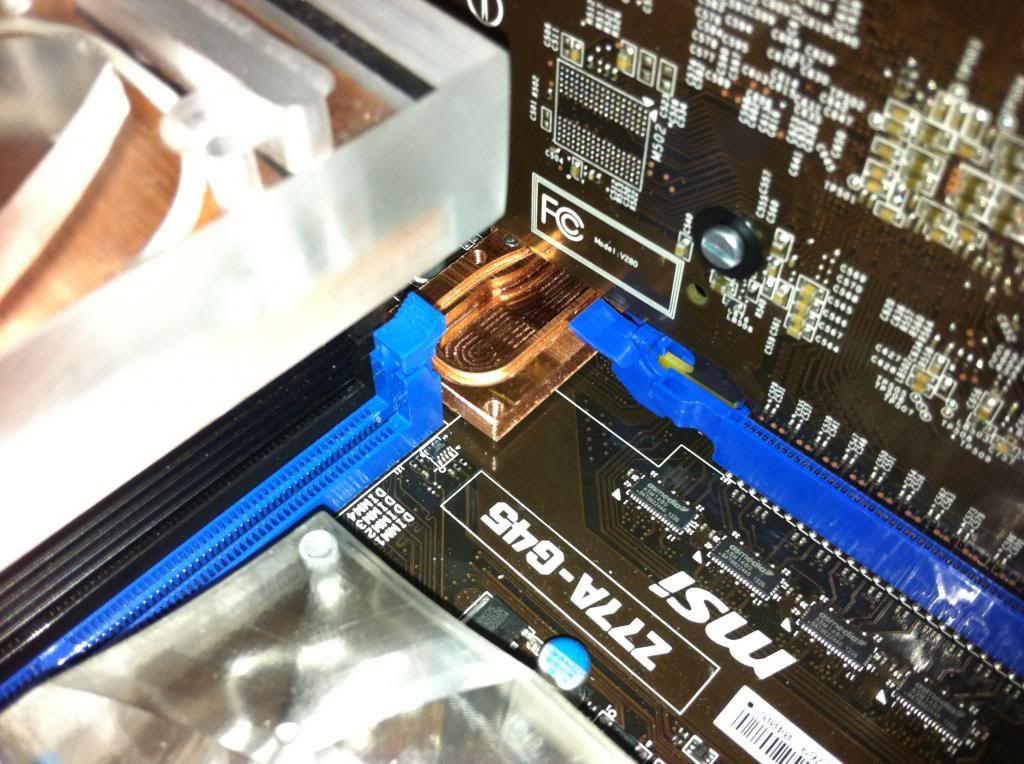
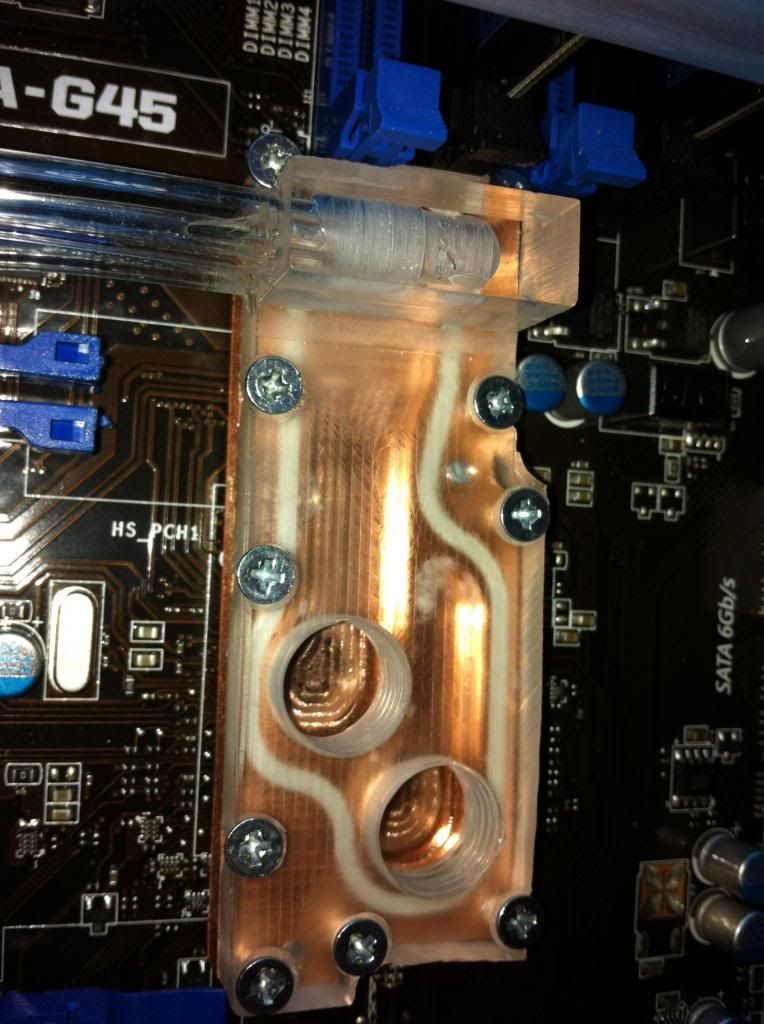
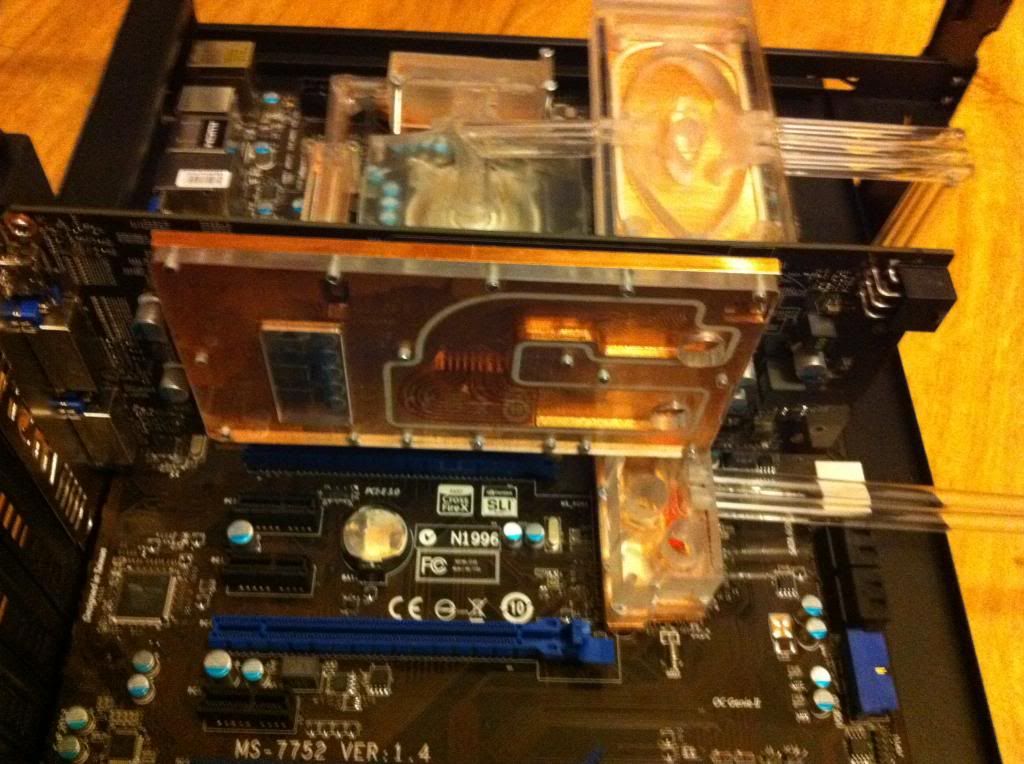
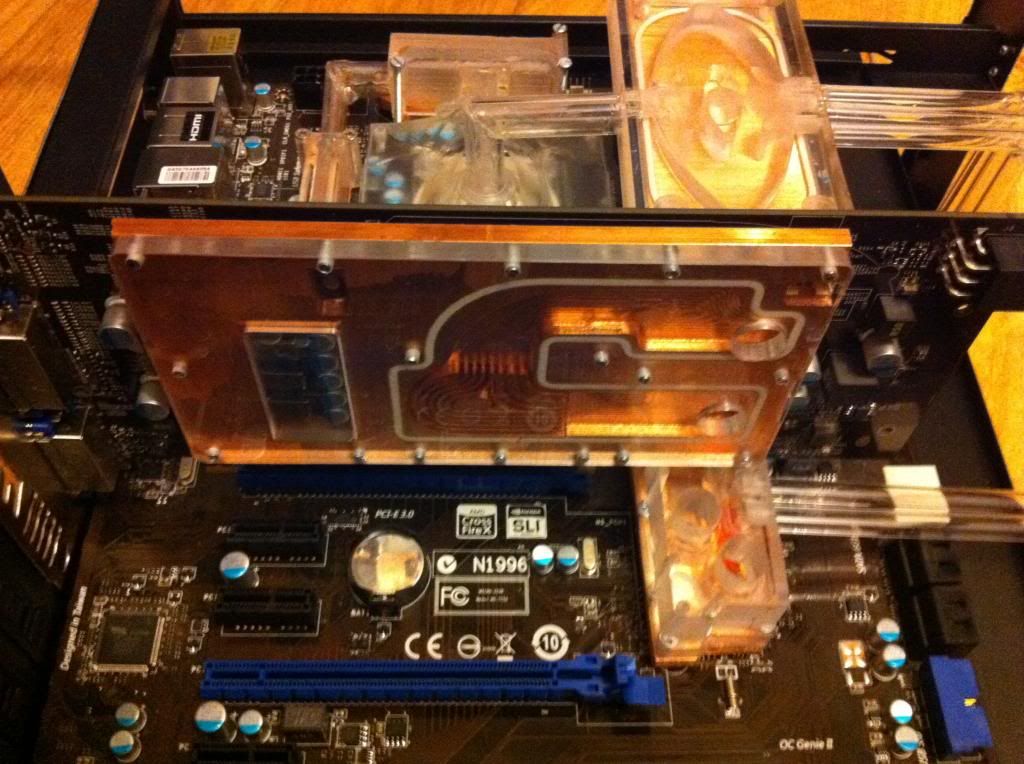
update 12 the Southbridge cooler and pipe work:
next on the list was the Southbridge cooler, I again made a prototype (no pictures this time) and after that I made the copper part:

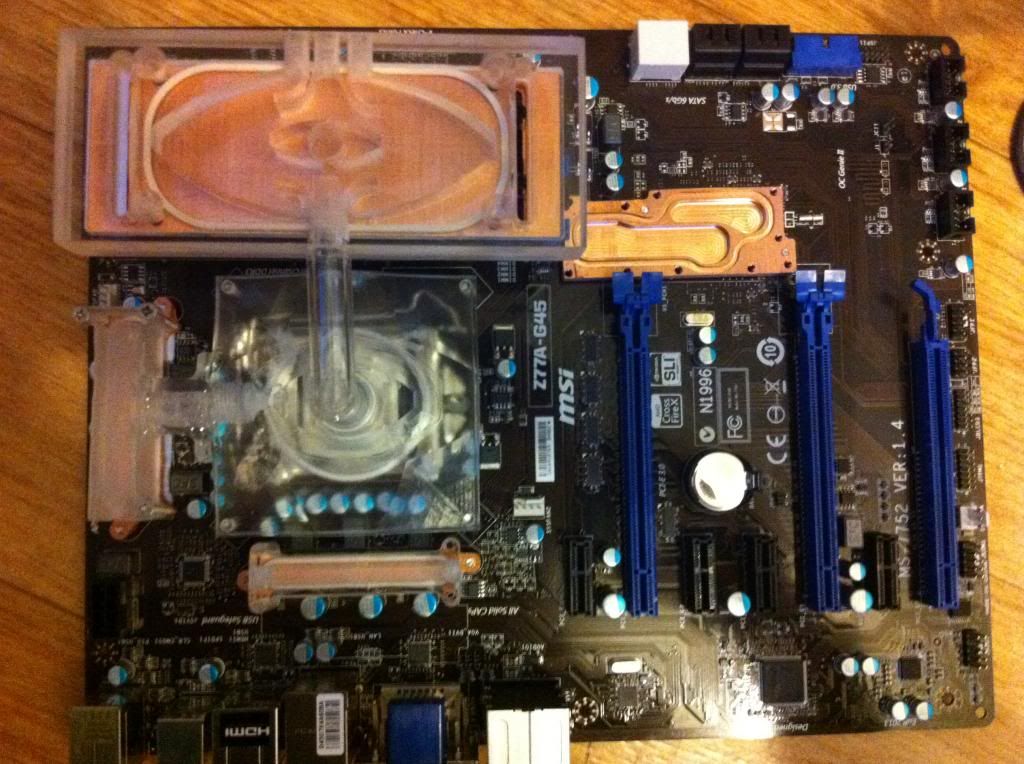
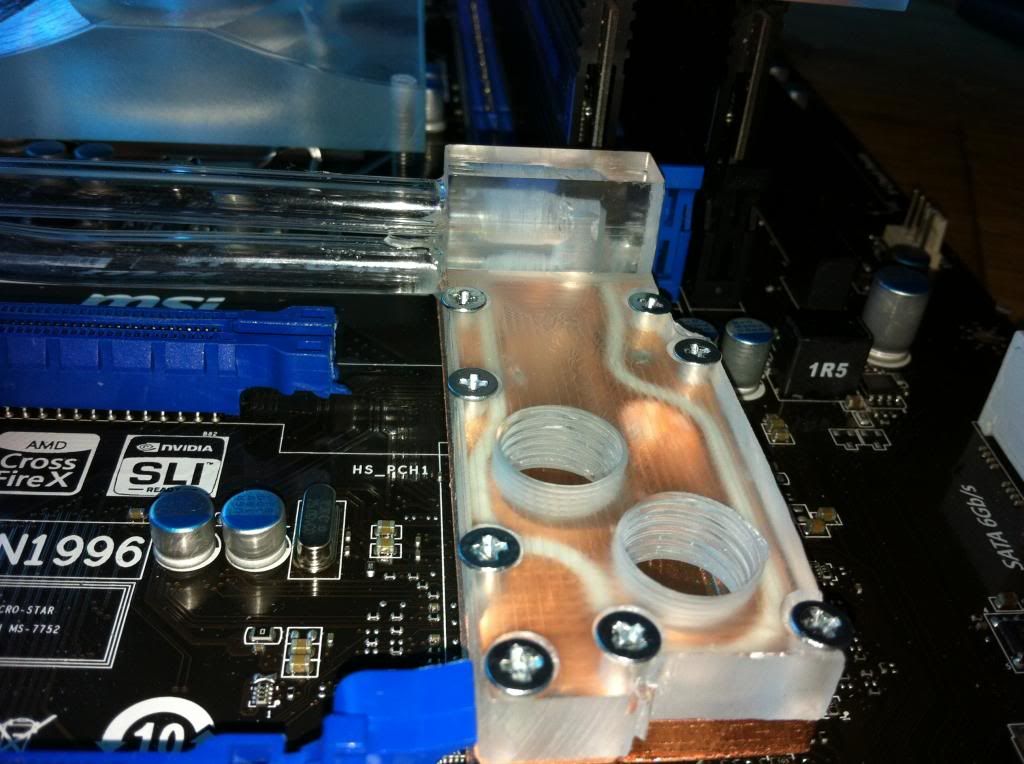
and a nice overview again of the made parts:
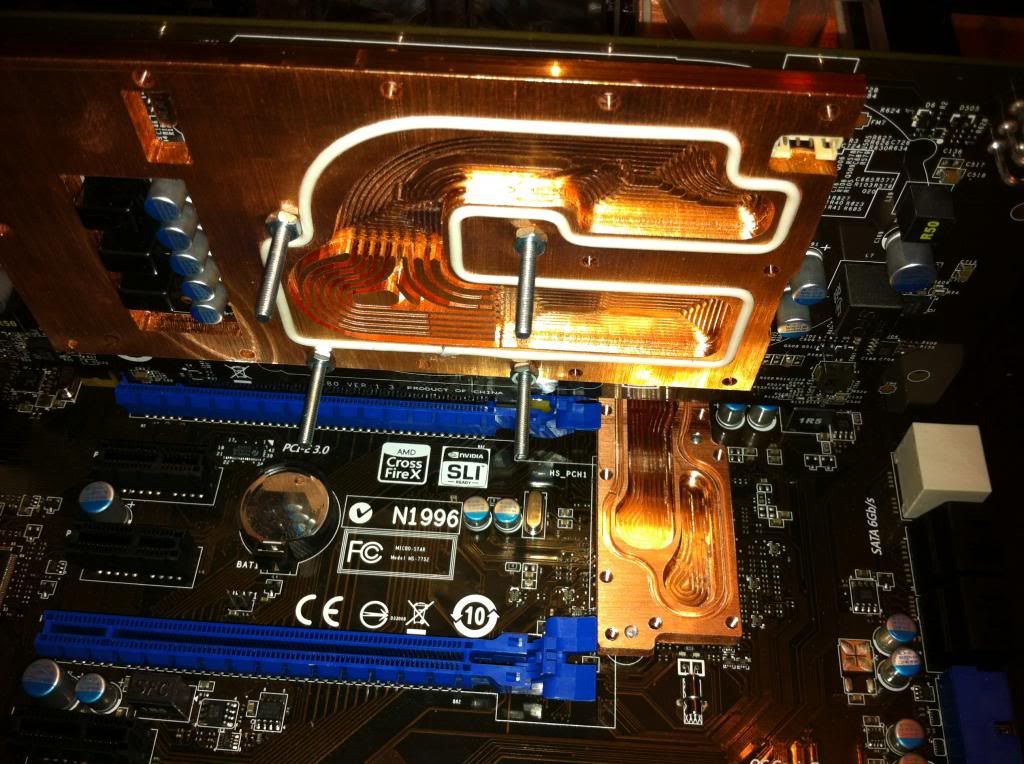
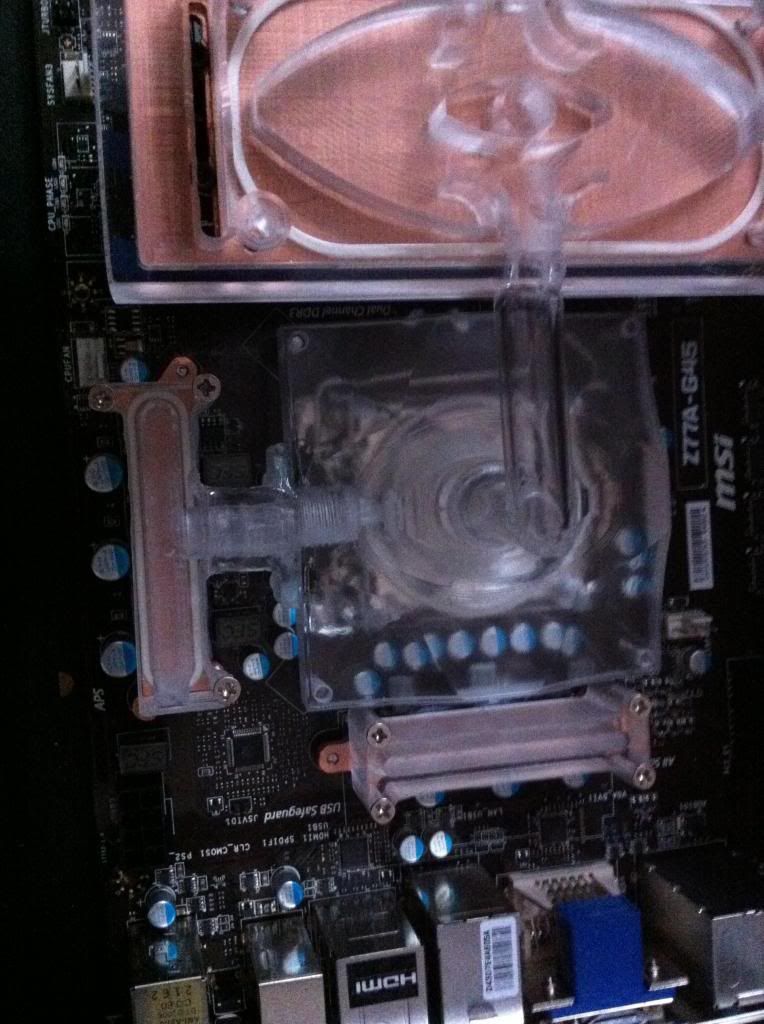
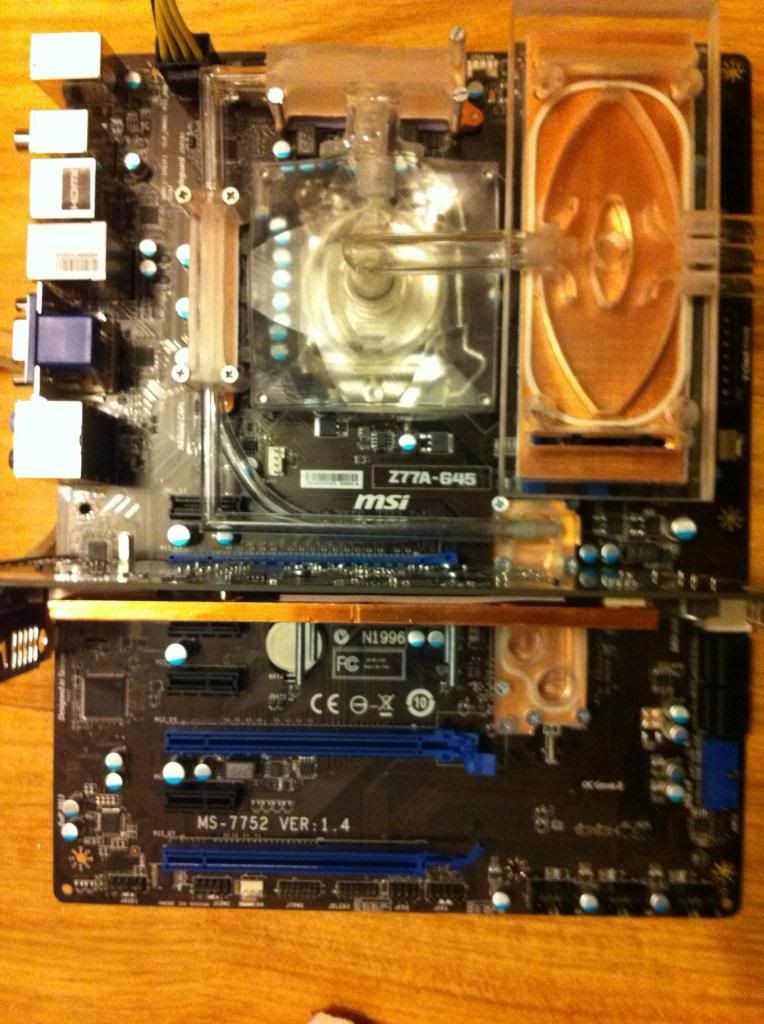
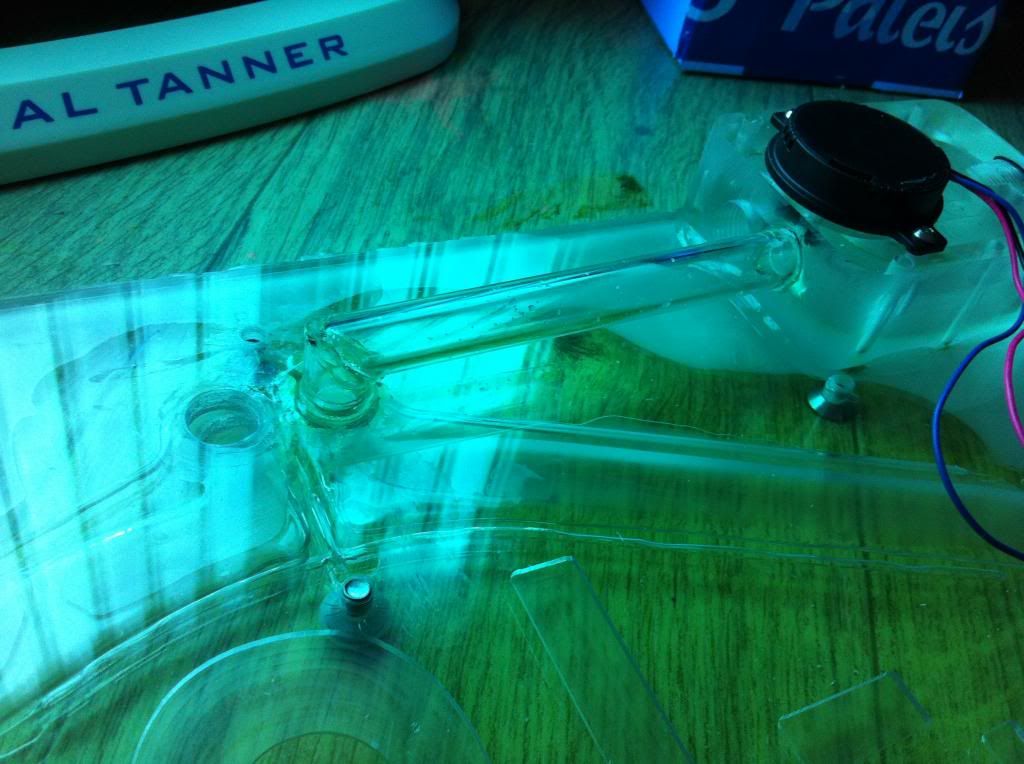
next I made the plexi top for the Southbridge and did a part of the pipes to connect the Southbridge with the mosfet:
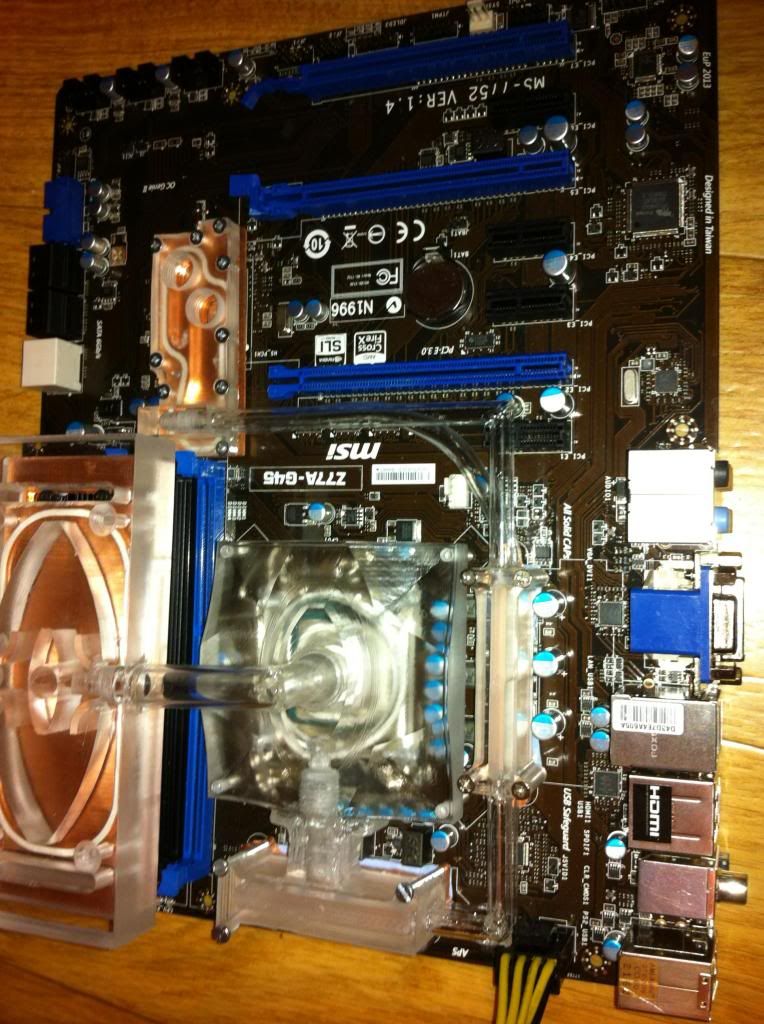
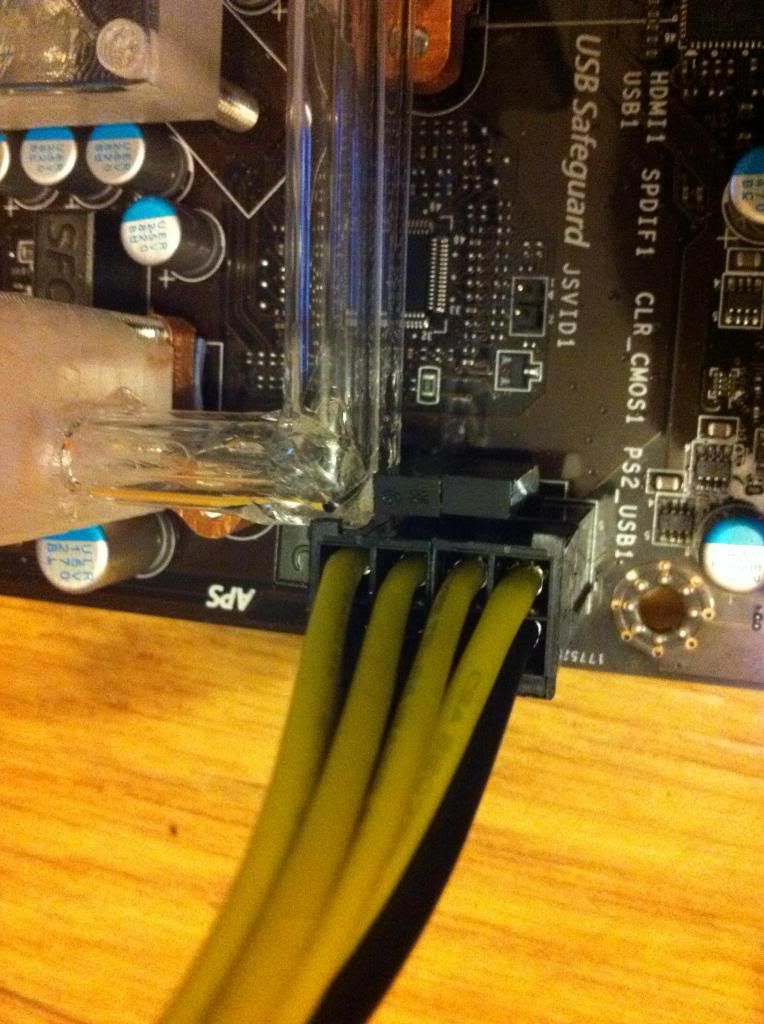
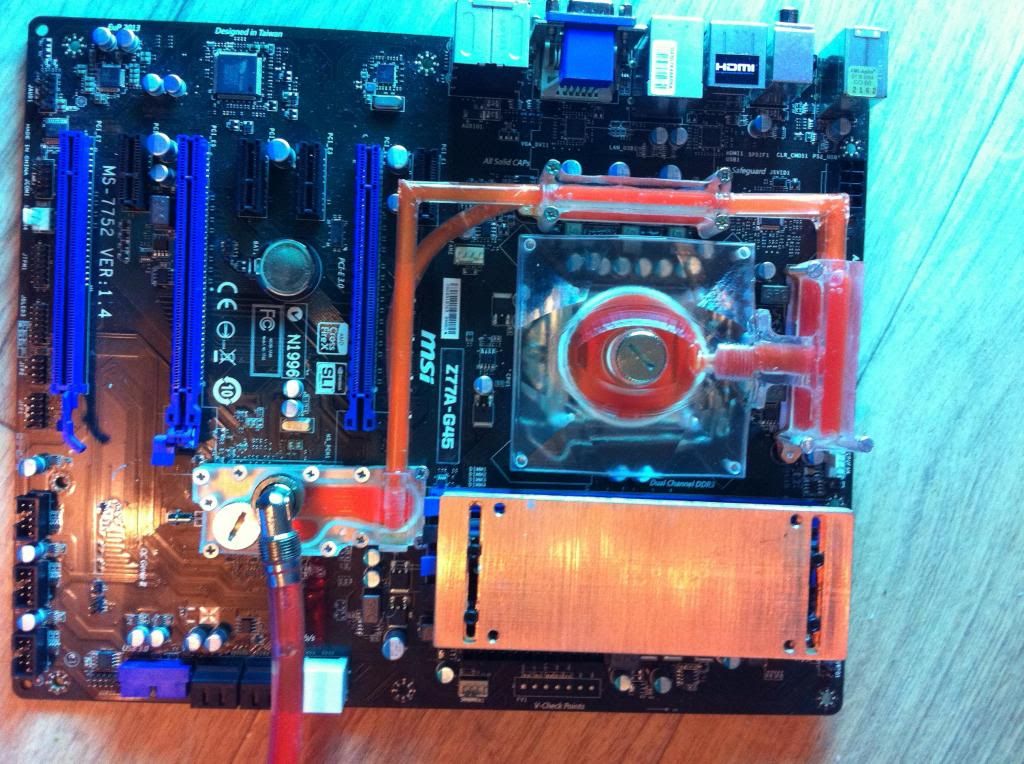
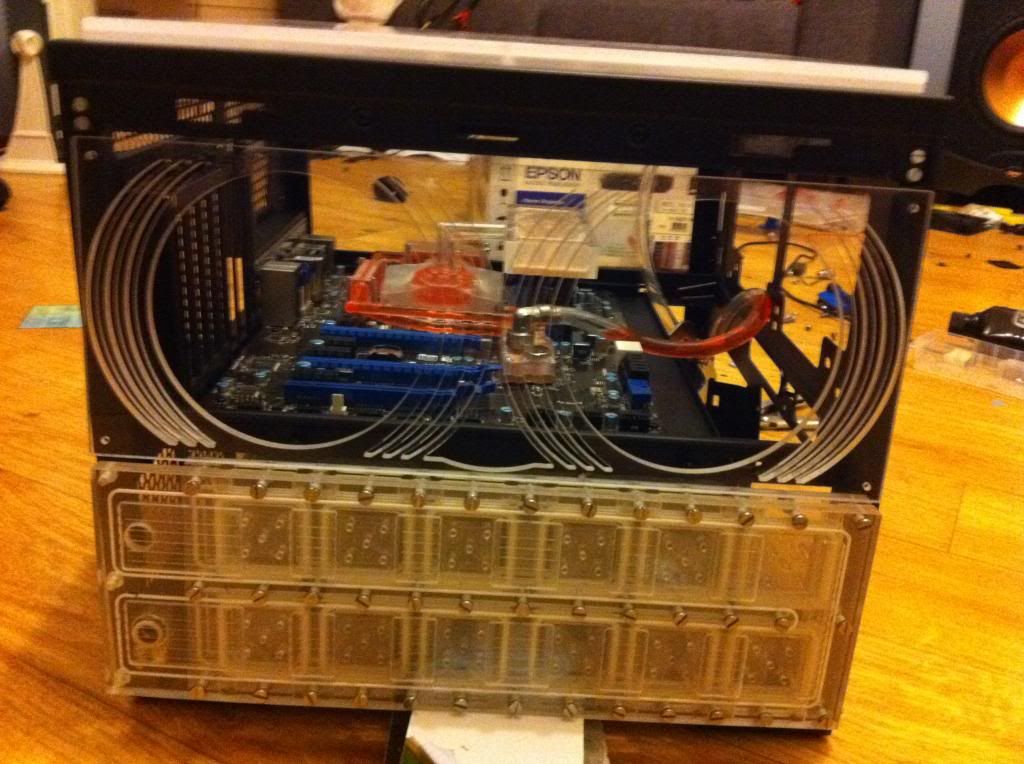
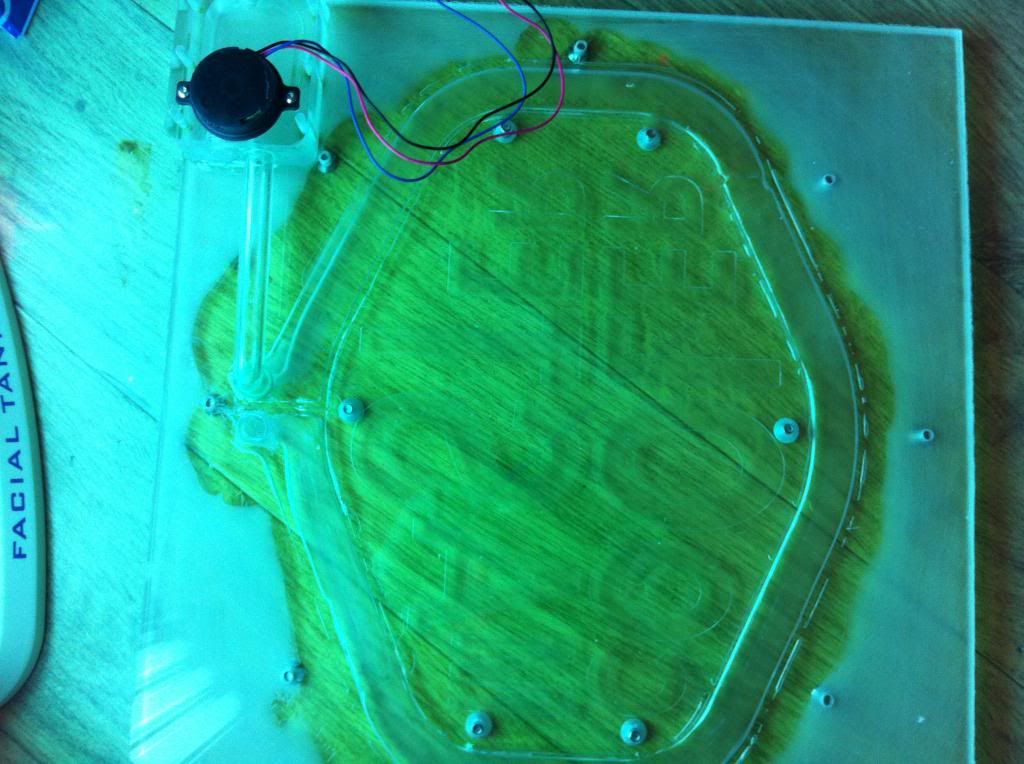
finally I connected the pipes form the top mosfet to the side mosfet making the circle complete:
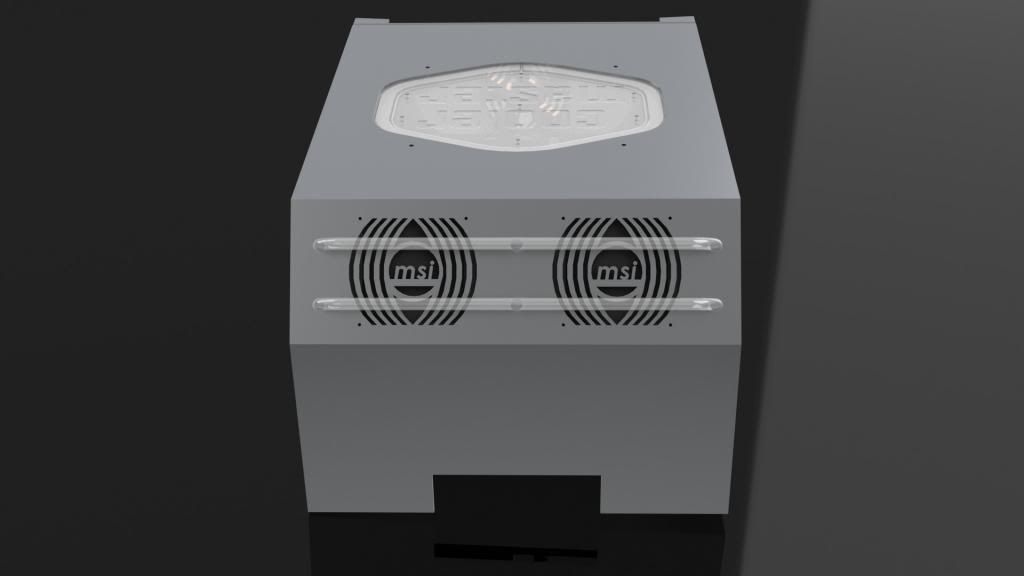
as you can see it fits perfectly with the psu connector:
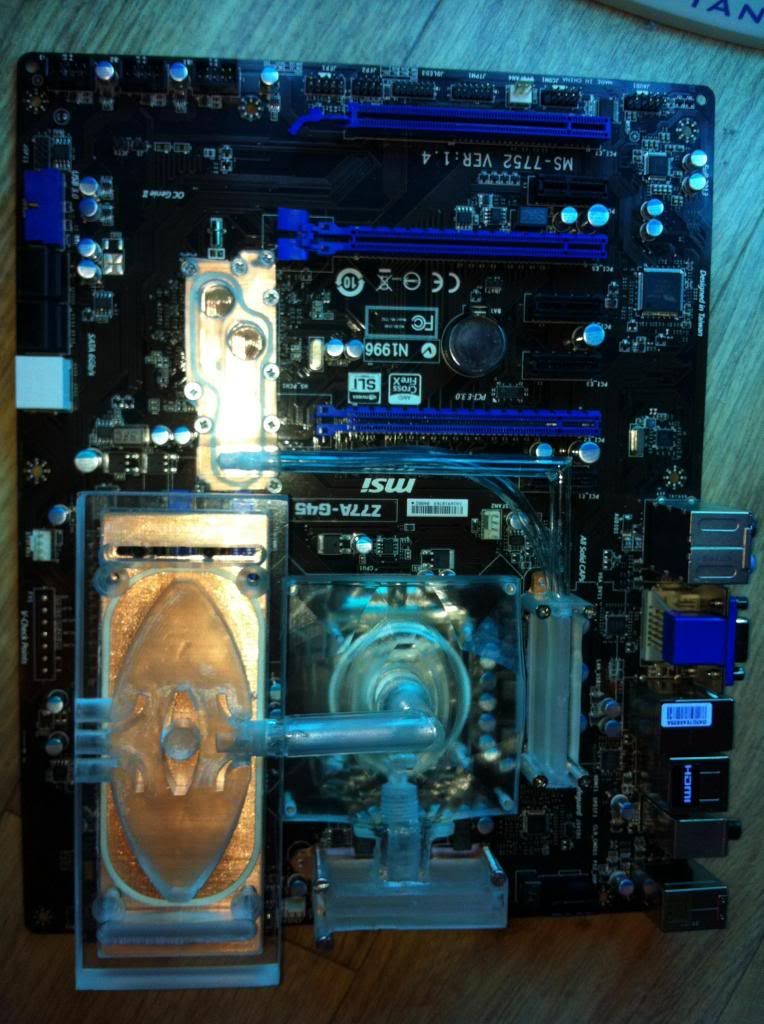
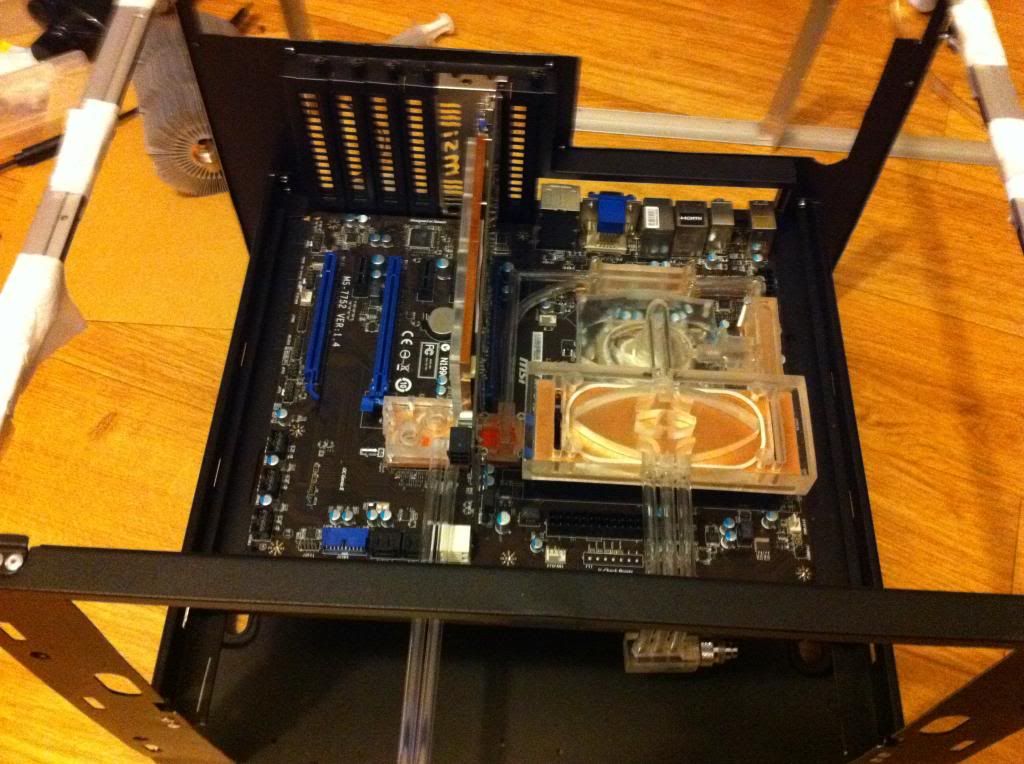
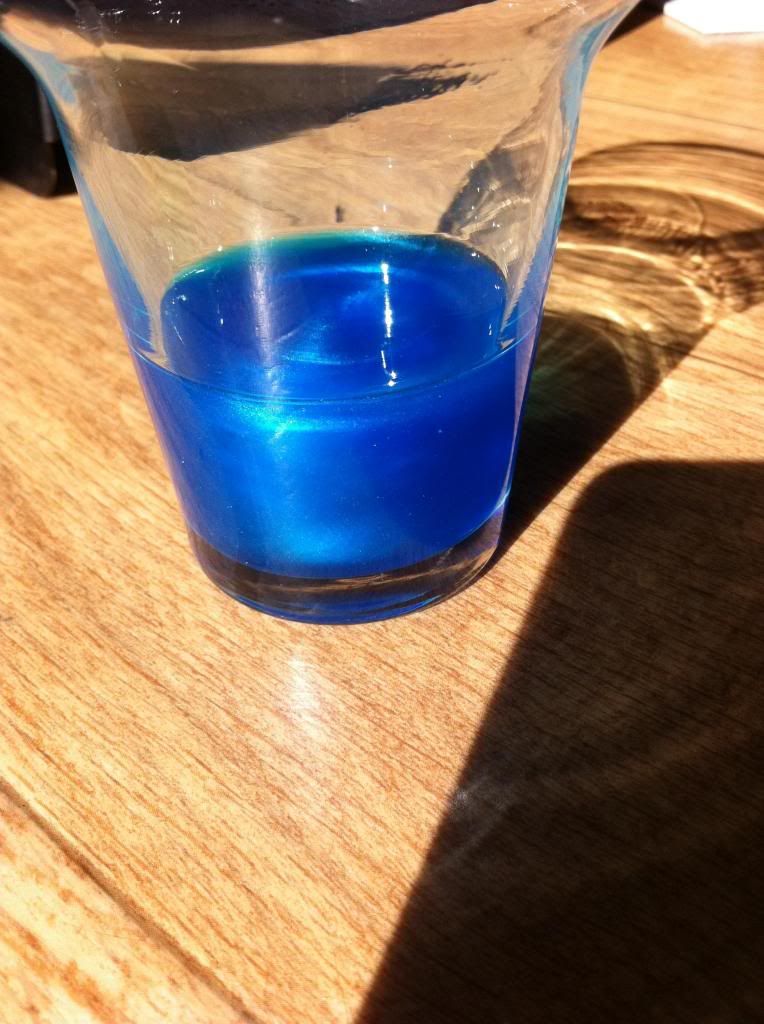
testing it with some fluid:

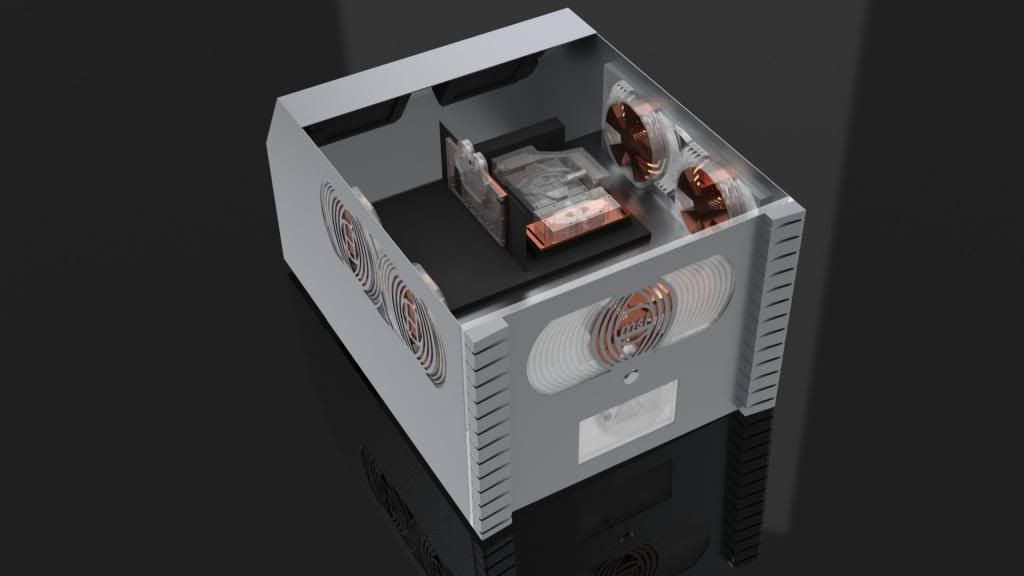
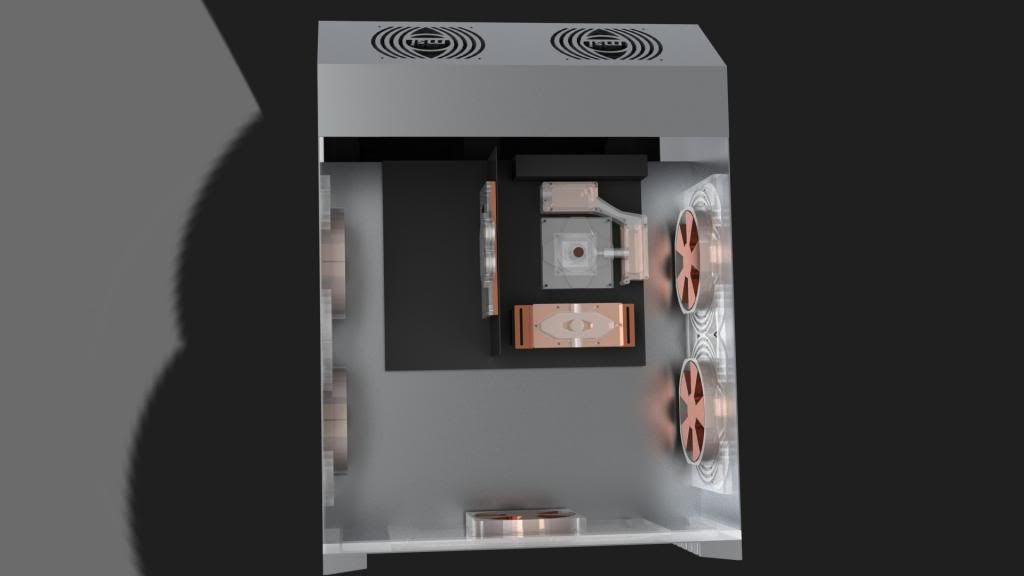
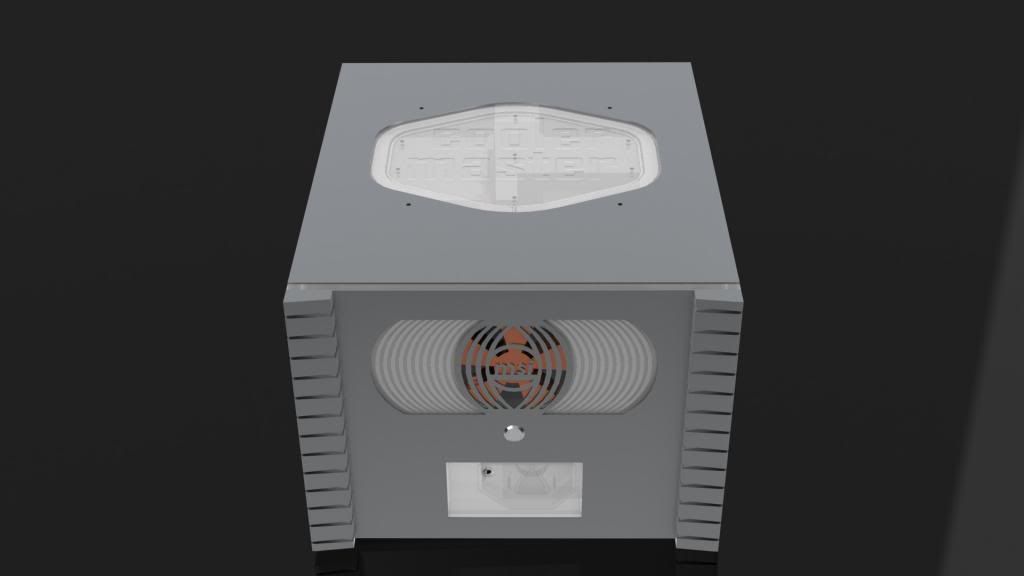
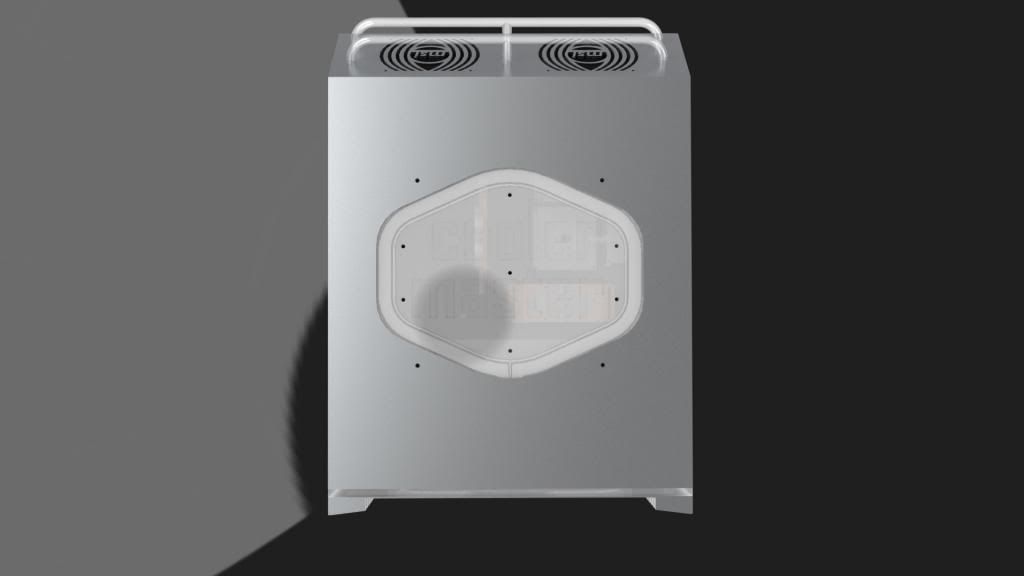
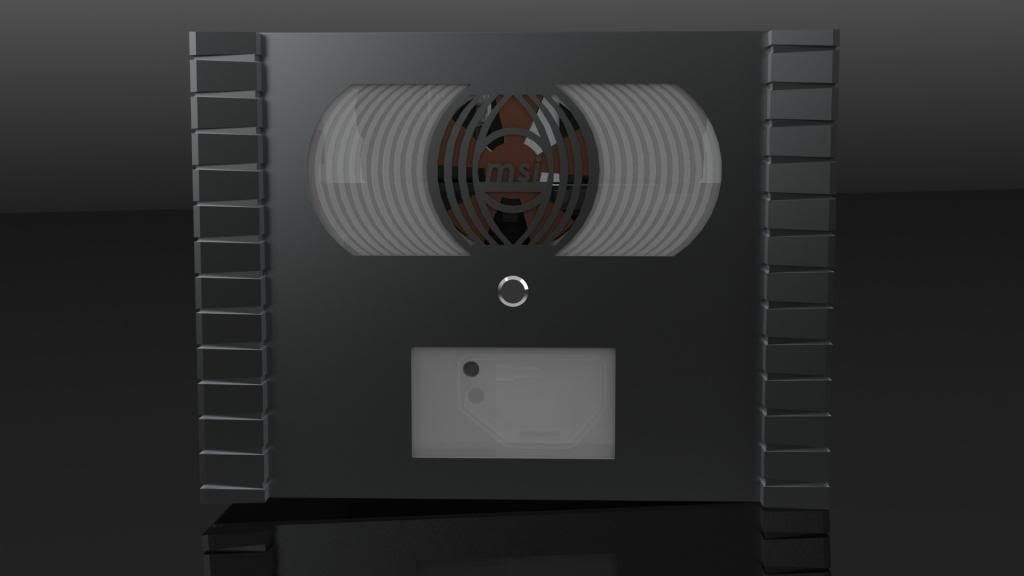
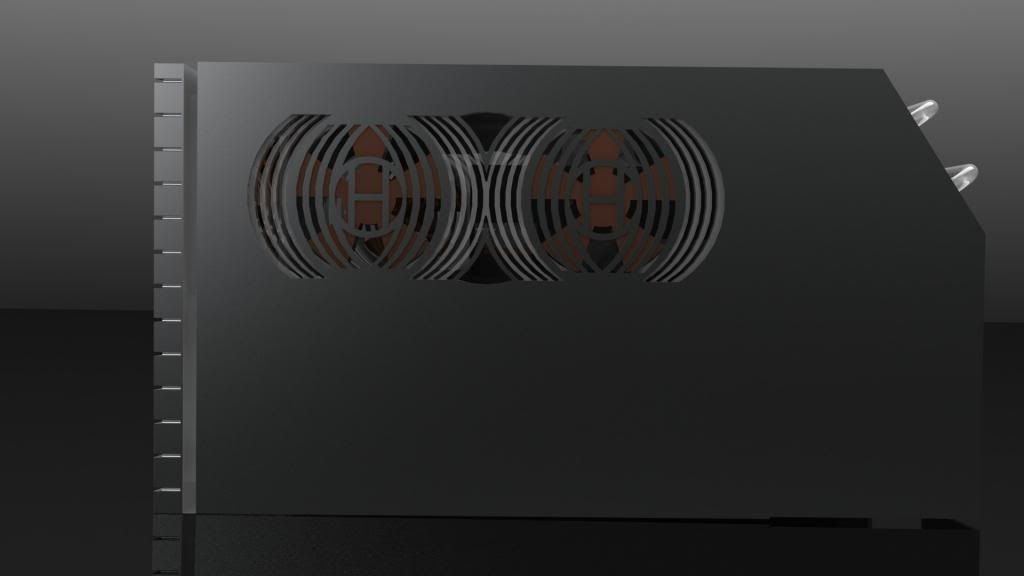
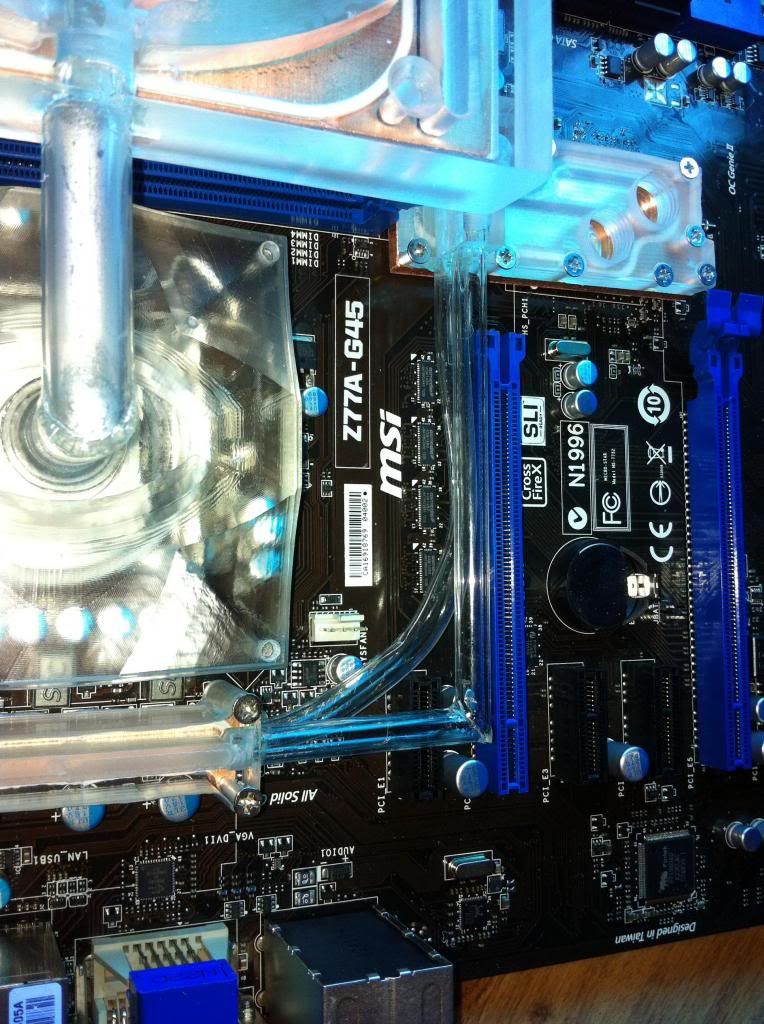
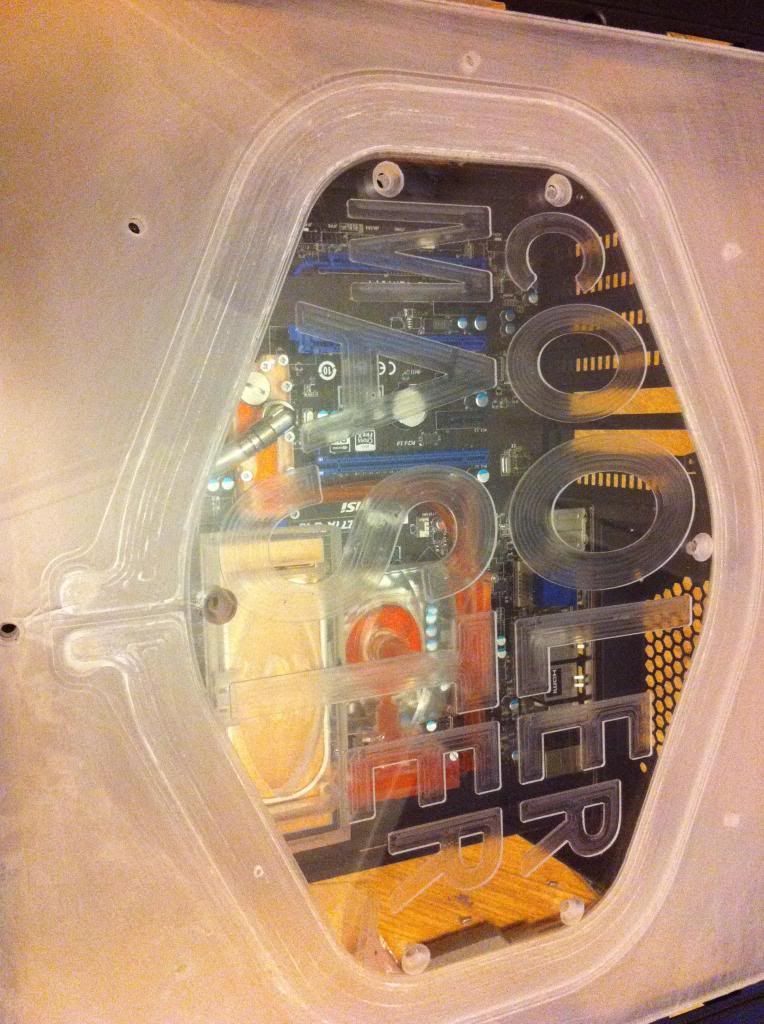
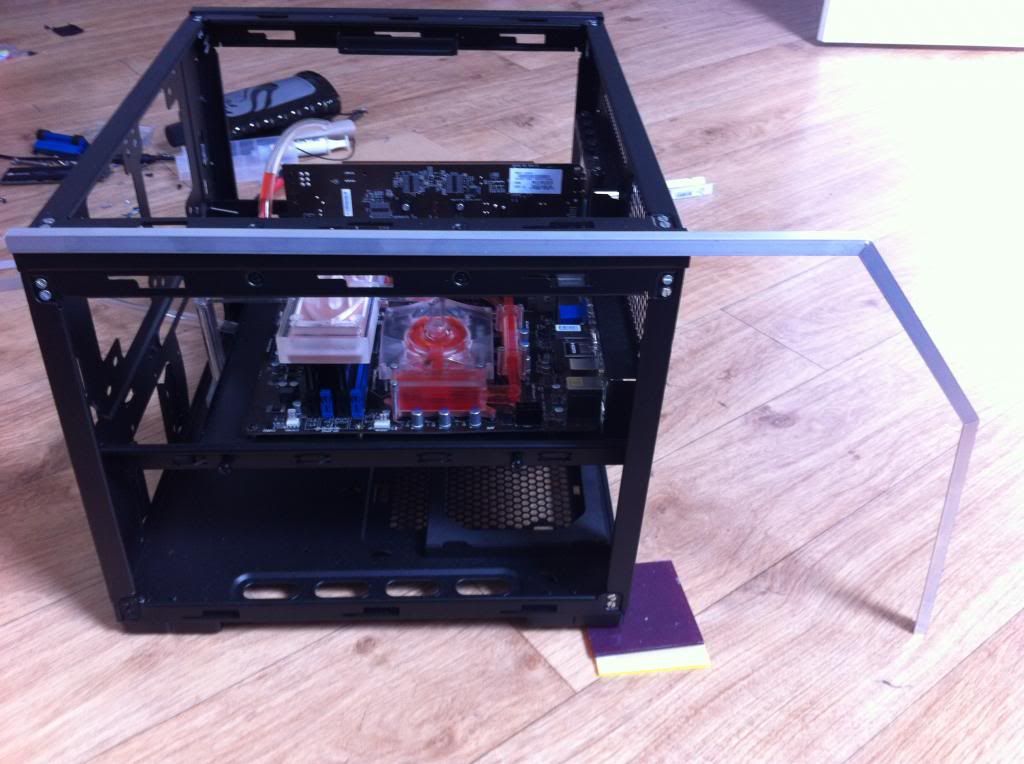
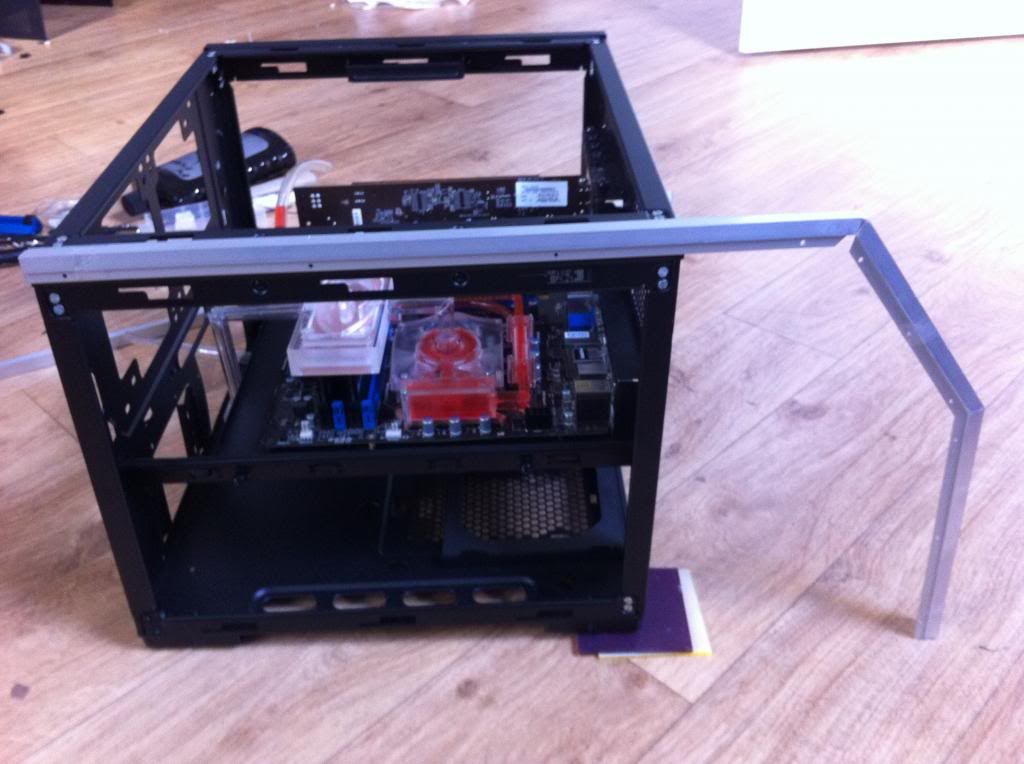
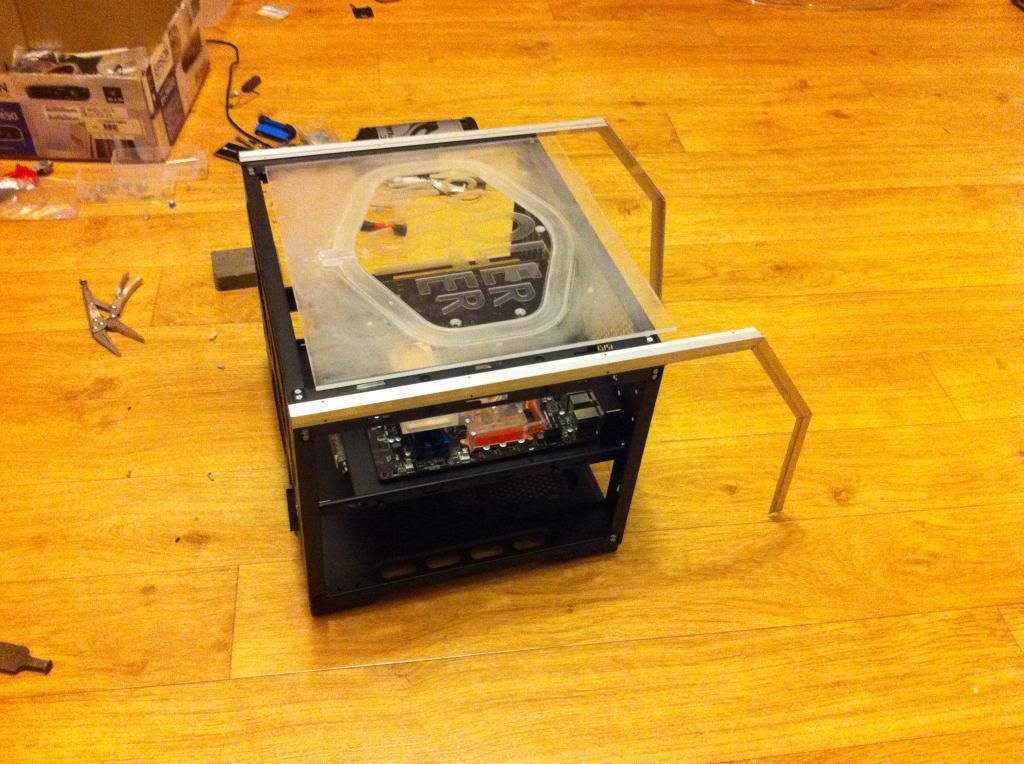
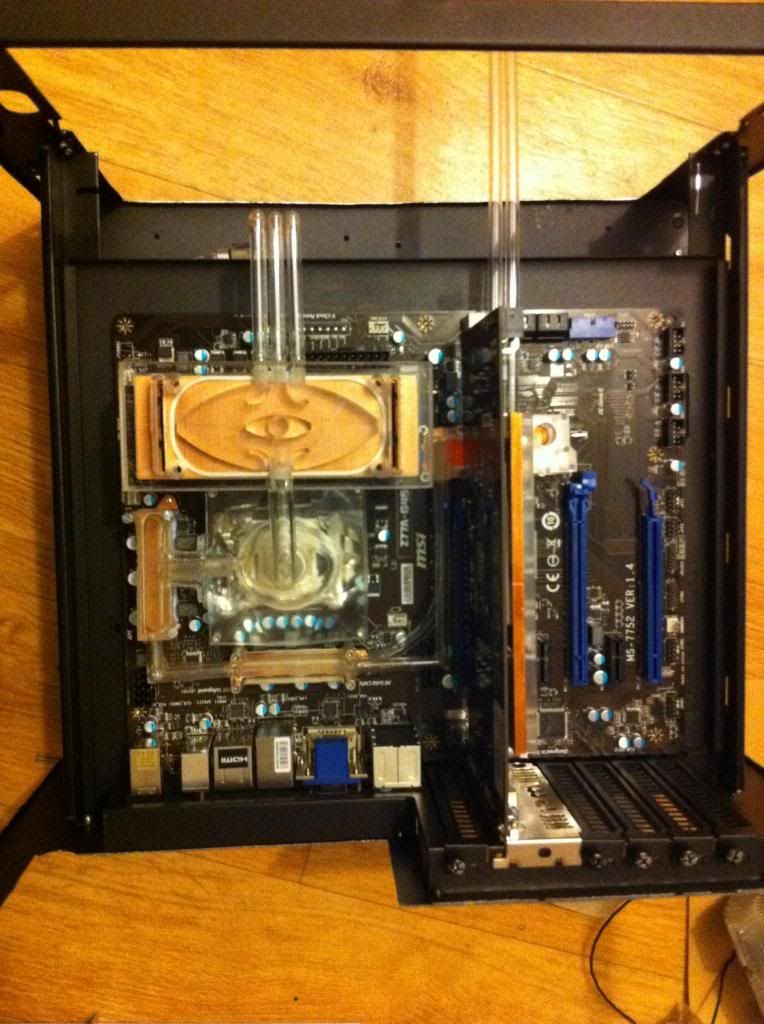
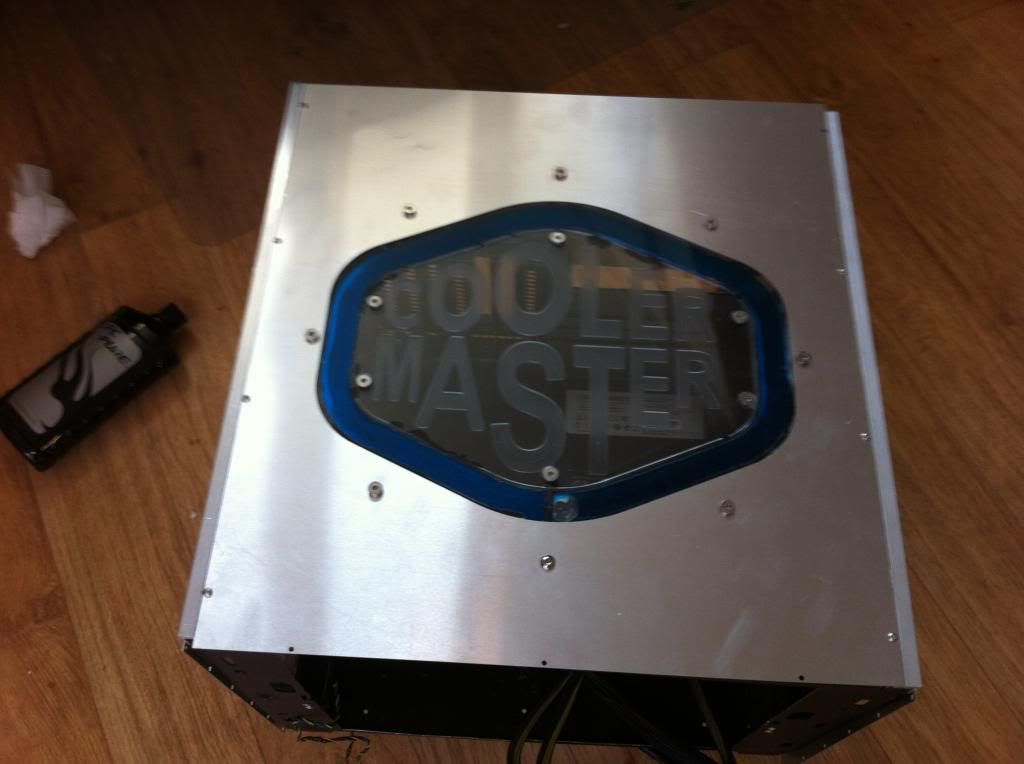
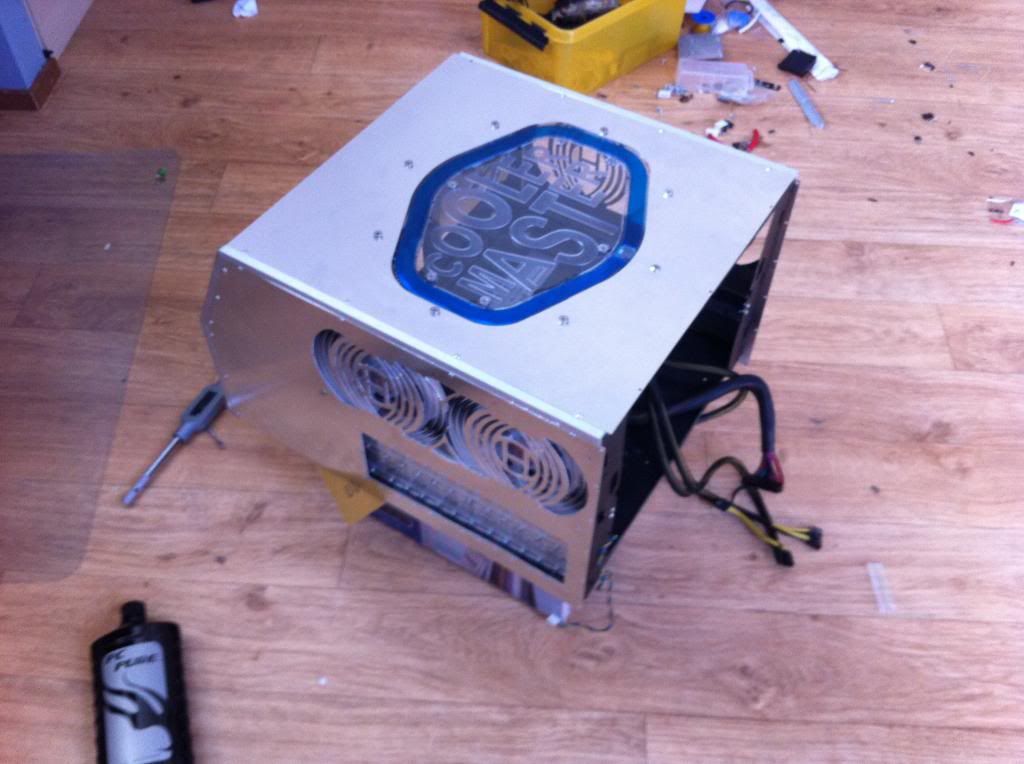
some pics to show how it will look like in the case:
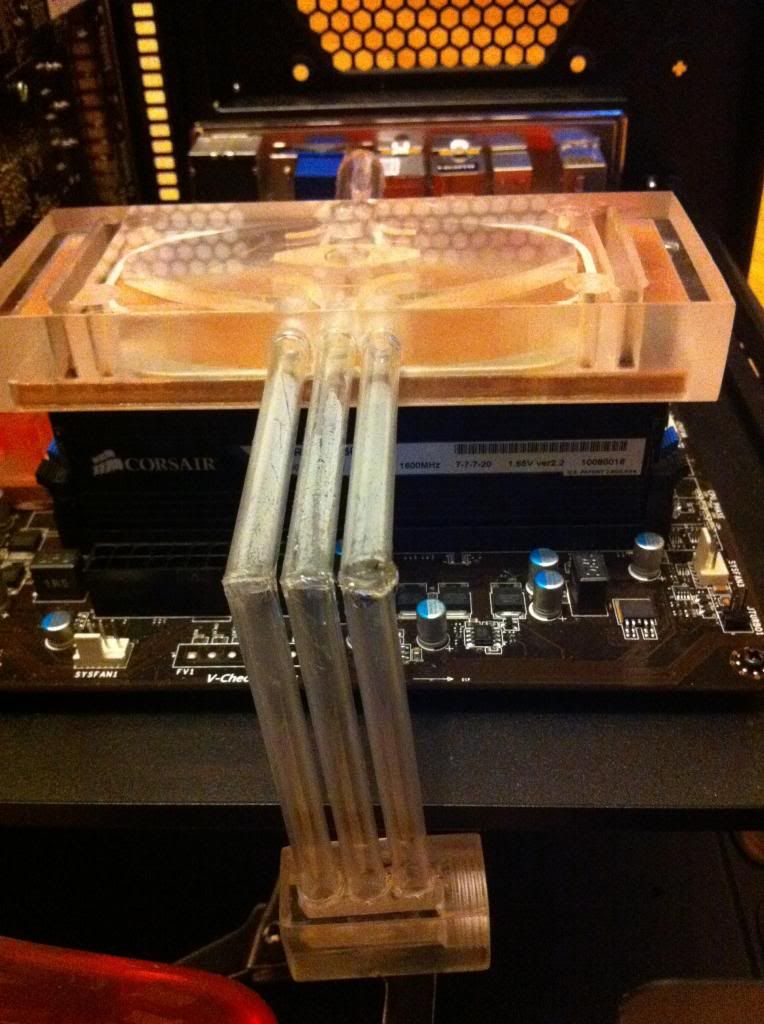
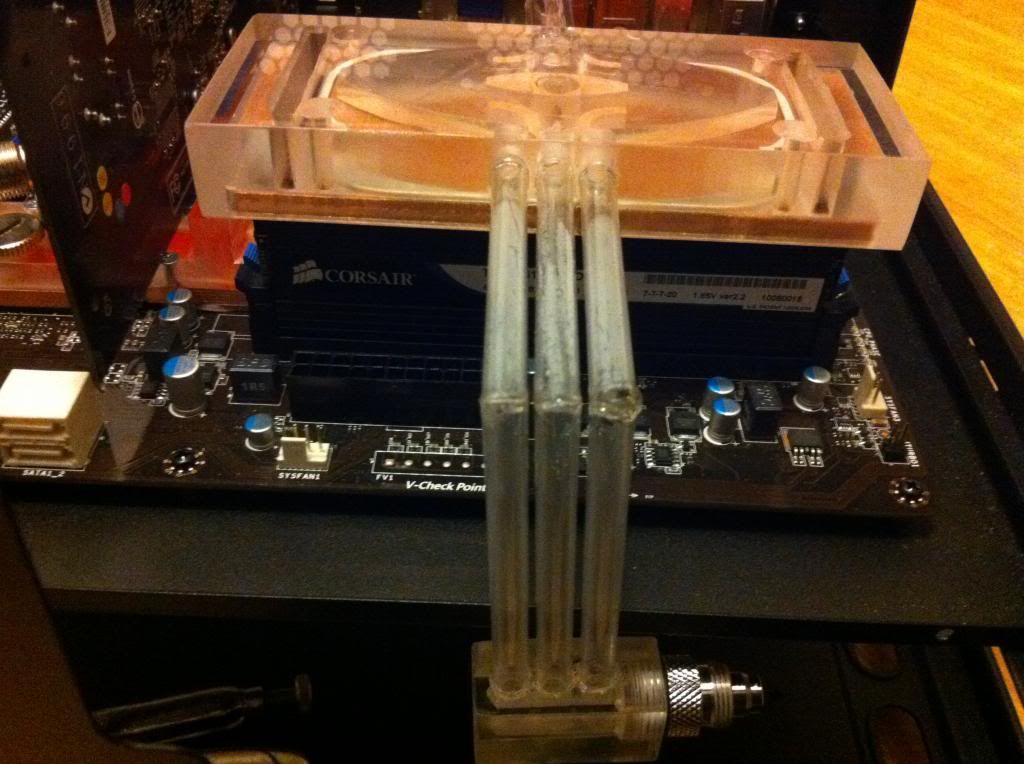
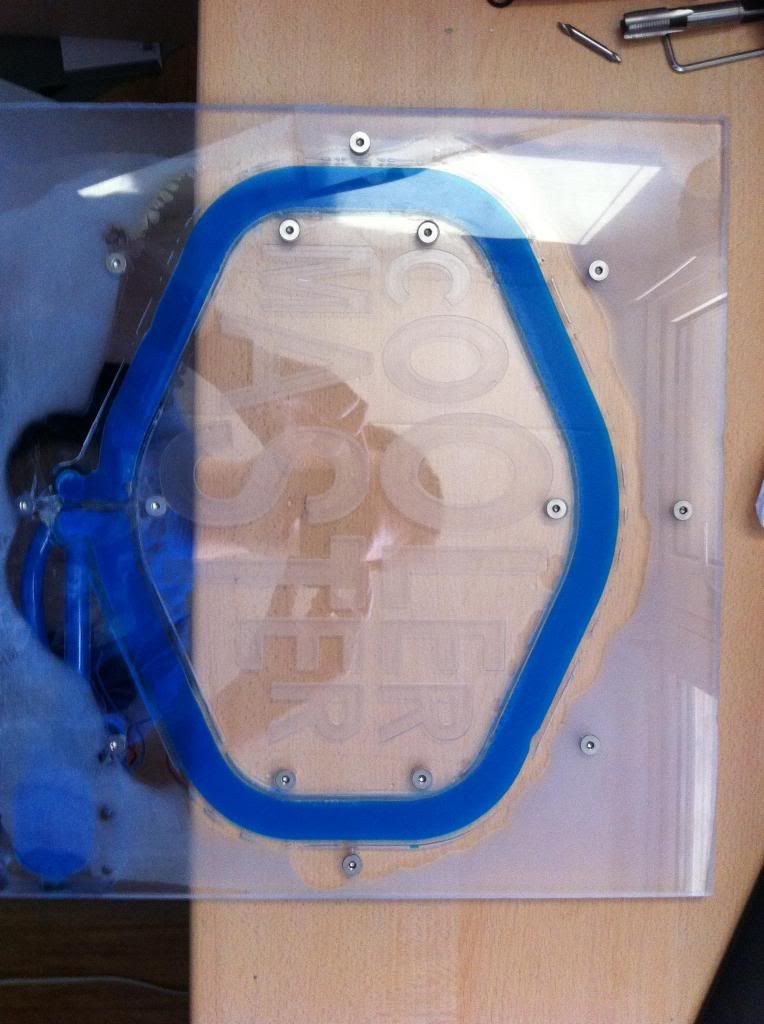
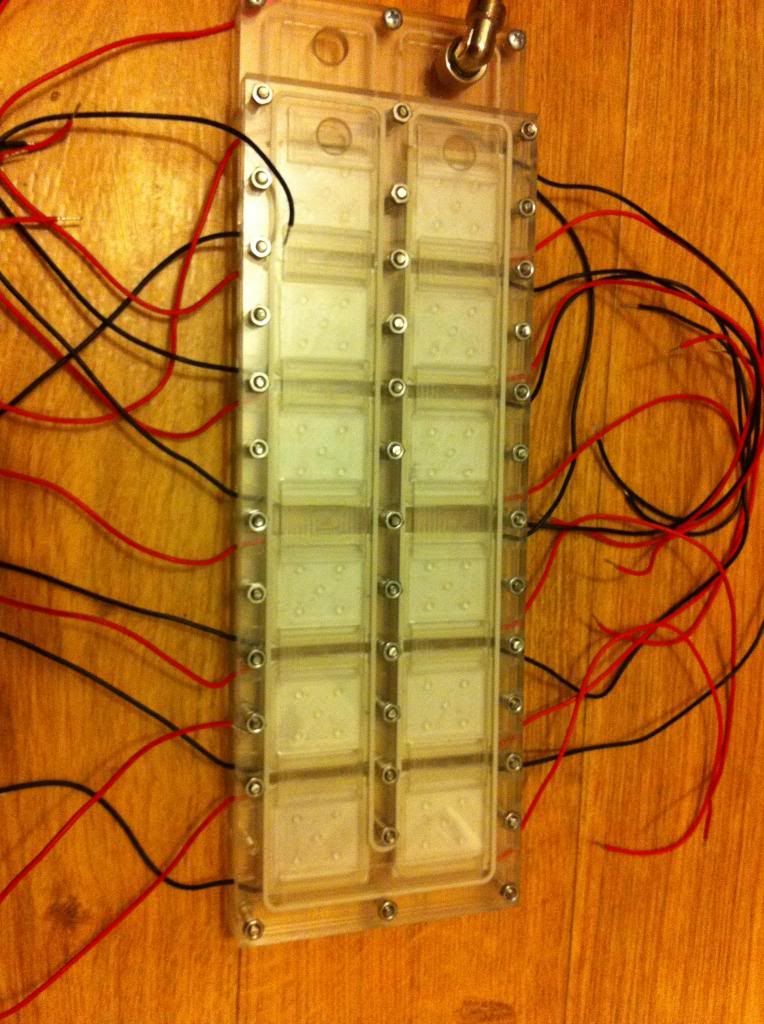
next up are the 7mm pipes to connect the ram cooler to a g1/4 port:
drying nicely in uv light( this makes the glue harden without creating bubbles or shrinkage of the glue.)
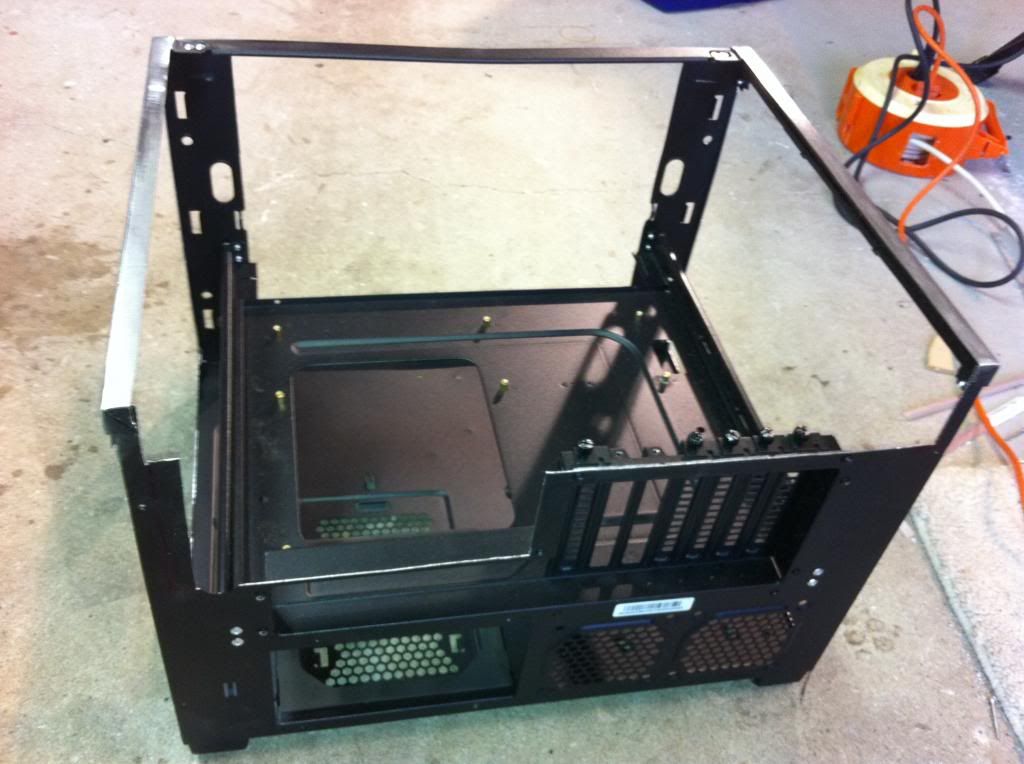
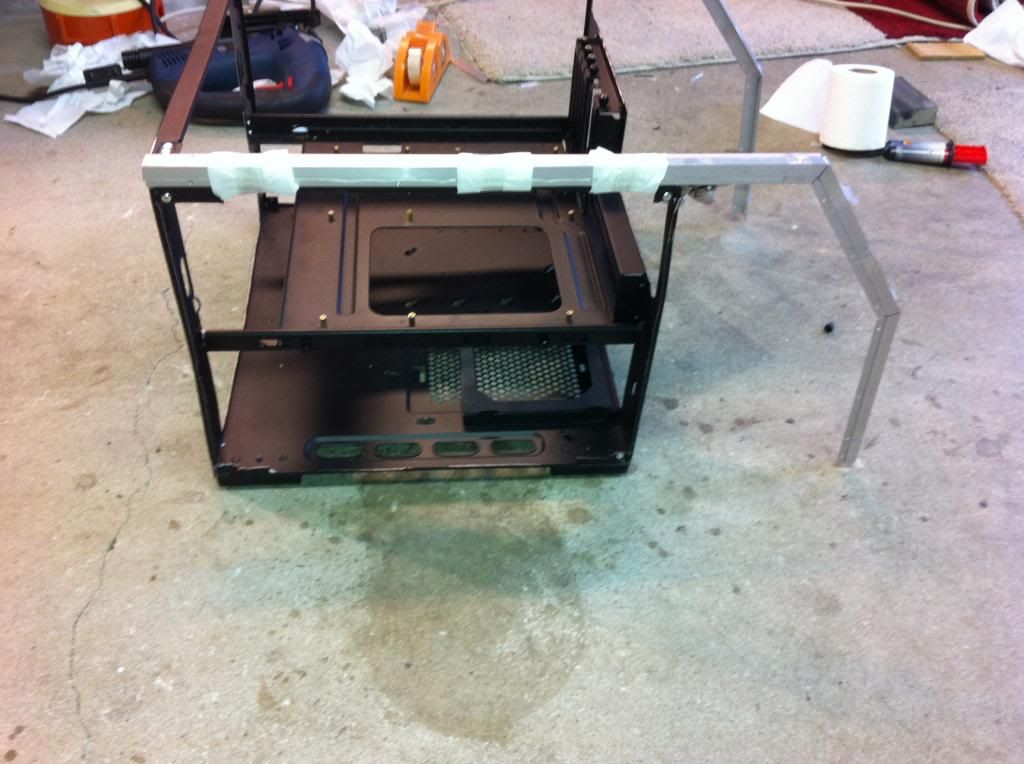
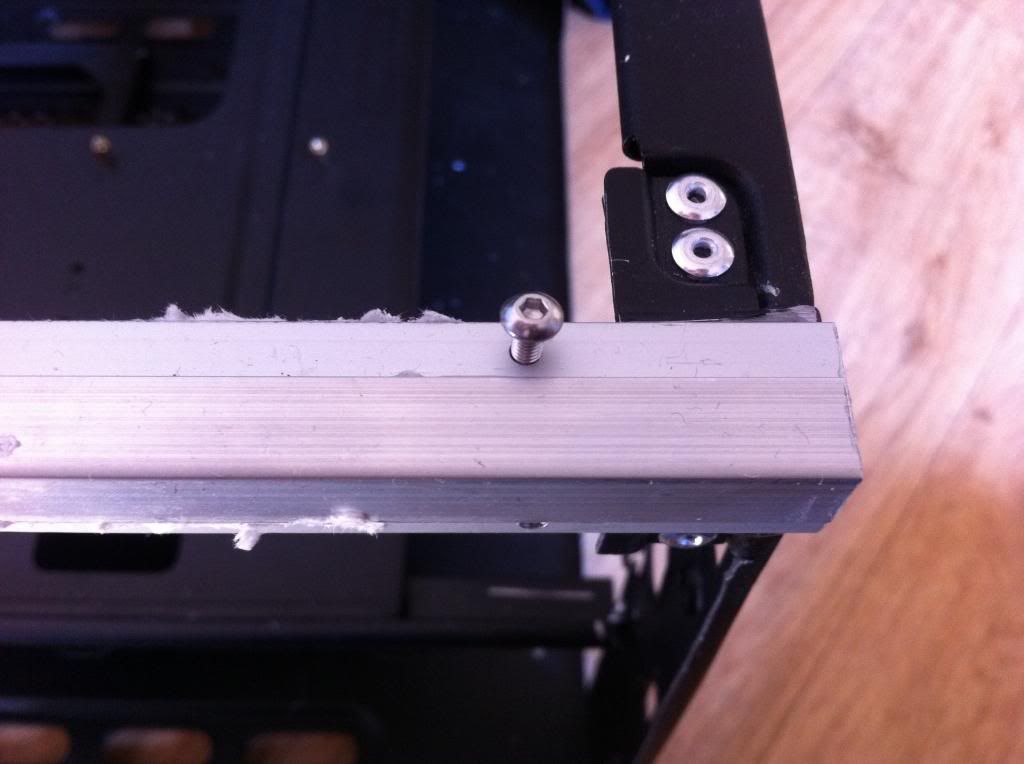
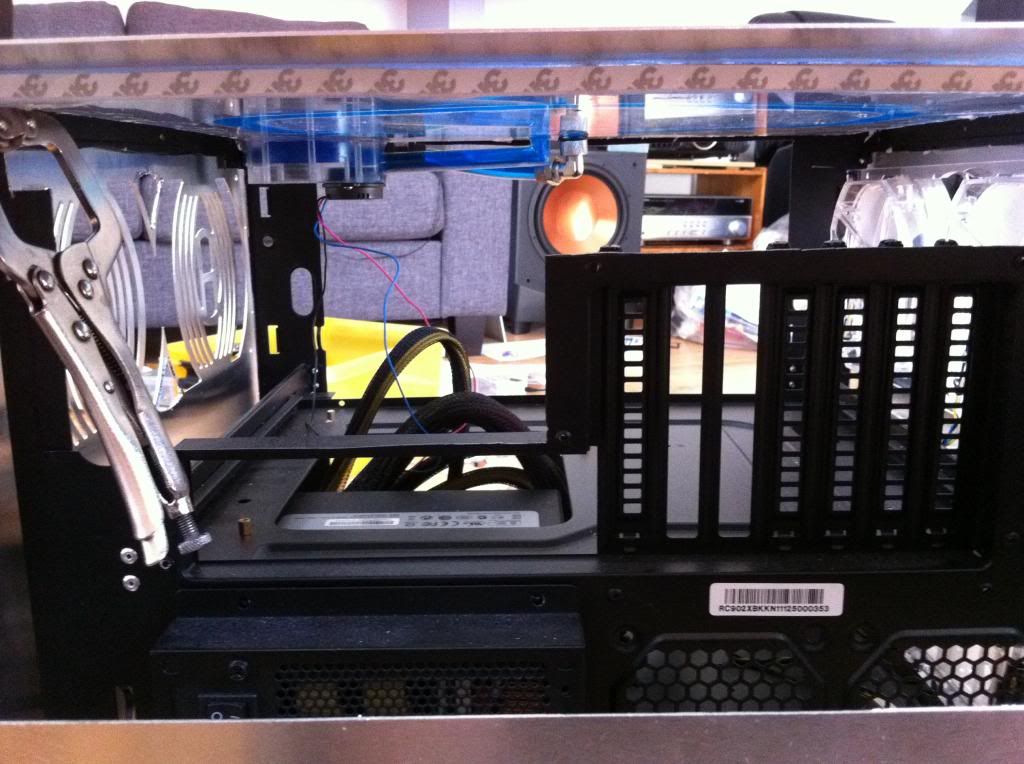
update 13 making the framework:
because the case will have a different shape than the original I had to make a extra frame on top of the original, this will consist of 2 L profiles on top of each other to give more strength and also making the new panels flush with the profiles.
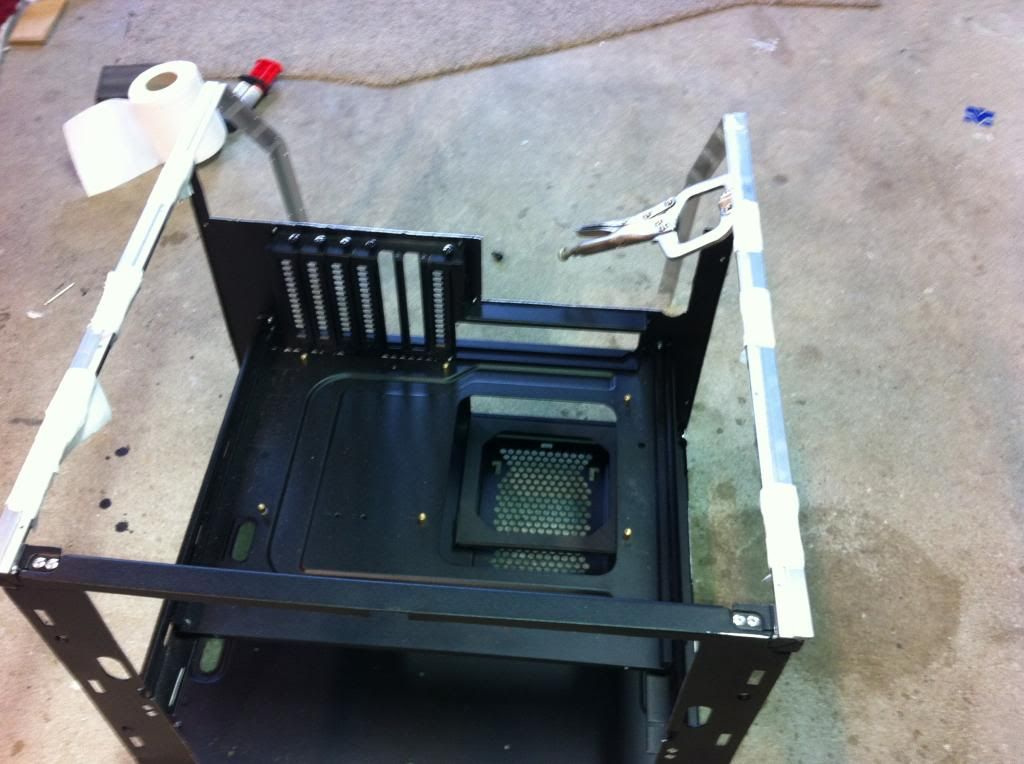
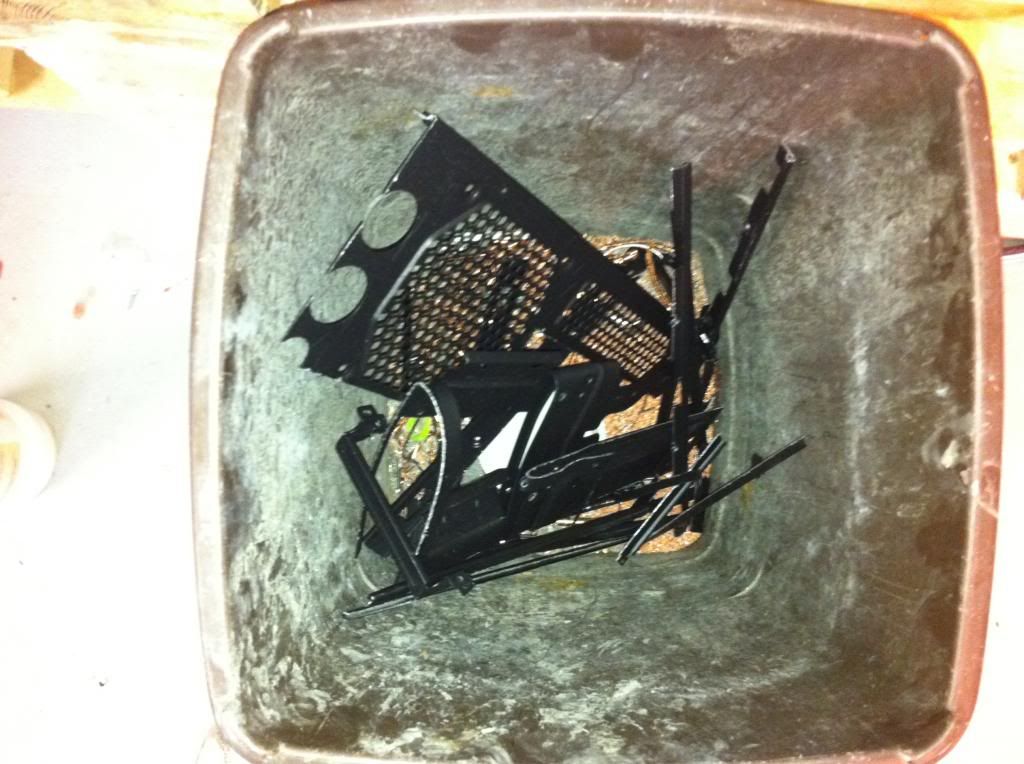
after the alu part was done I began grinding the case in preparation of the glue (epoxy) this will glue the profiles to the original framework. also I did some mayor gutting of the case making it 60% lighter

this is done to make place for the other components.

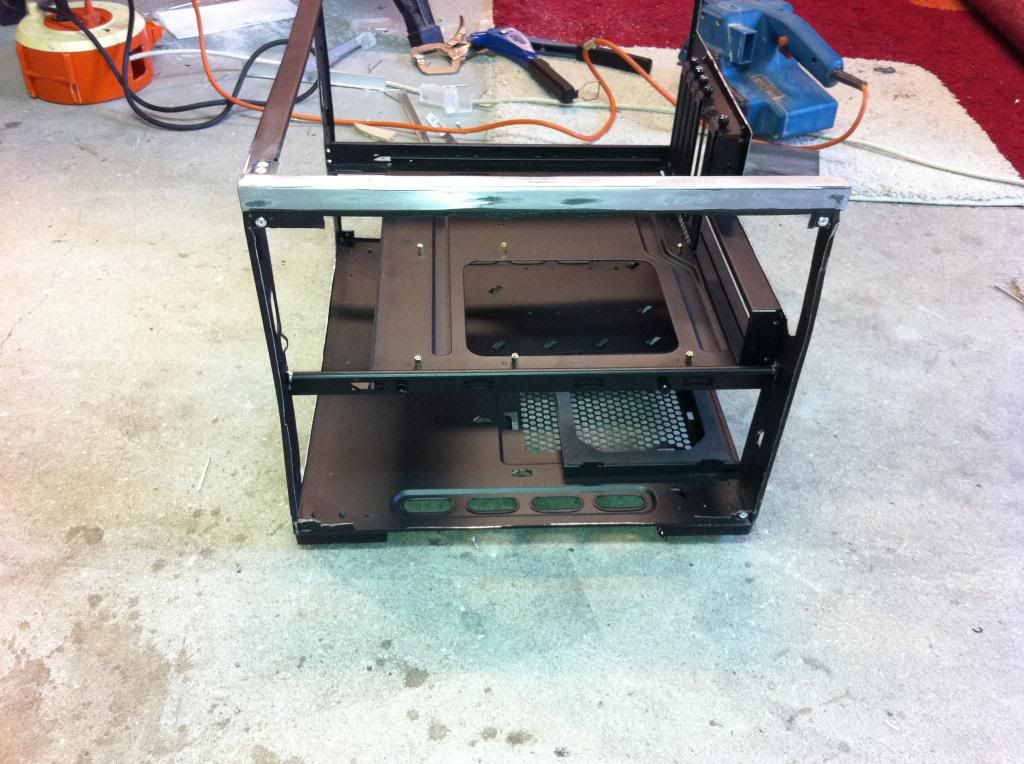
finally I glued it all together:
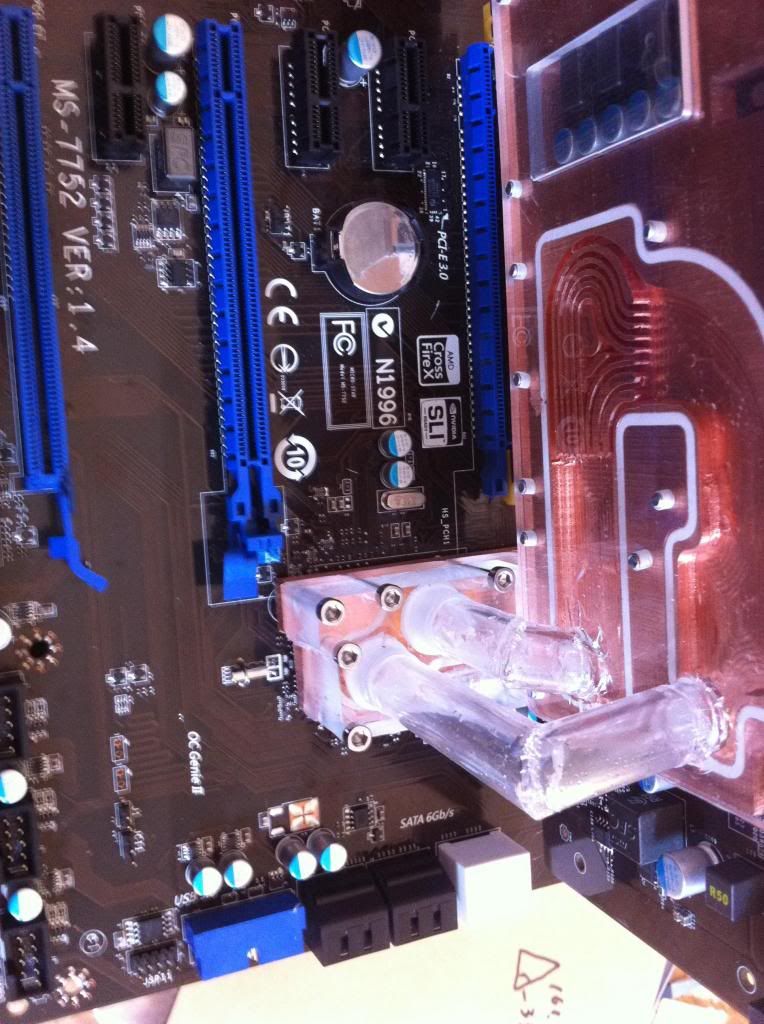
update 14
gpu block completed:
today I made the top part of the
gpu block, nothing special but it has to be shown:
bottom part of the
gpu block, bolts are nicely flush with the copper
mounted with the other components:
overview again:

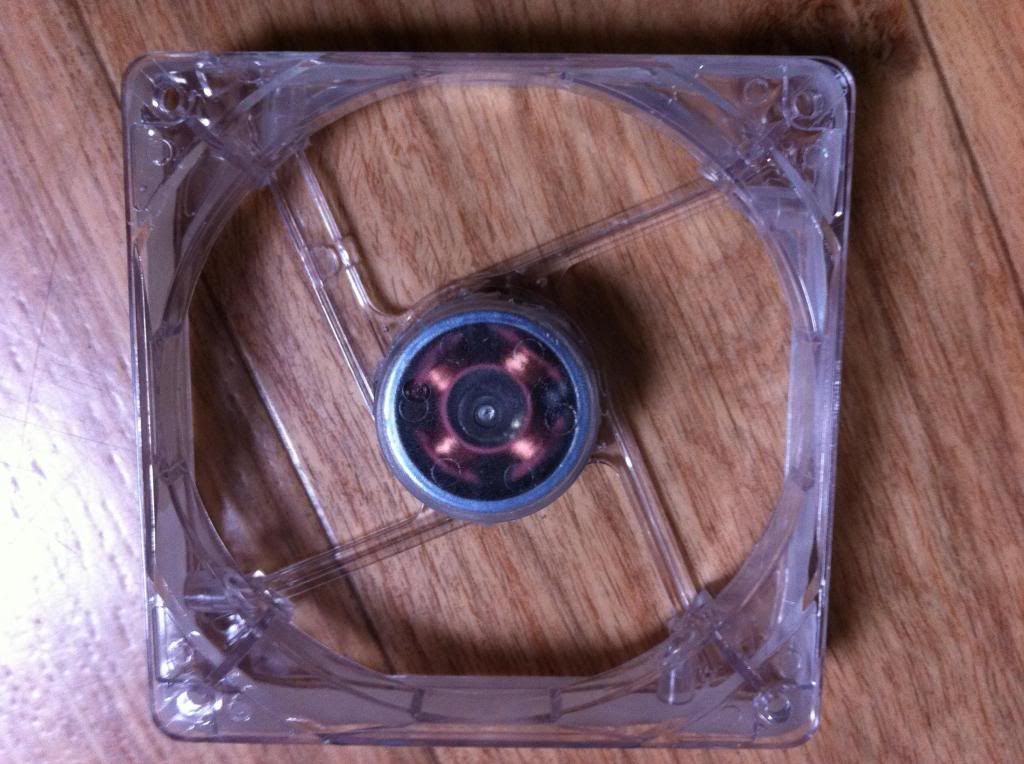
update 15 adjusting the
fans:
because some panels with
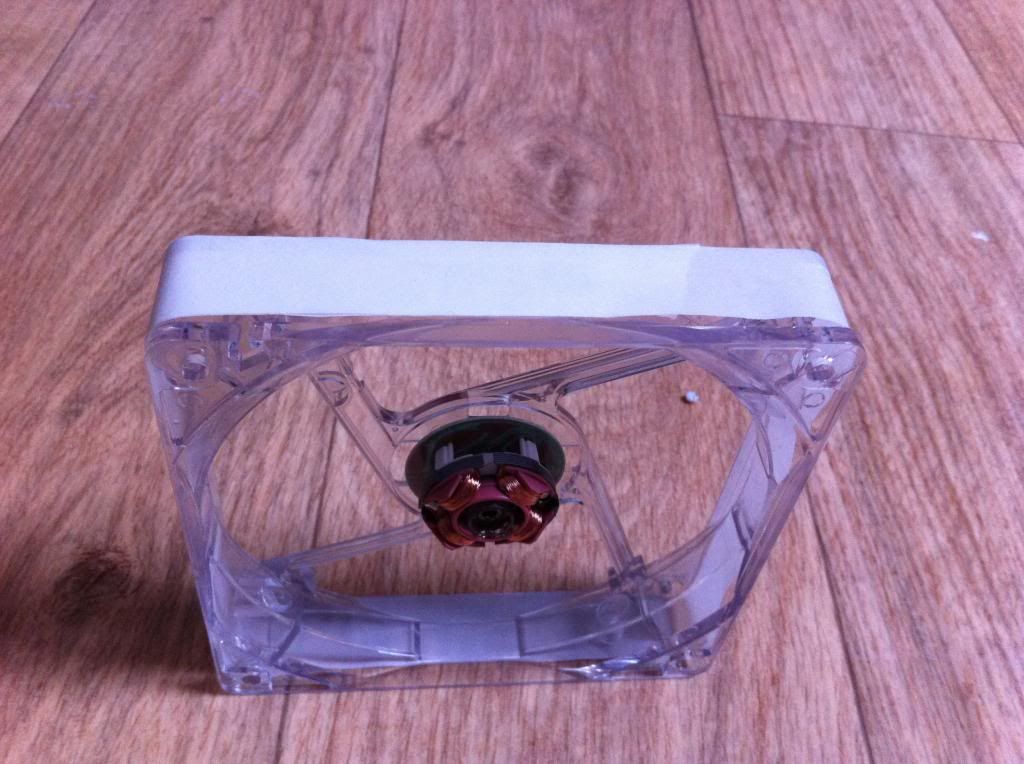
fans will be up to 15mm thick I have decided to change the
fans so that the
fans remain at a nice distance(same as would be with a 1mm thick sheet metal)
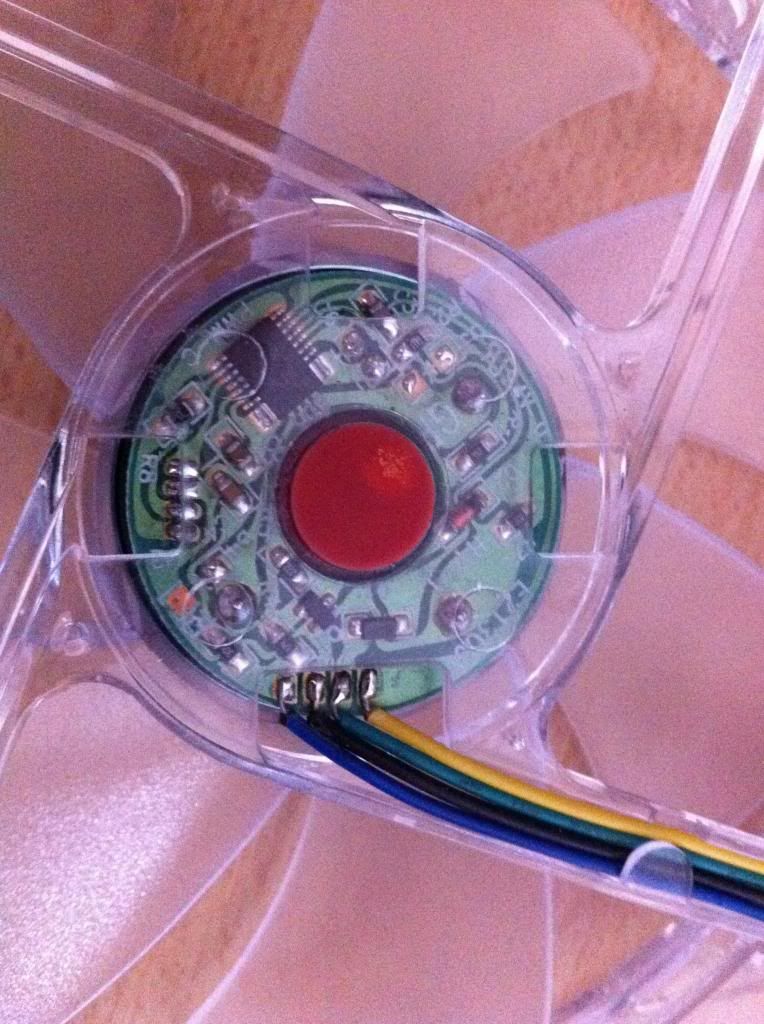
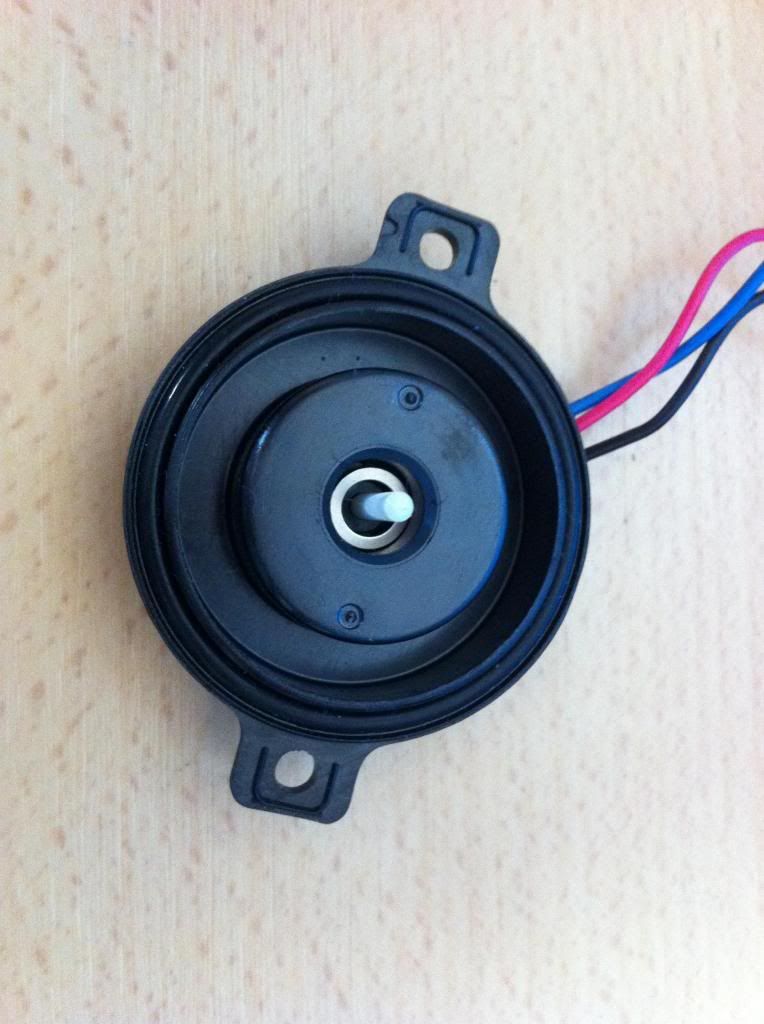
I will show you how I did the work, first I marked with a scratch pen where the cut should be, next I covered the part that shouldn't be cut with painters tape.
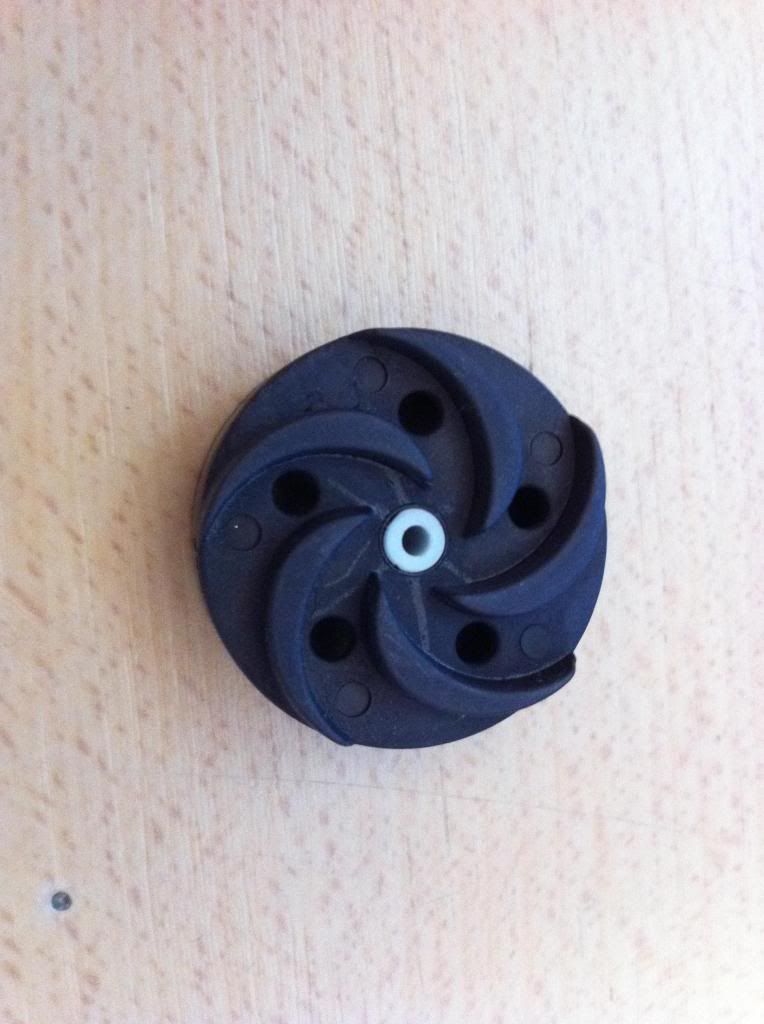
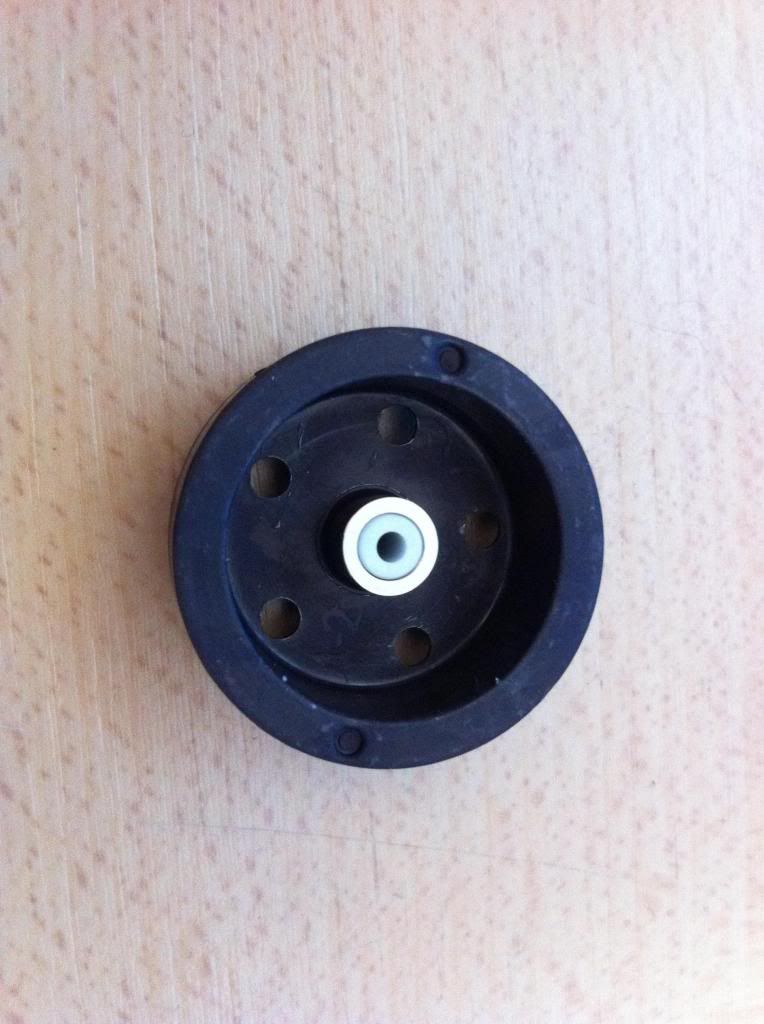
I put a old rotor cap of a broken fan on the coils so the cant be damaged
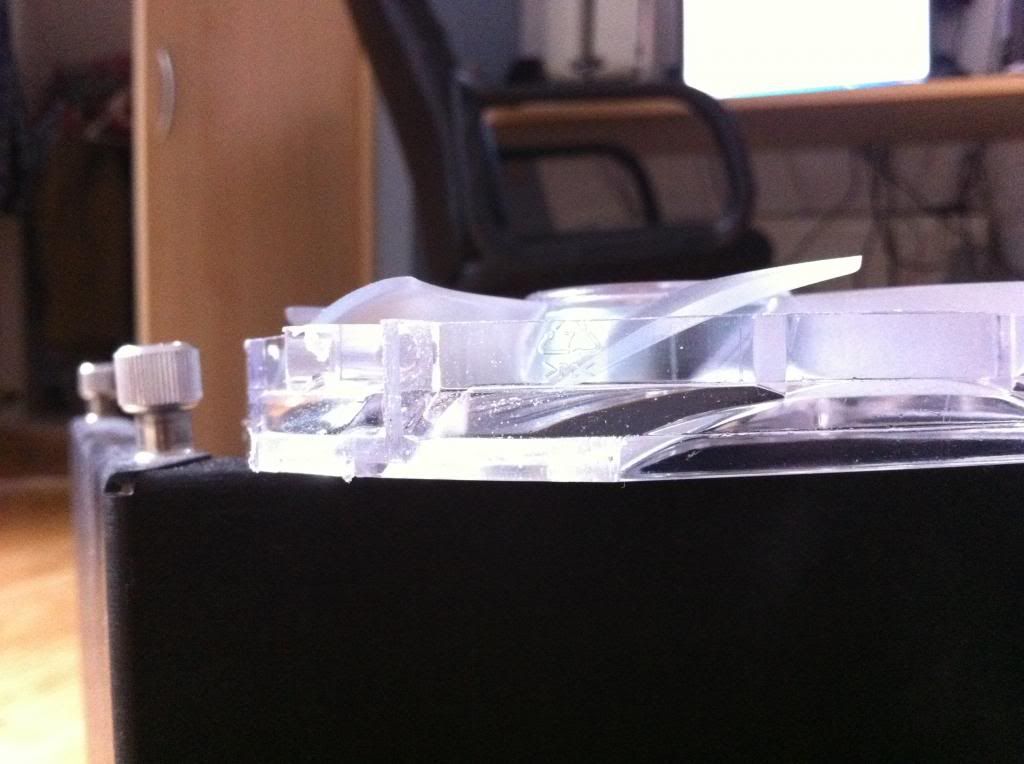
next I cut it with my jigsaw, the flat part with a small saw and the corners with a longer model, this enables you to cut I all the way round without hitting the rotor/coils.
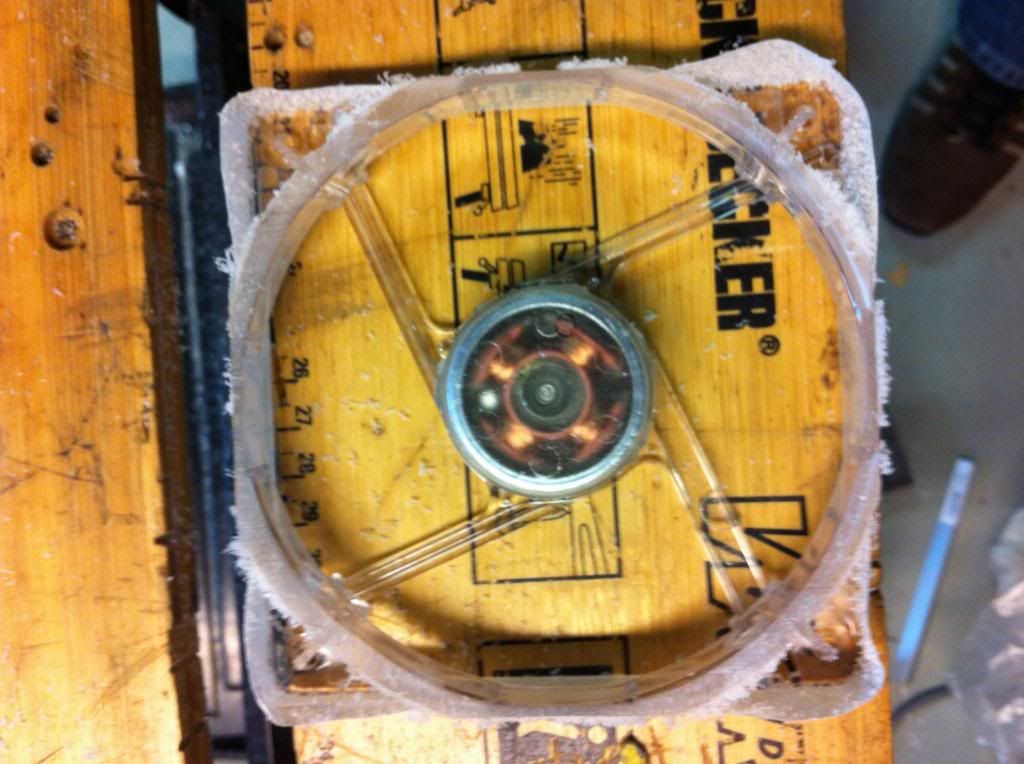
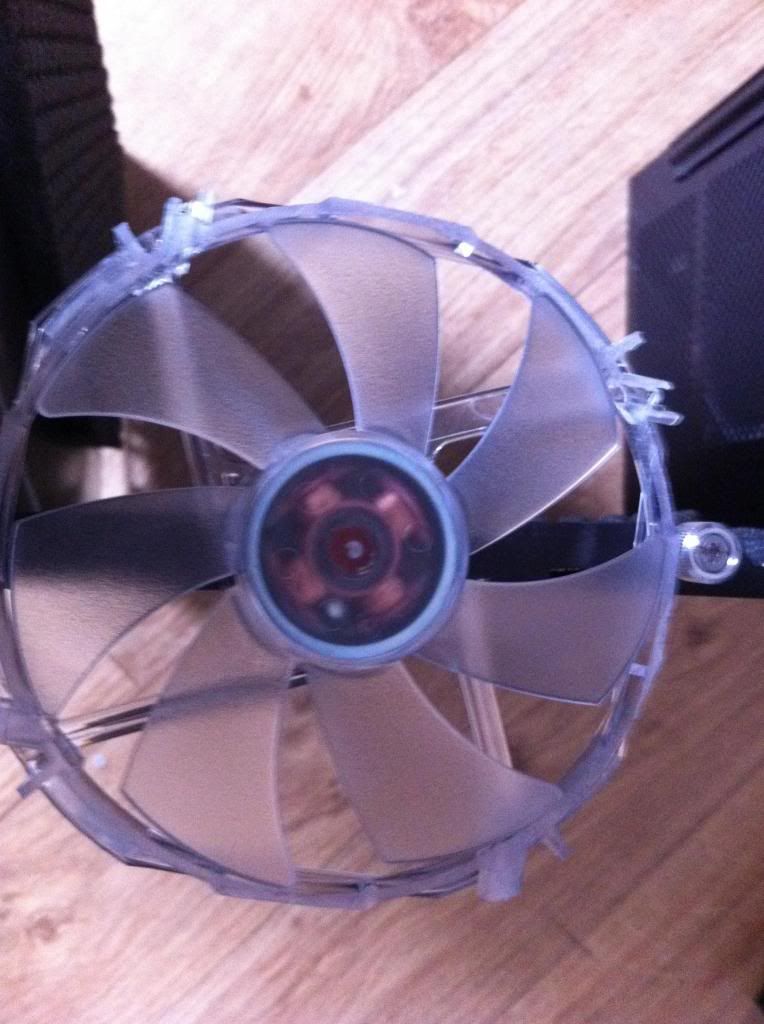
then I cut around it to remove excess material that could block the view.

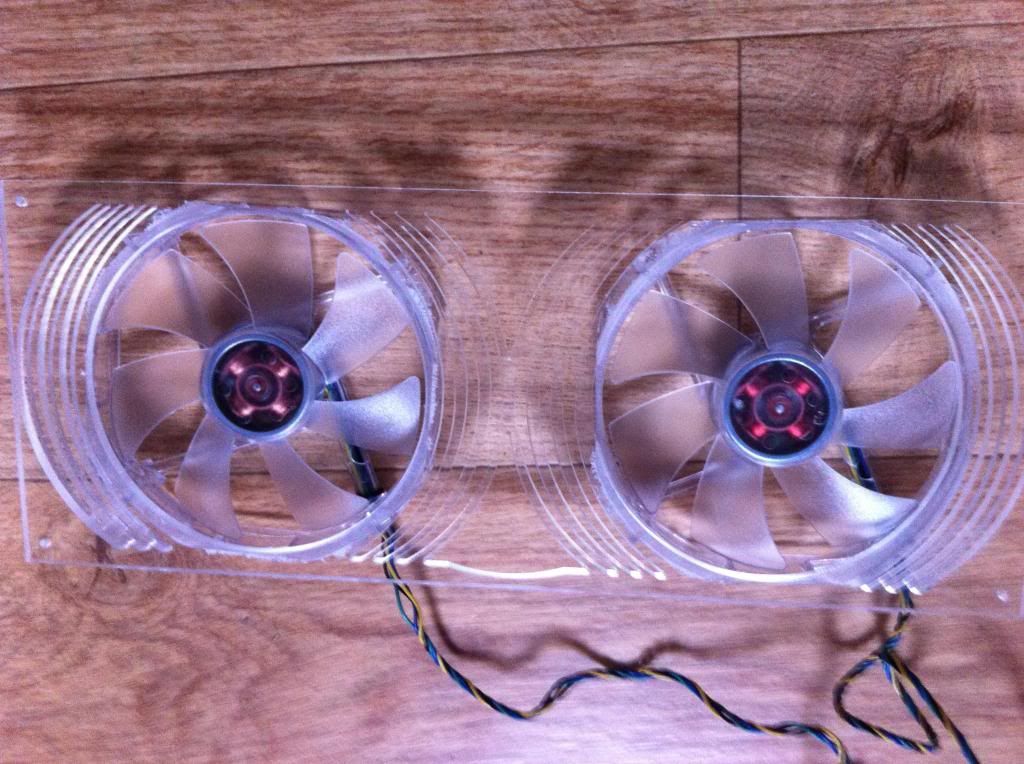
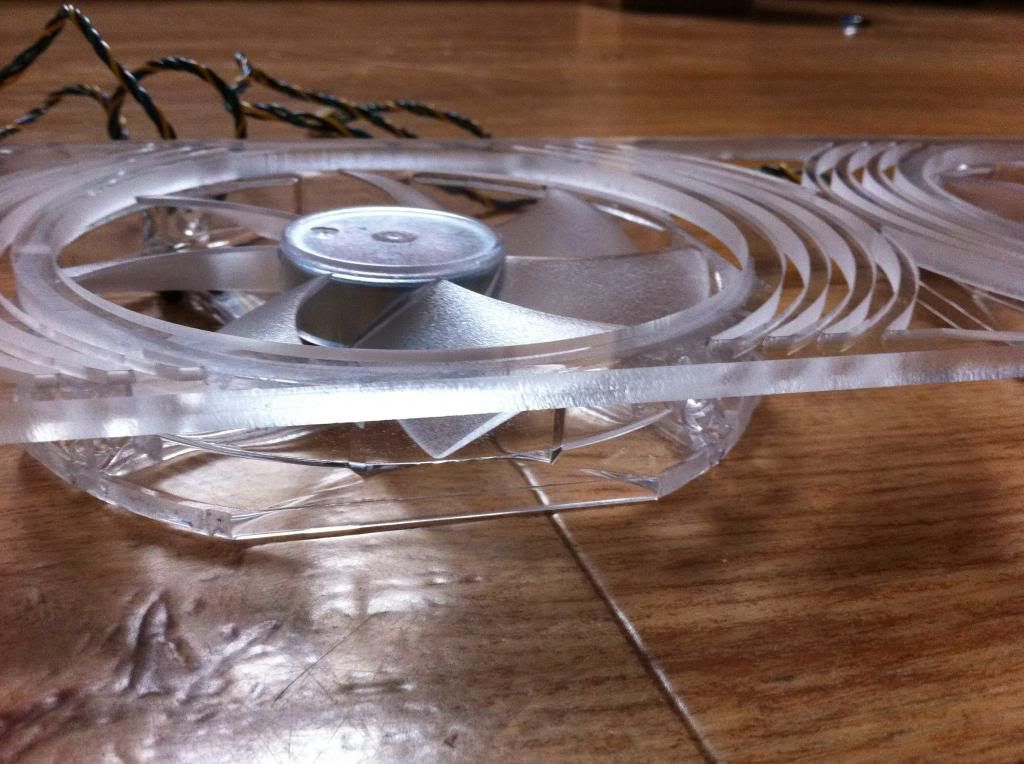
and finally the
fans together with the side window:
update 16 getting some water-cooling parts
because I make almost every water-cooling part myself I only needed to buy some
pumps, radiators and
coolant making it much less expensive and more special
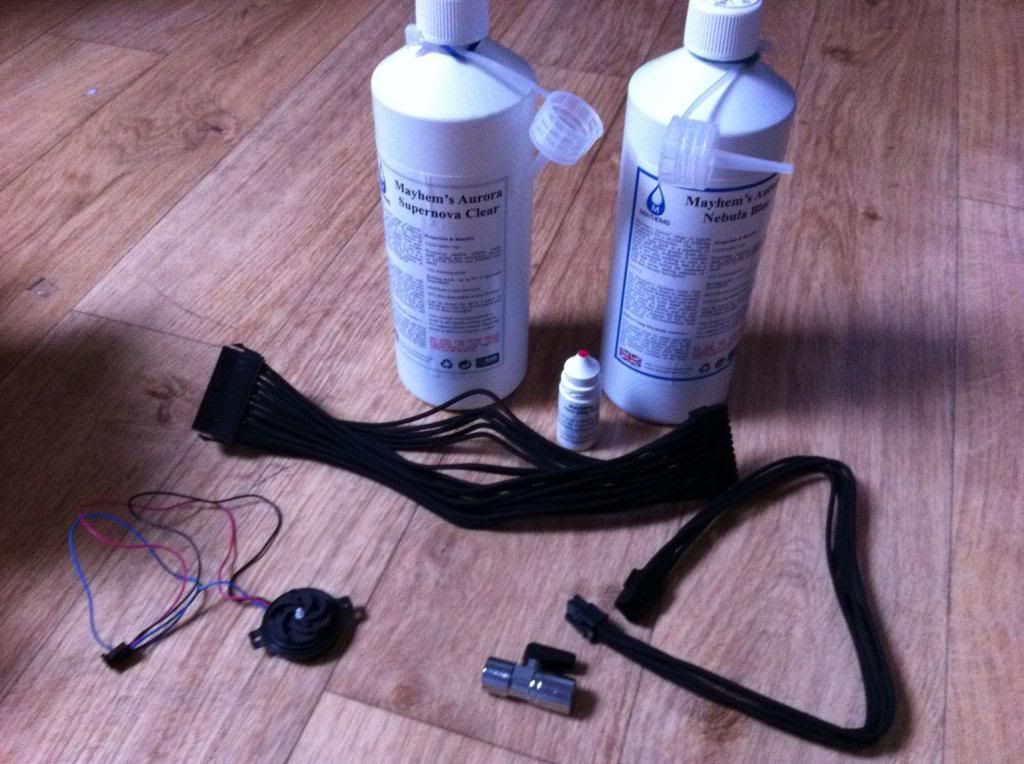
also I normally don't really like the braid type but because it is for a contest I bought some extenders for the gpu and the 24 pin connector.
also got some
fittings for the
reservoir:
and got some new screws to make it more professional:

and some nice aurora water-cooling porn
the
alphacool pump I will be using for the top window because it is small and low power, just what I need.
also no kudos to
alphacool because when I asked if they could provide me with dimensions of the
pump they simply refused, the bastards
luckily I can measure them myself but that is not how it should be. it's not like I was asking for the complete design, just some measurements.
also I would not recommend the
pump for real setups because it is quite noisy and not at all powerful.
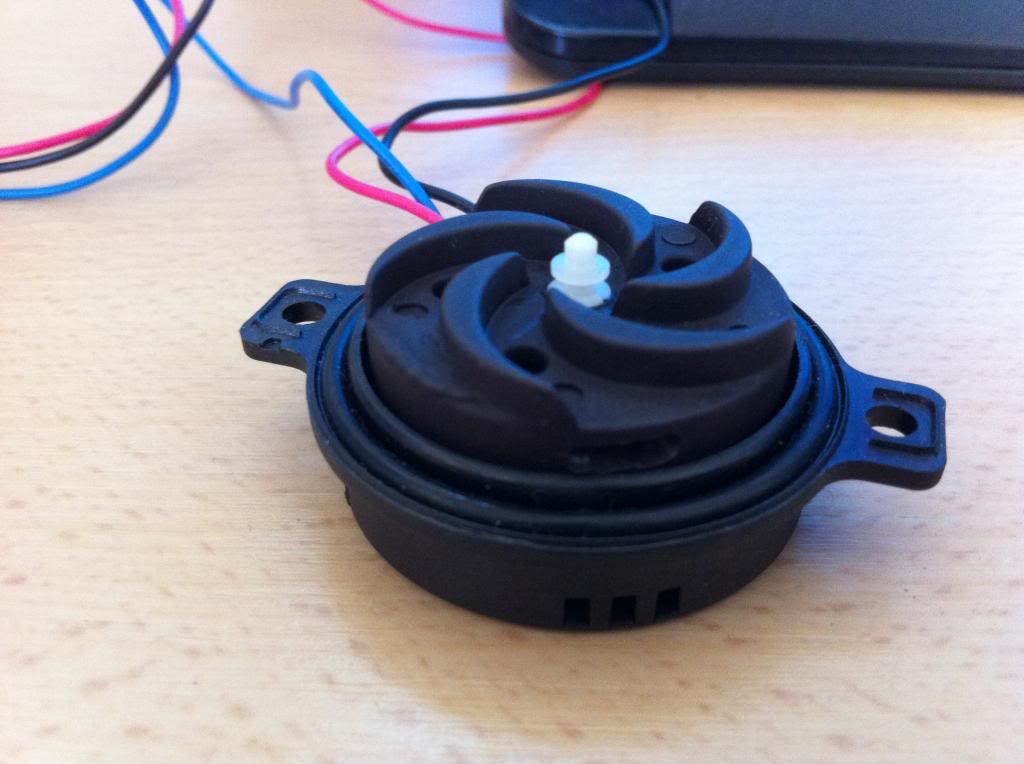
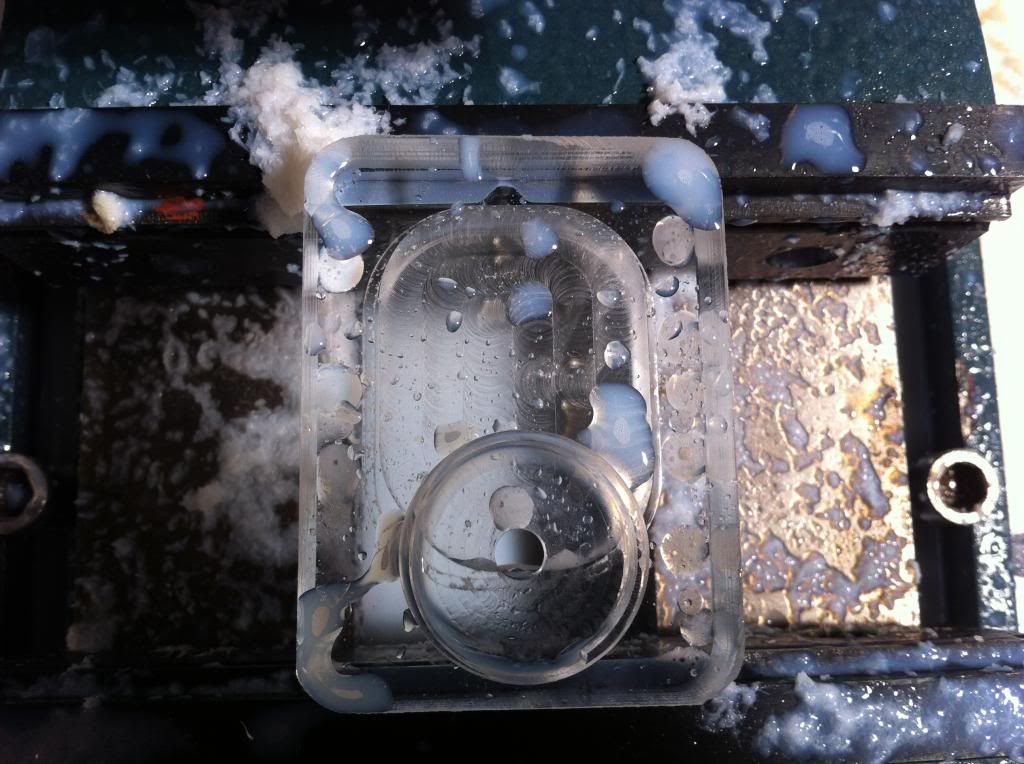
update 17 making of the
Laing pump top
because I wanted to make everything myself I made a
pump top for 2 loops out of a single block, geometry is kind of like that of a
xspc but with some modifications to make it better(I hope
)
as you can see the
pump is sunk into the top just like the ram cooler, this makes it easier to mount the
pumps.
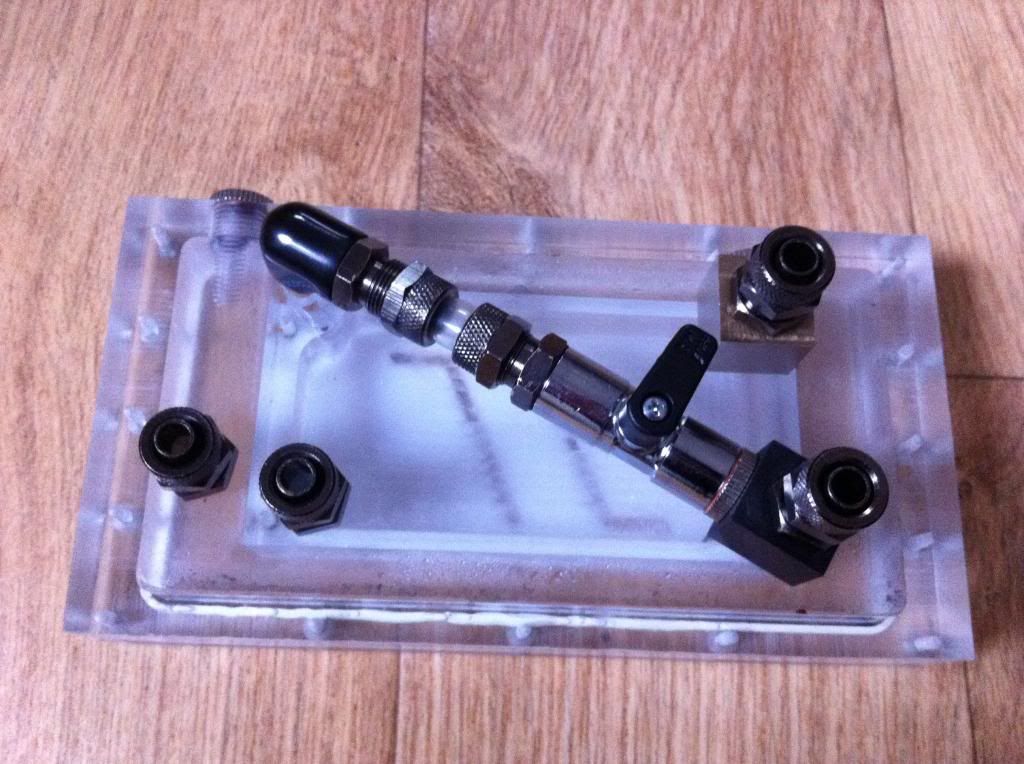
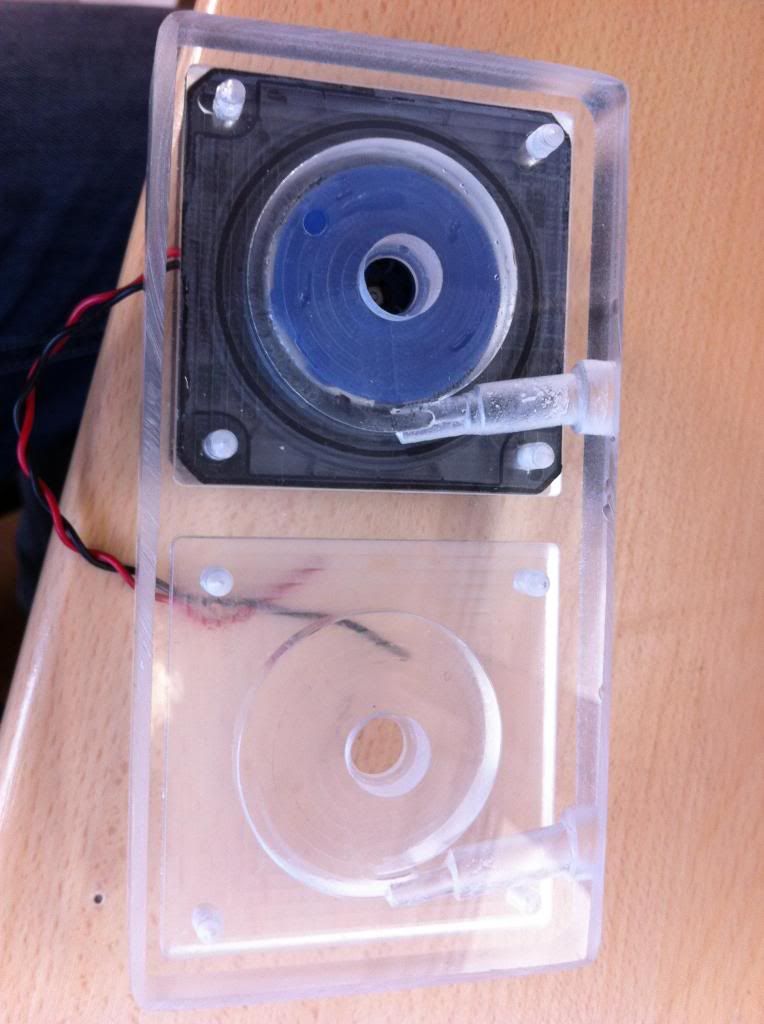
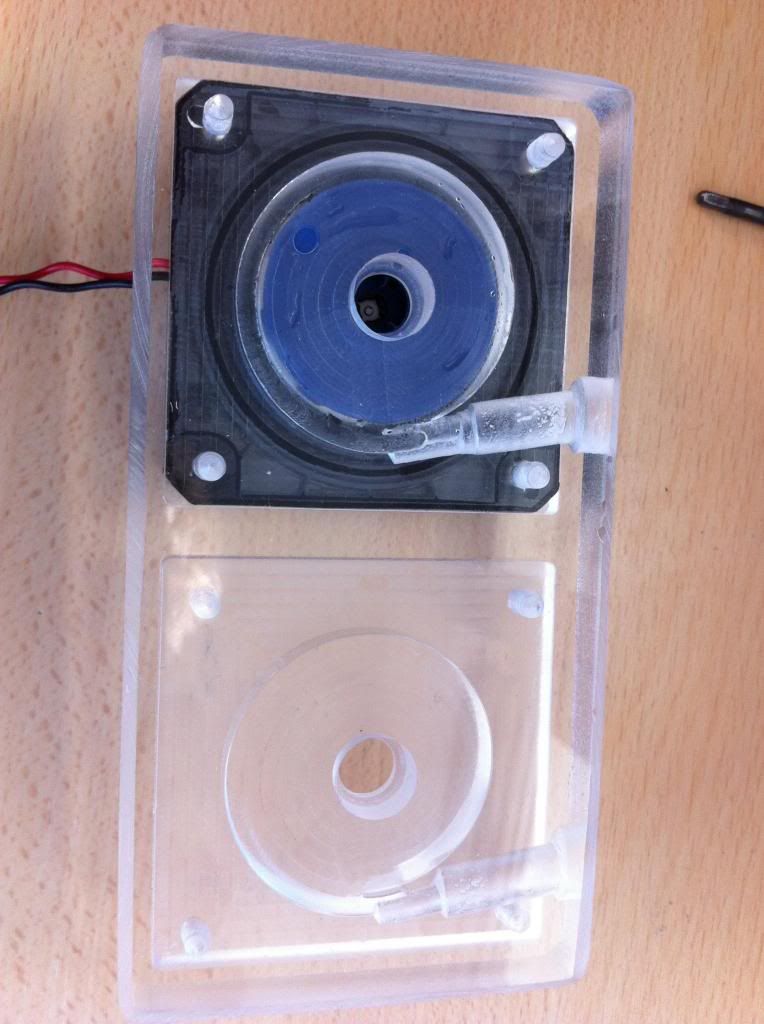
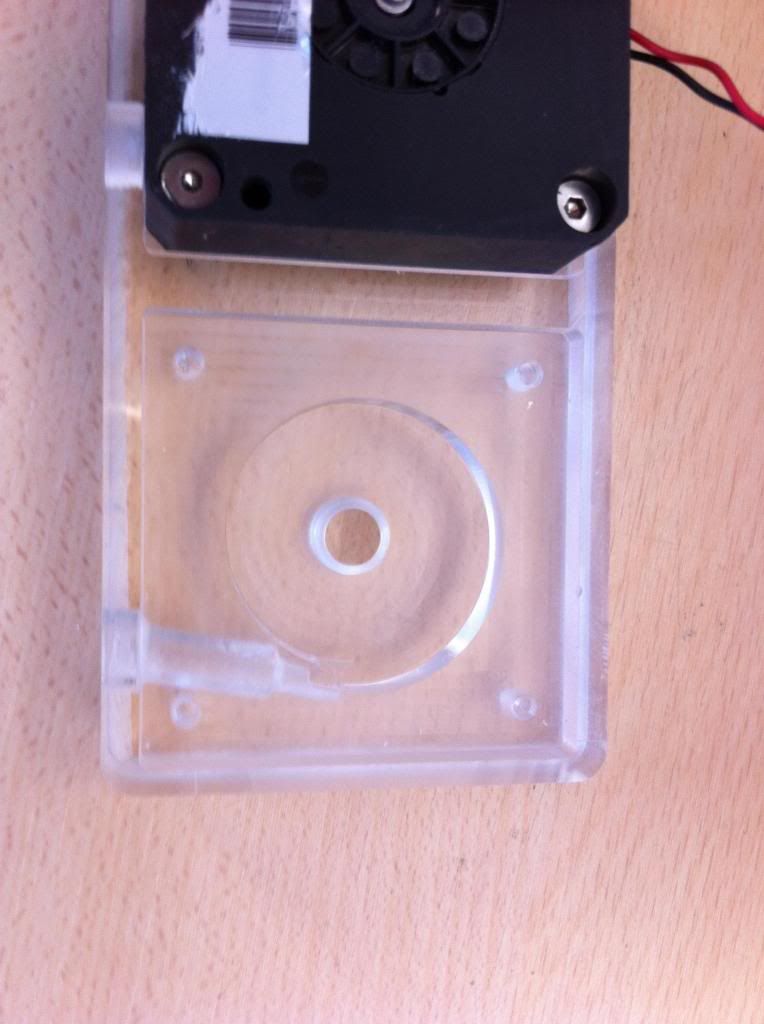
update 18
alphacool pump top and completion of the top window:
I still needed to make a
reservoir for the
alphacool pump and also a top for it, of course with little space left I combined both of them into one:
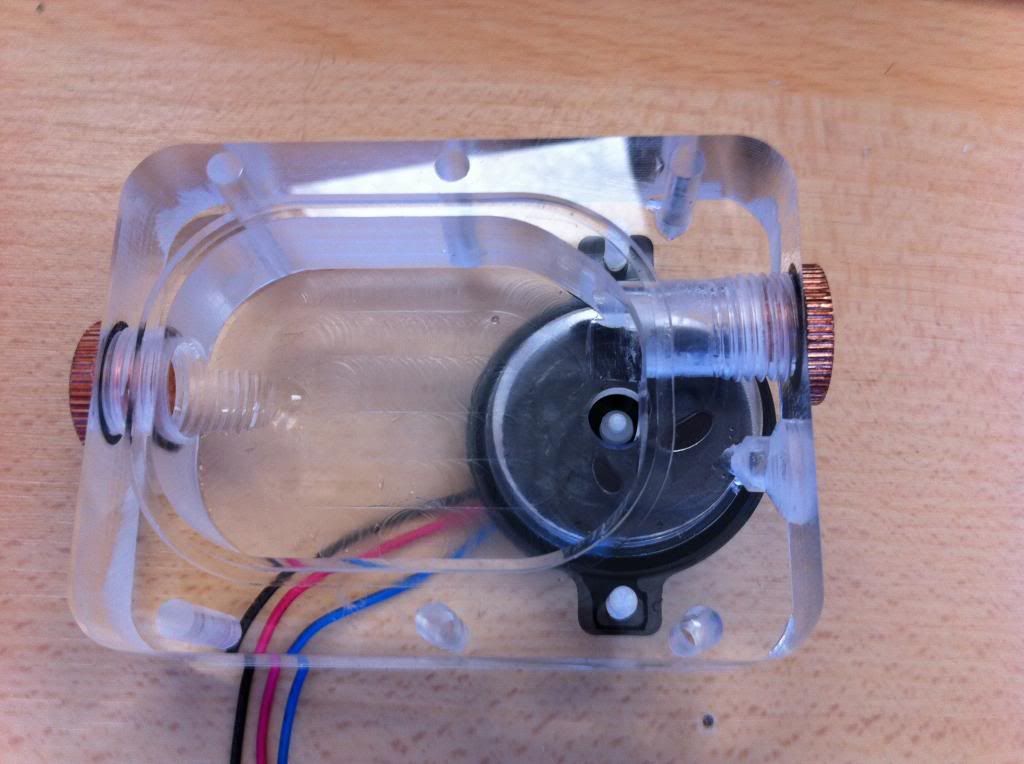
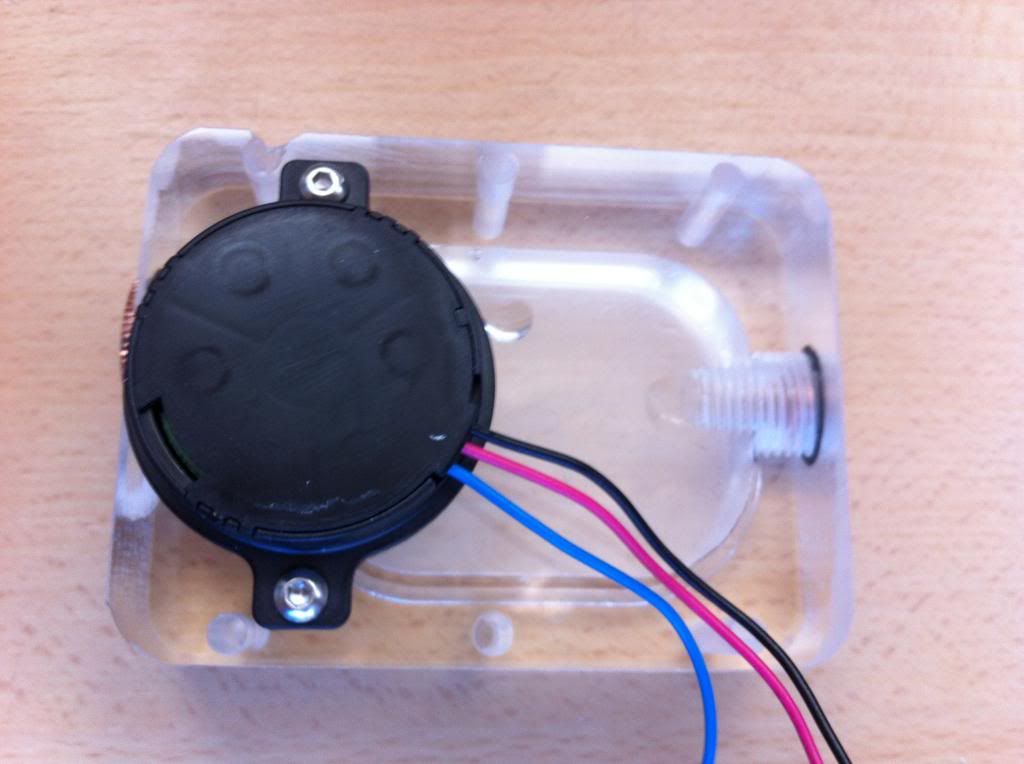
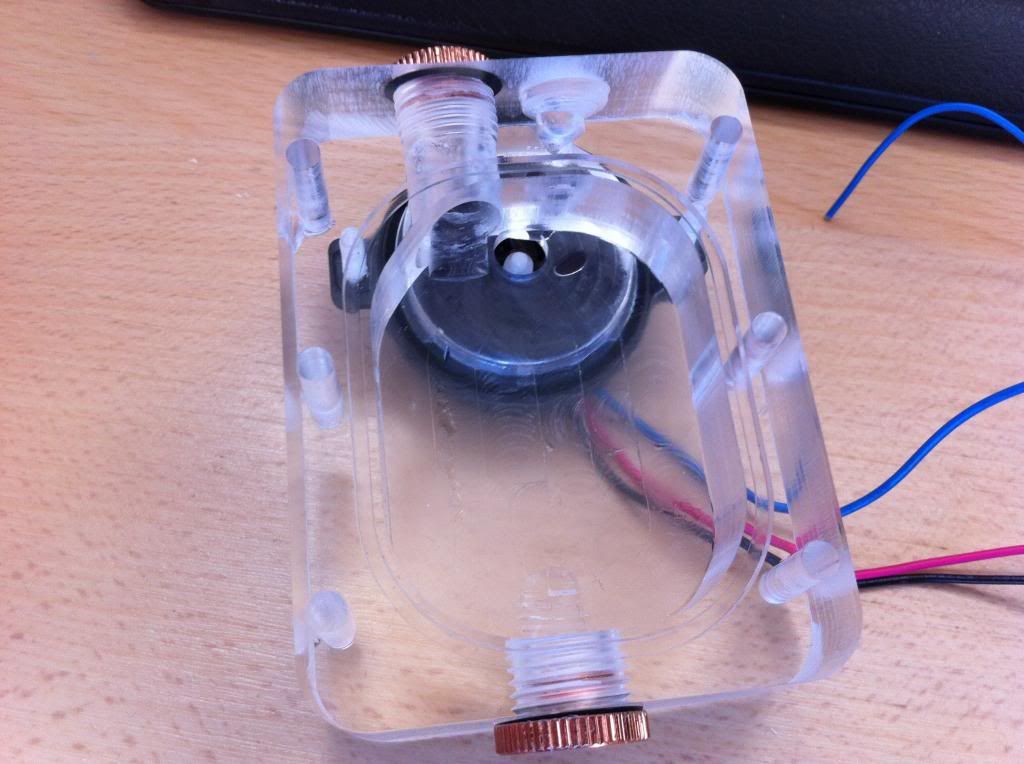
the geometry is not as good as with the
Laing pump tops because there is a lot less space left making it harder to design.
finally I glued the top window and also the res/
pump top together completing this part:
I also got a movie of the top window for you guys first one is at 12v second one at 7v
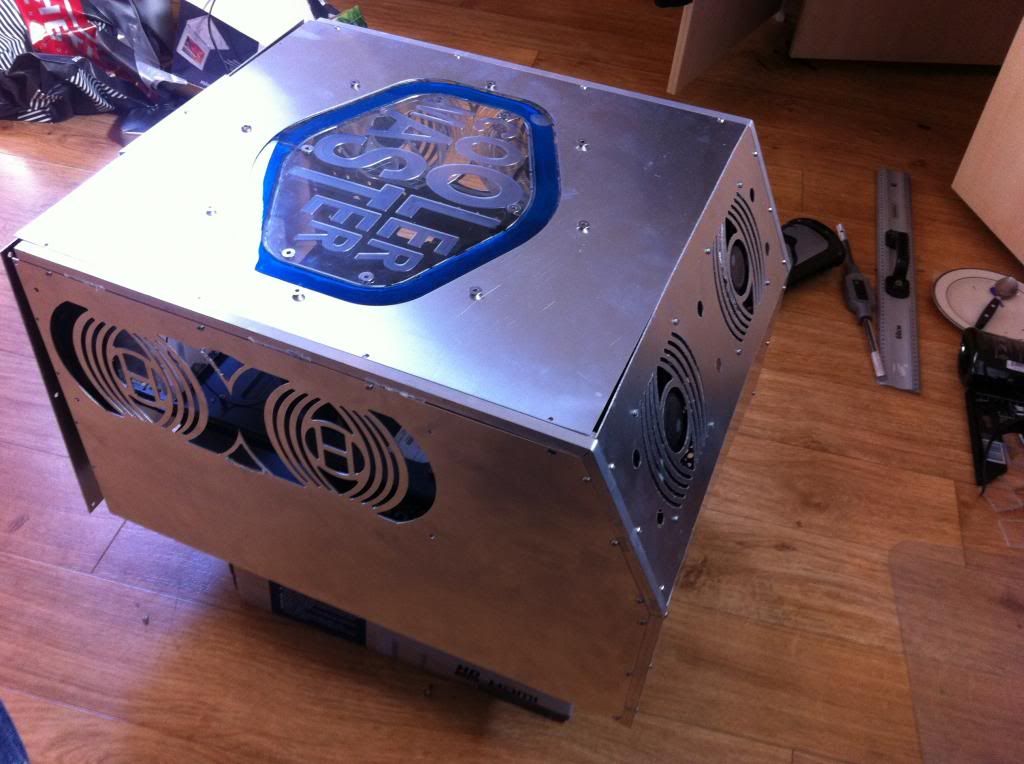
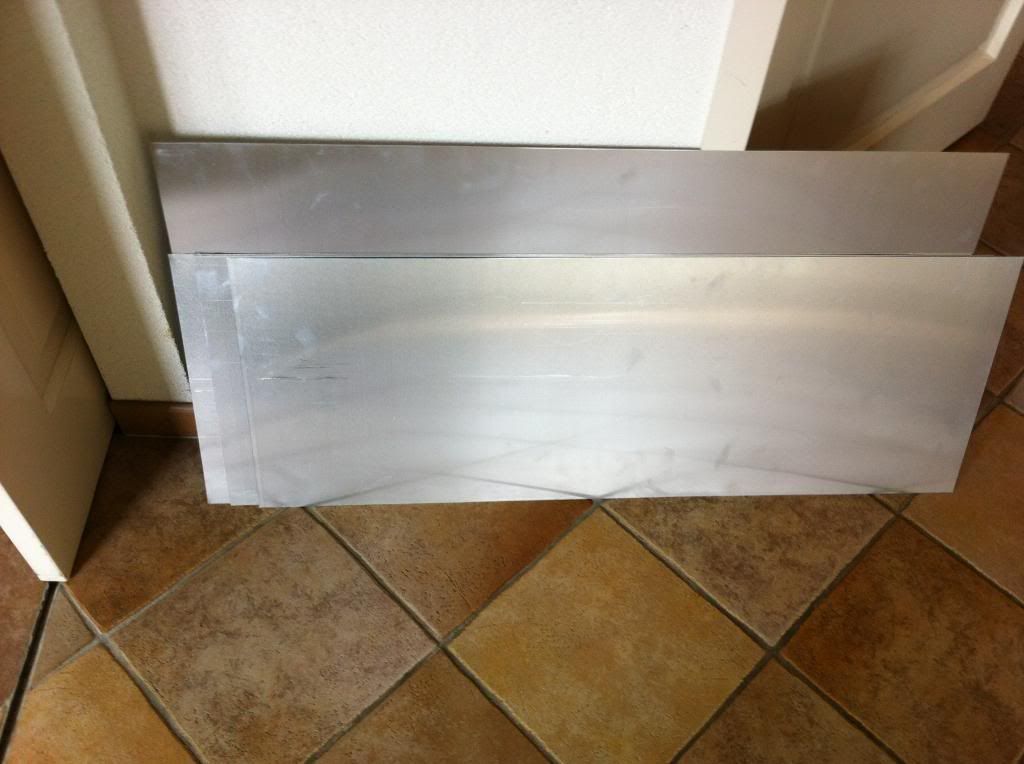
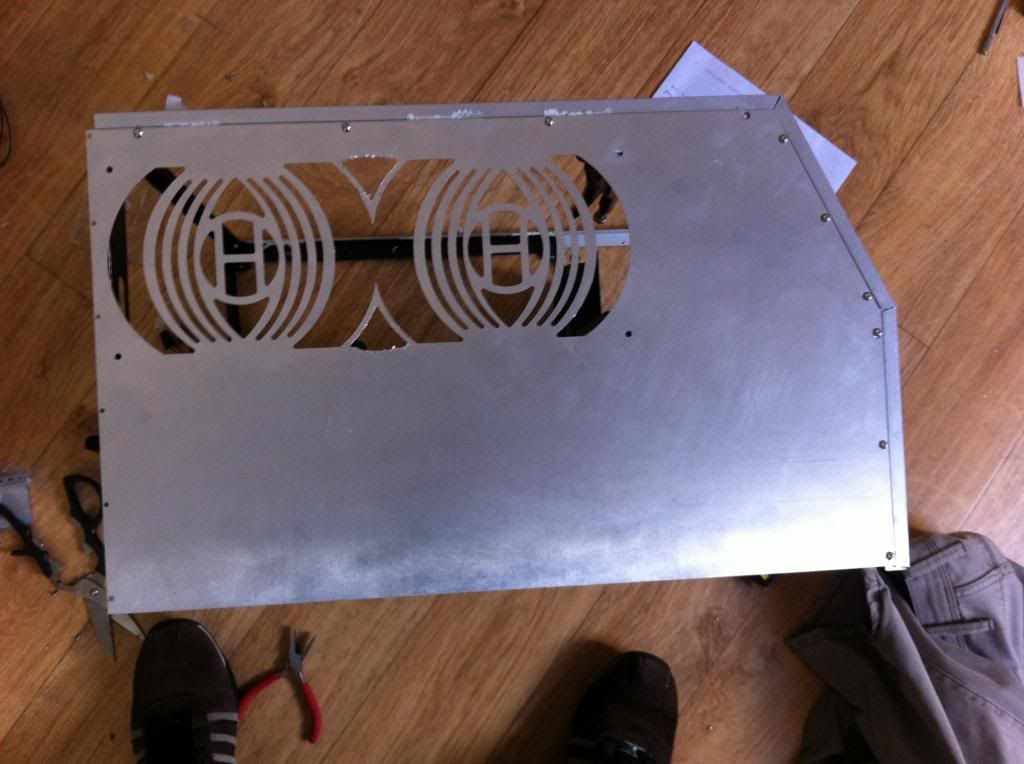
update 19 start of the plate work:
that day I finally got the alu panels, unfortunately it was 10 days late but what can you do...
first I made 1 side panal, this was done with a 3mm 1f end mill(very sharp)
note: the white stuff will be removed later on.
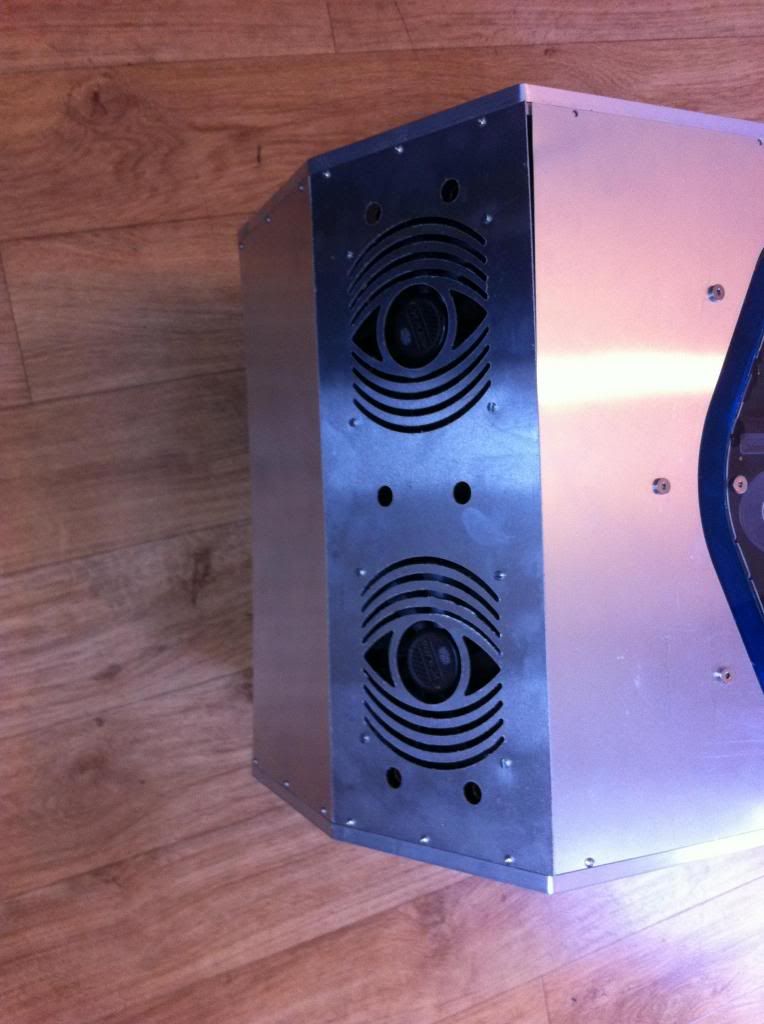
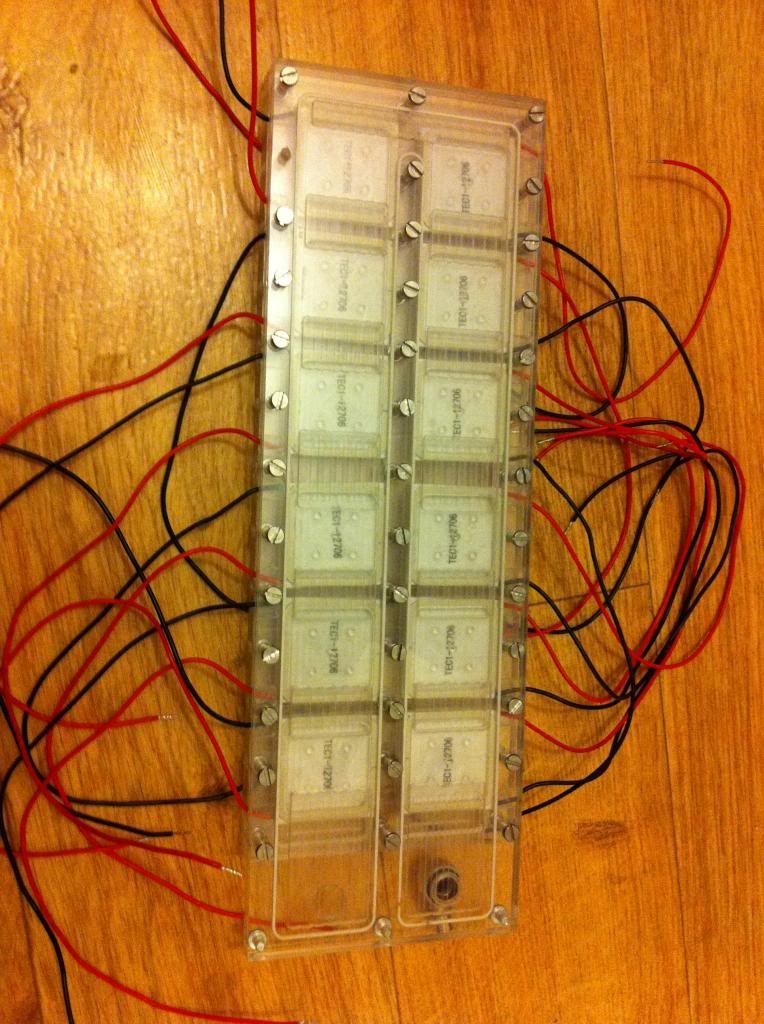
next is the second side panel with the hole for the 12 piece Tec chiller:
(this panel will be redone because some parts didn't fit.
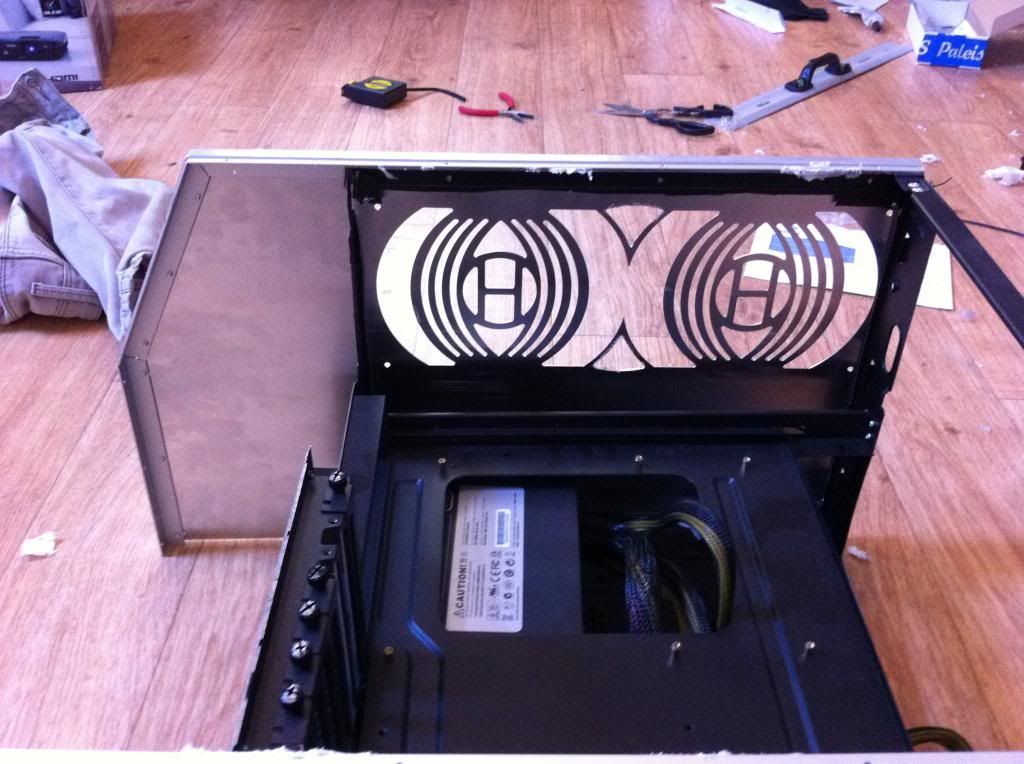
test fit with the window and chiller:
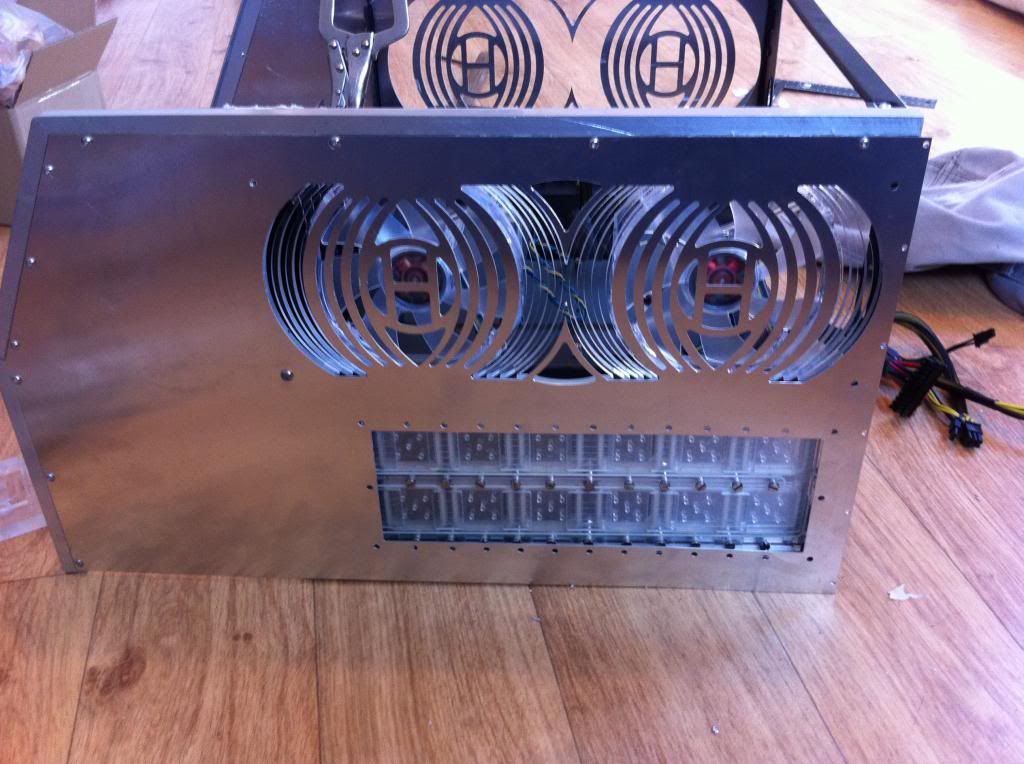
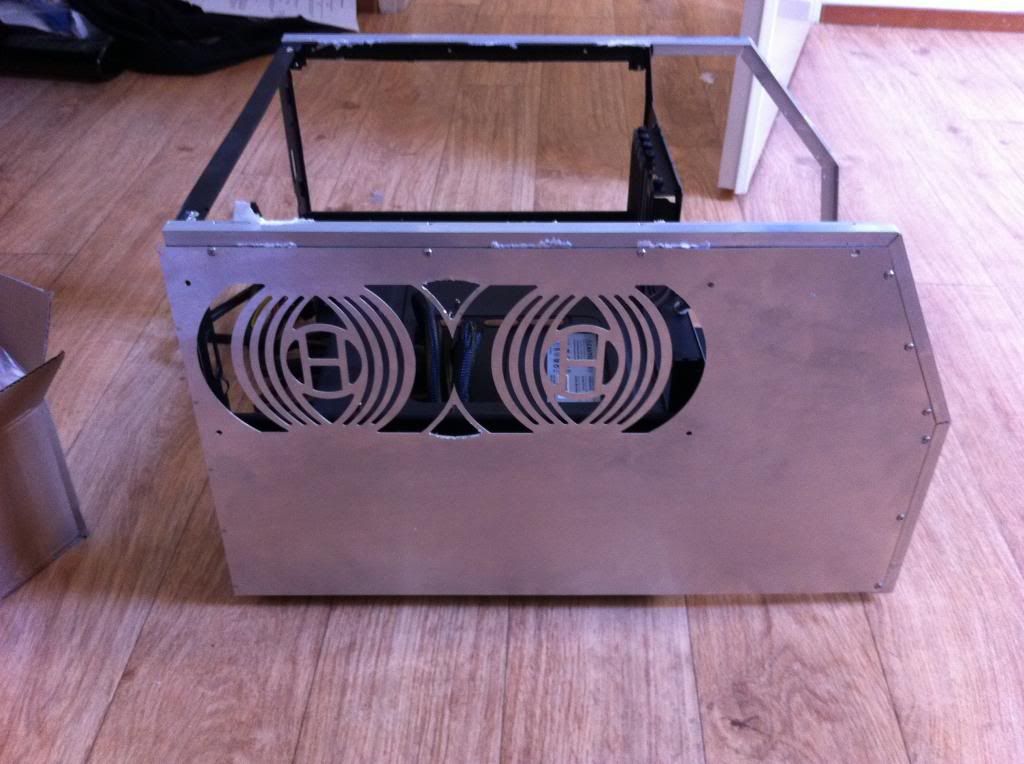
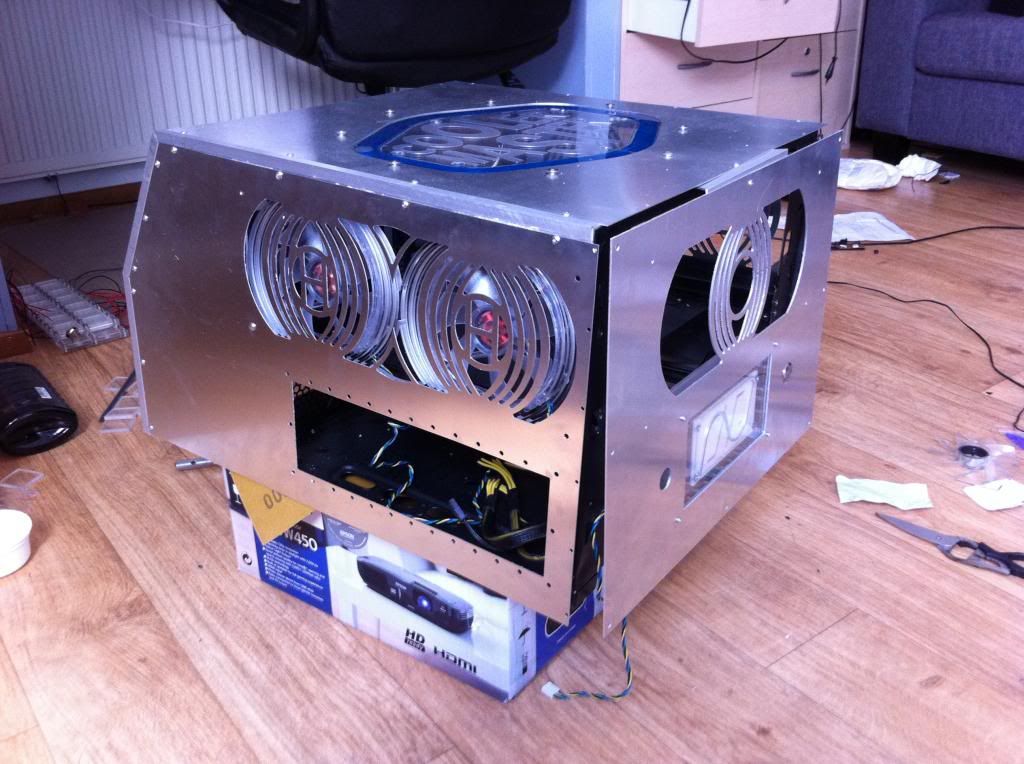
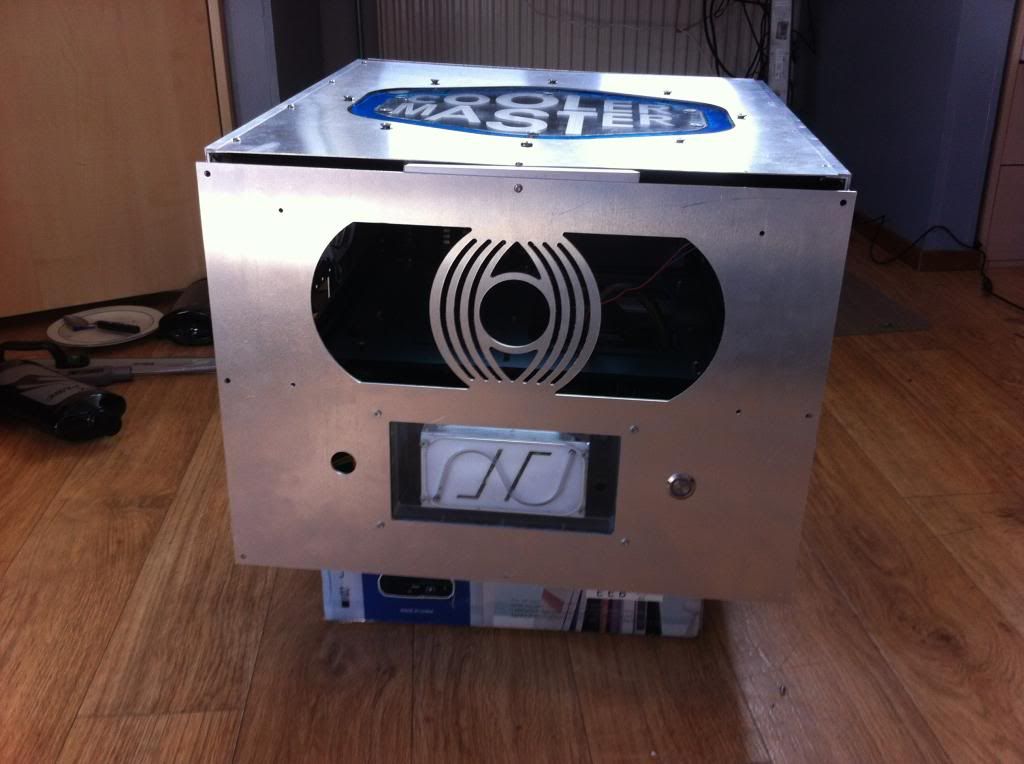
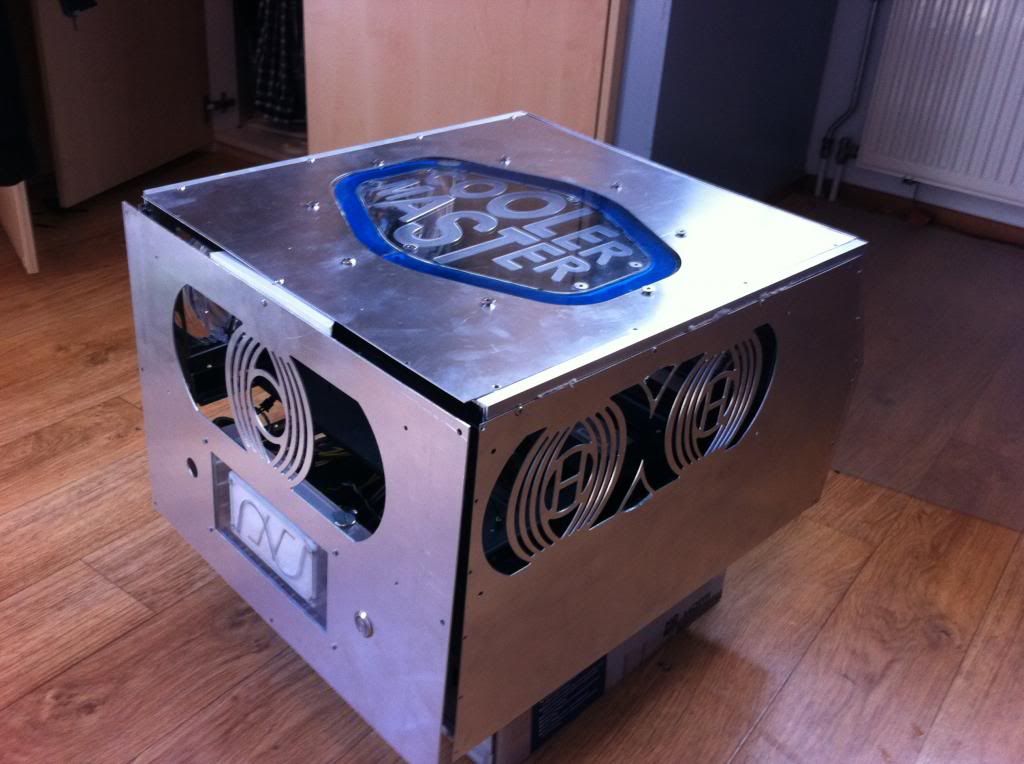
after that was complete I did the top panel and the back panel:
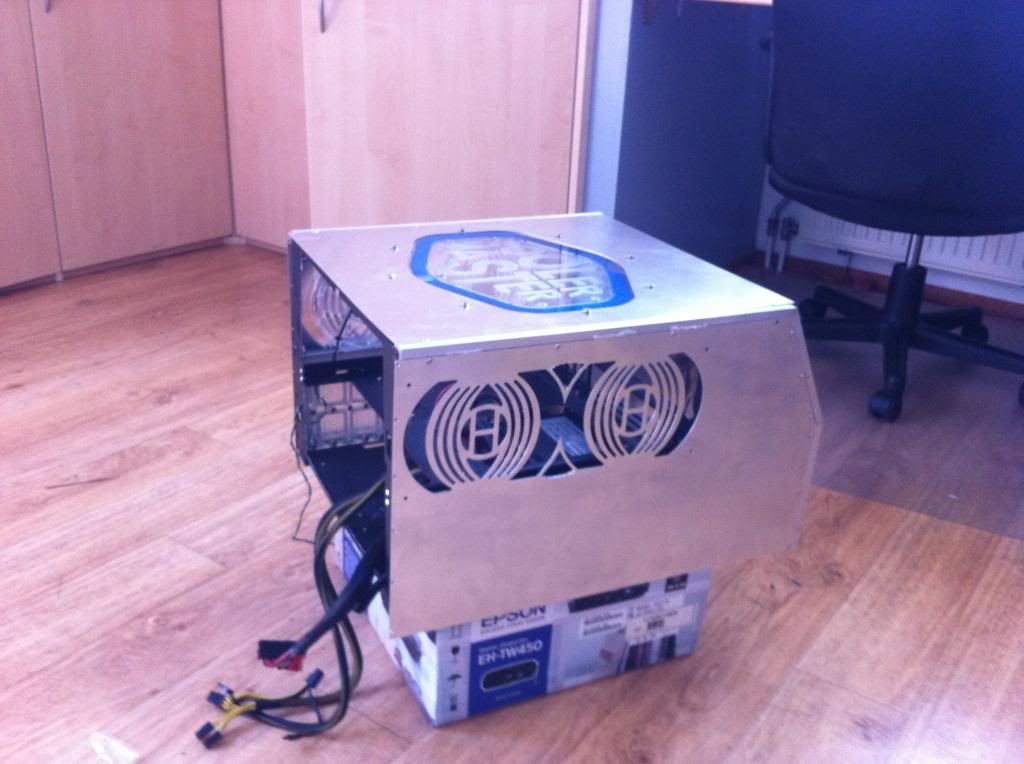
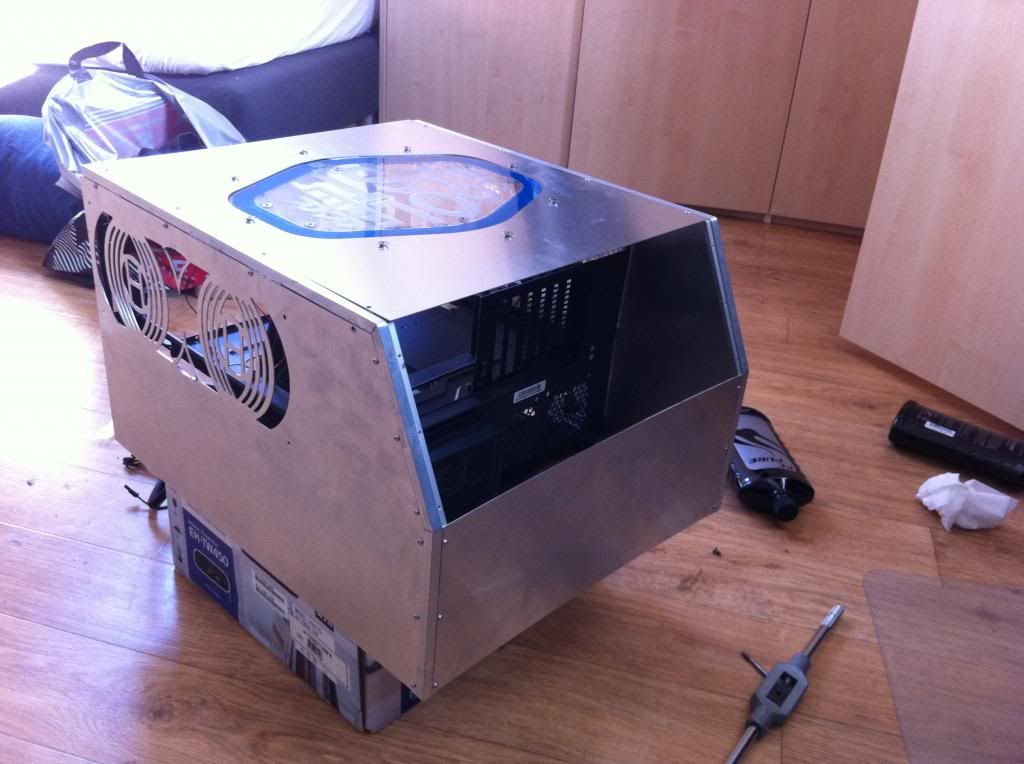
the case is really beginning to take shape now
the chiller:
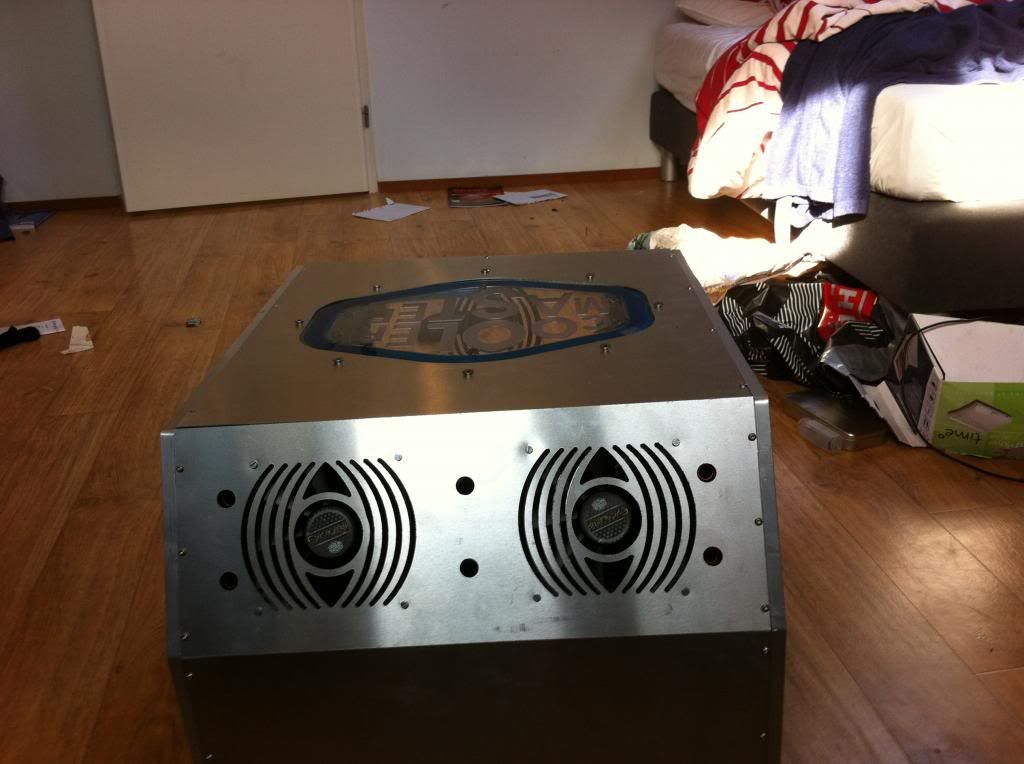
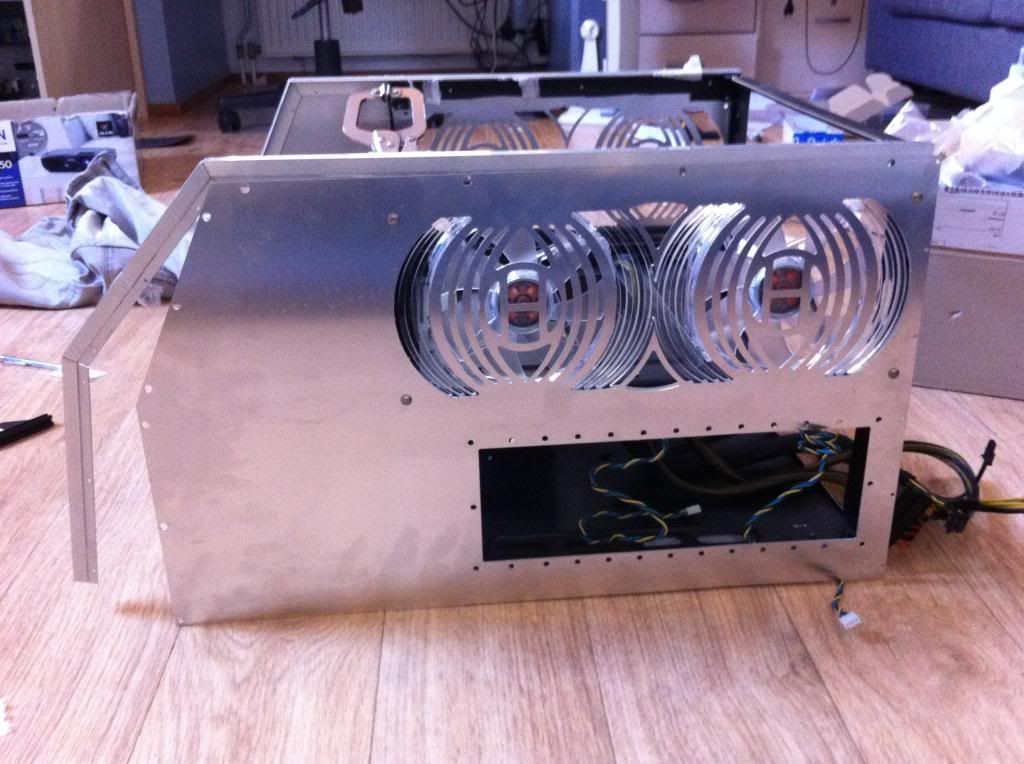
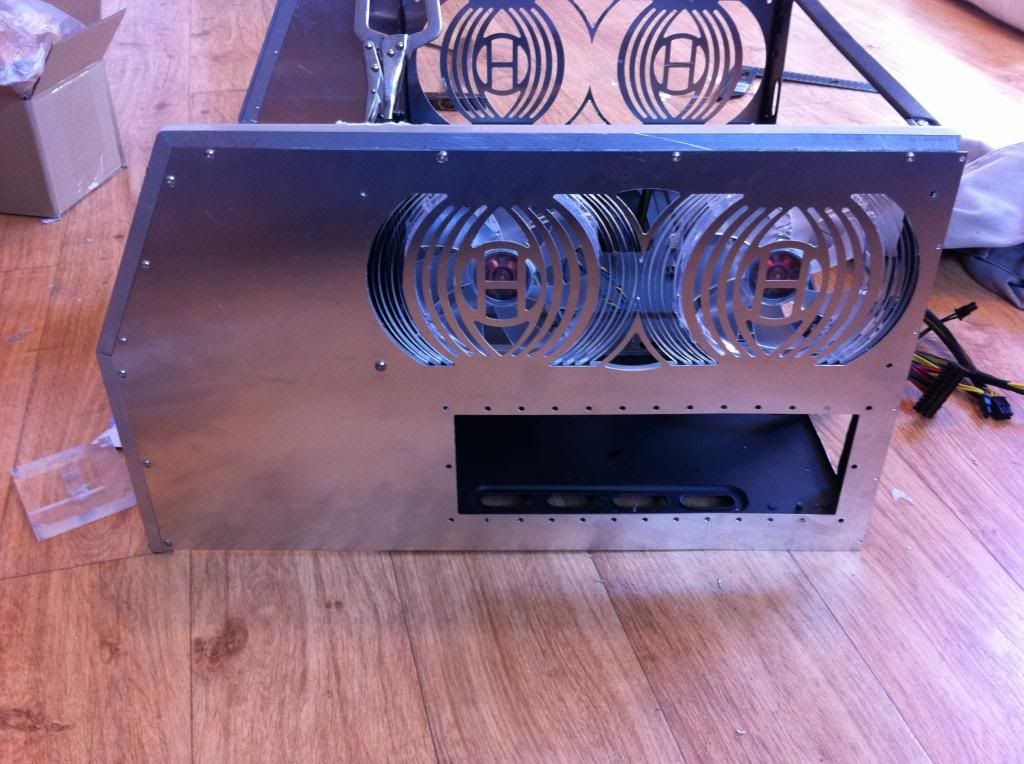
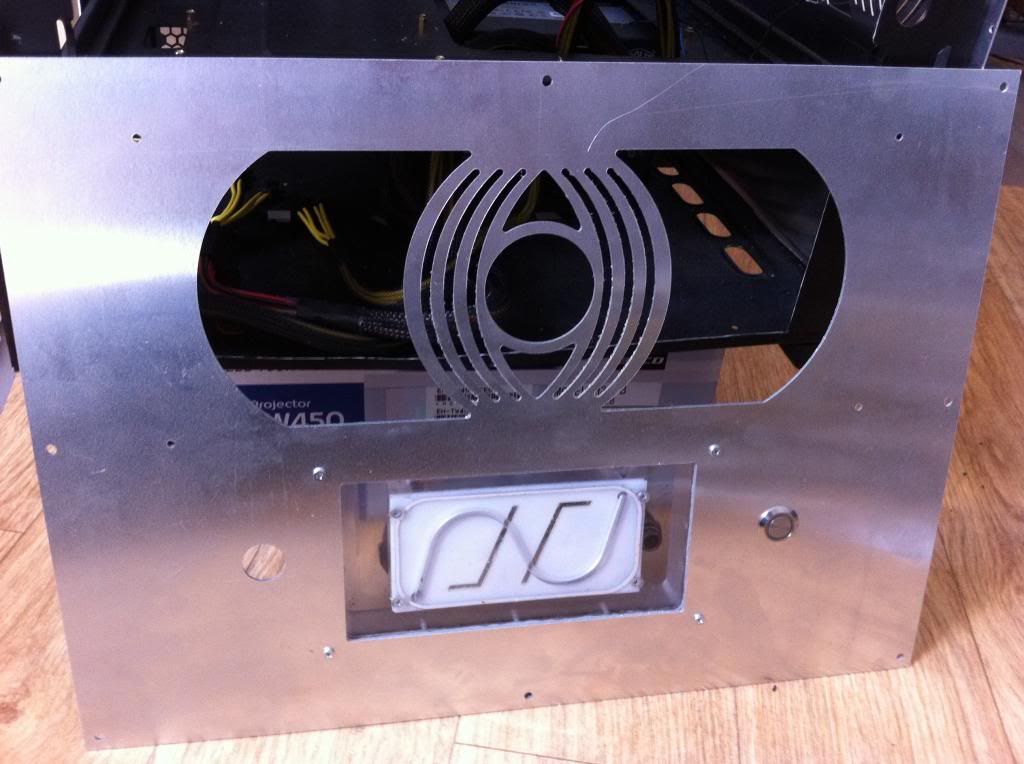
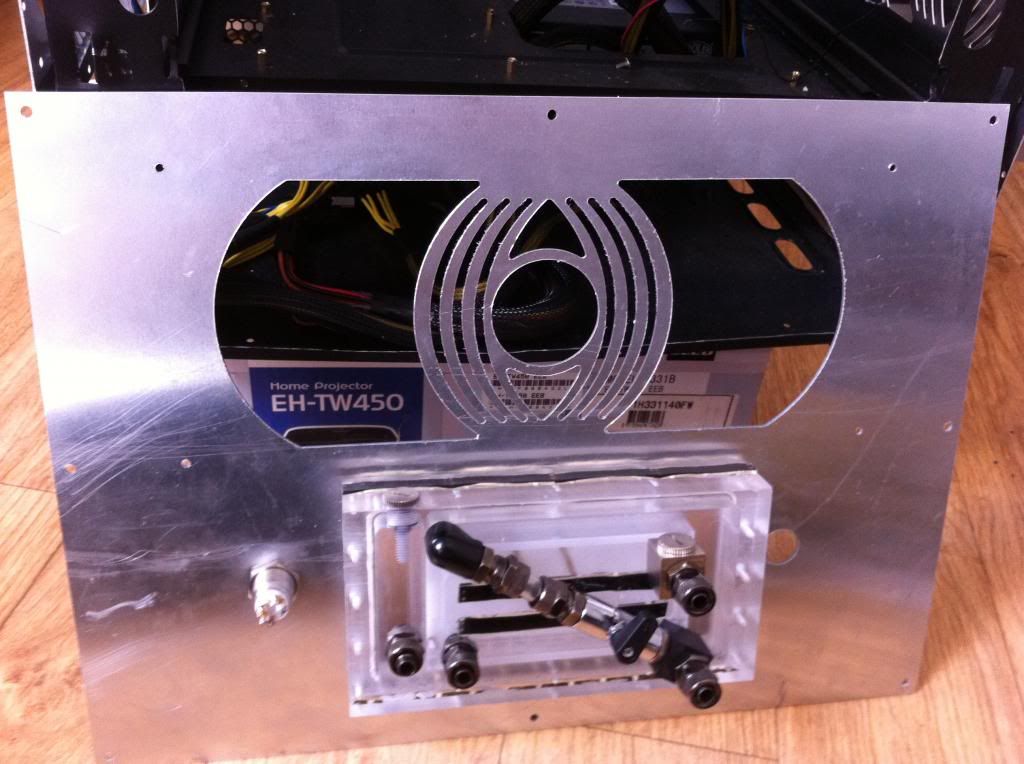
now the front panel:

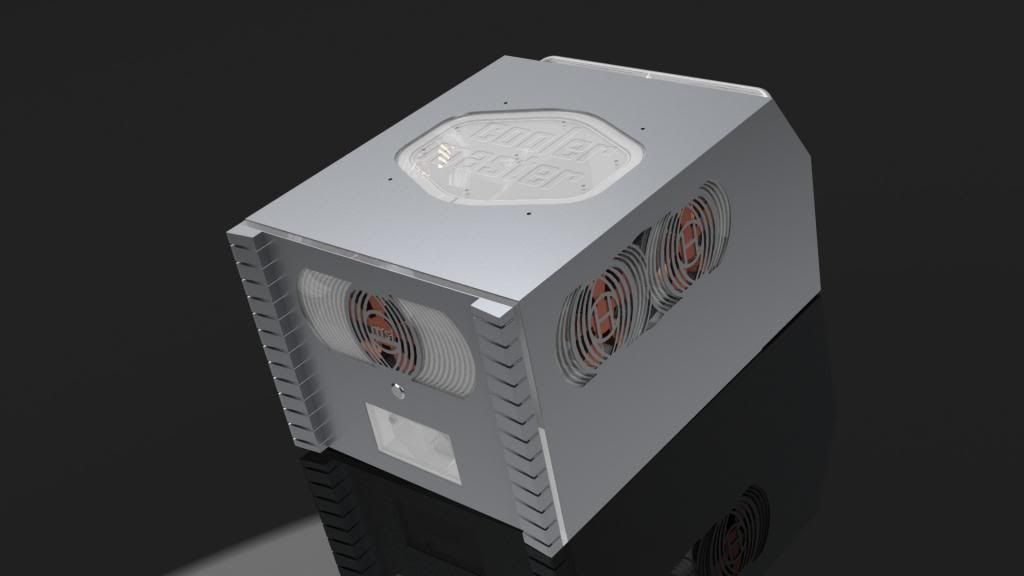
finally I made the tilted panel which will hold the radiators: