BeckModZ
New member
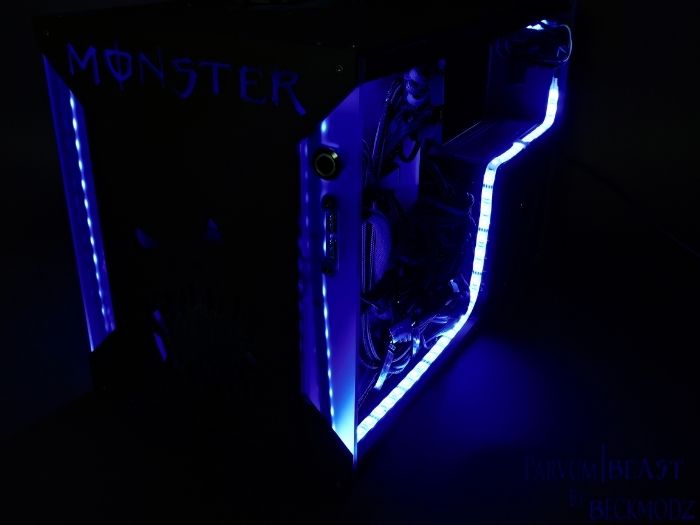
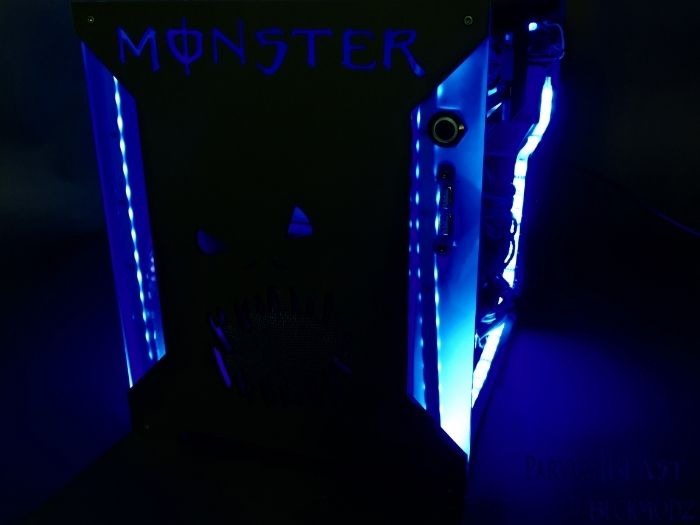
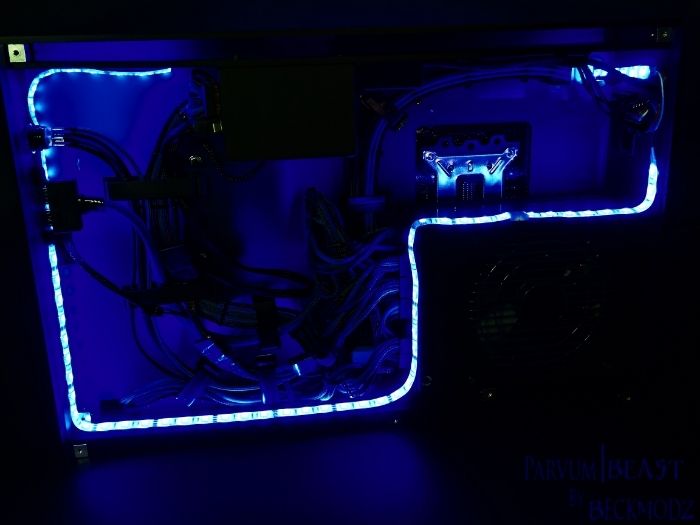
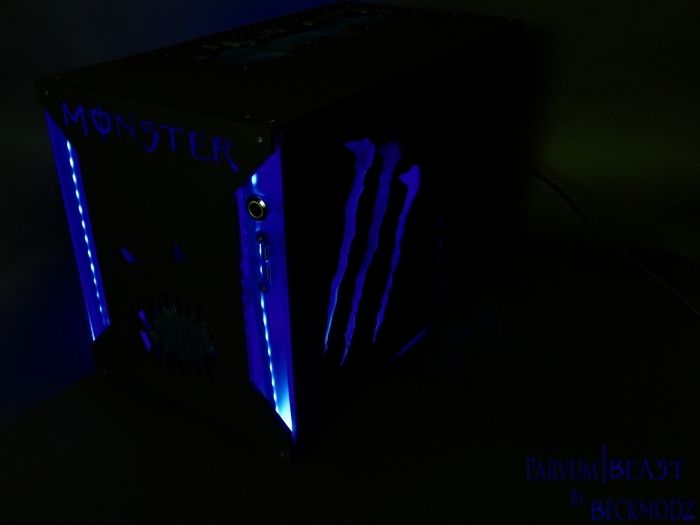
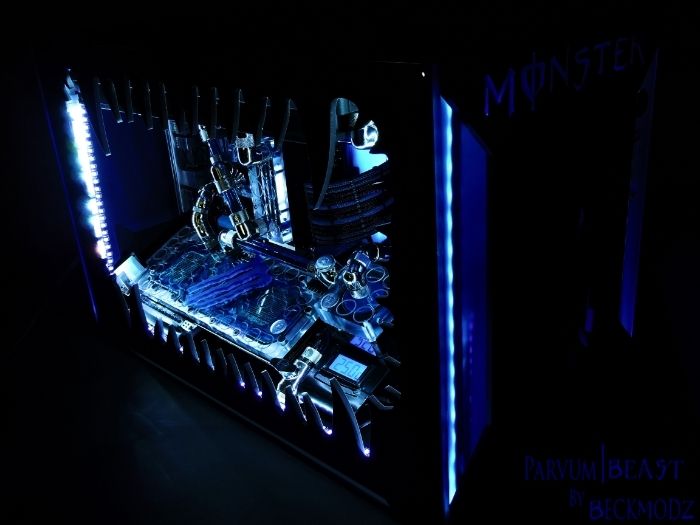
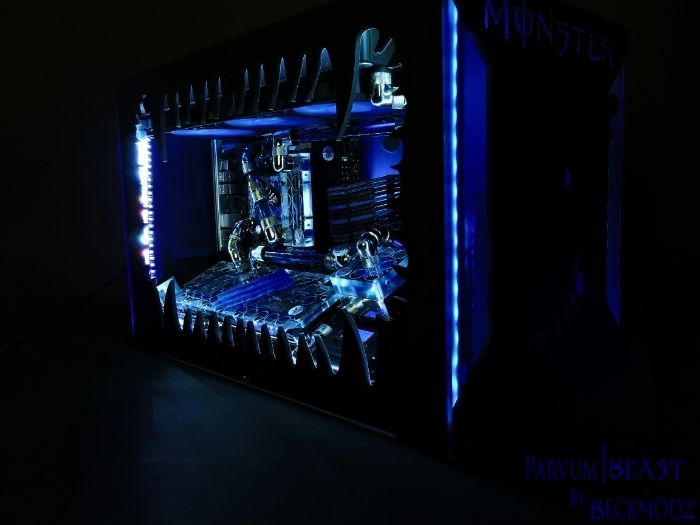
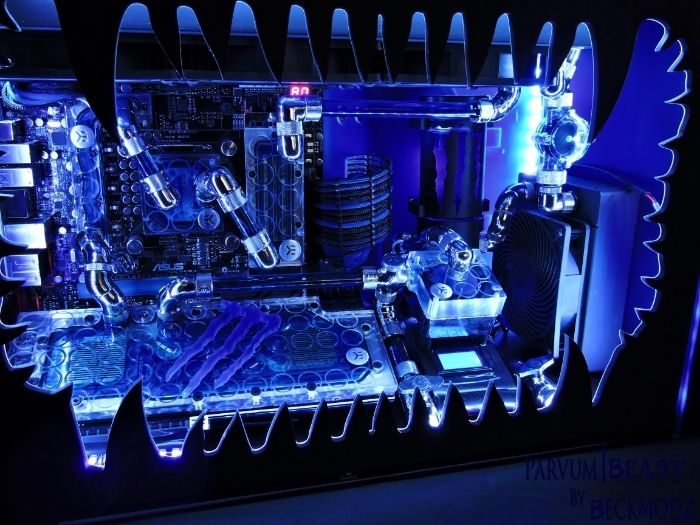
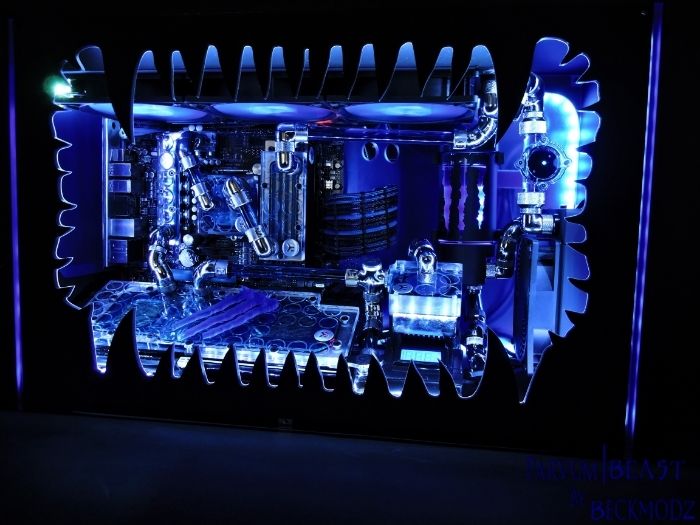
Figuring out the Loop
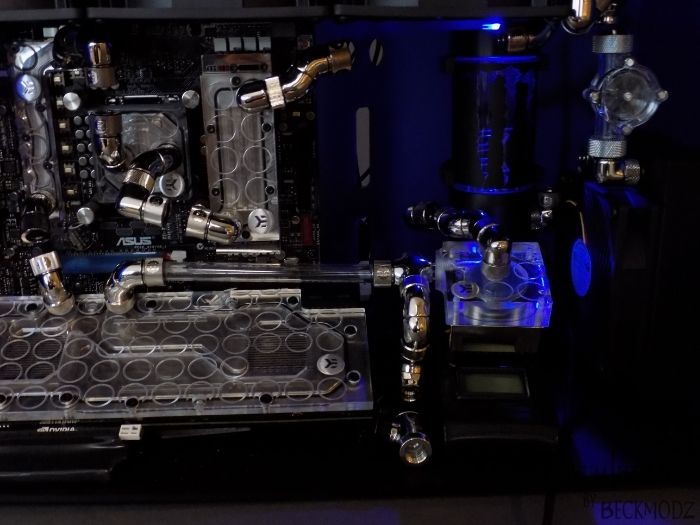
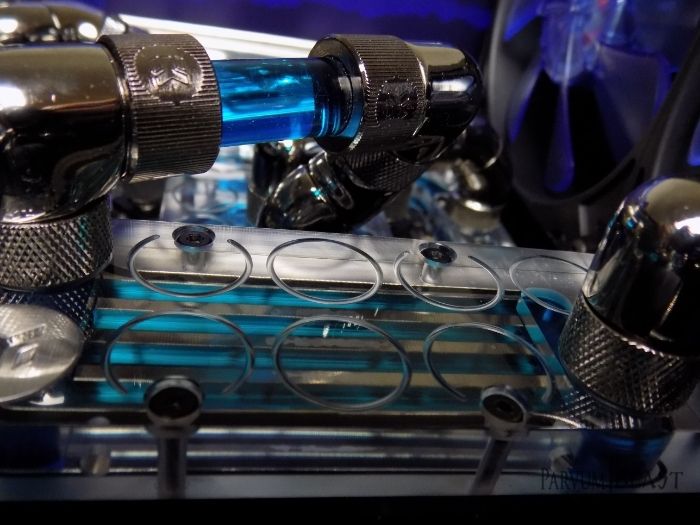
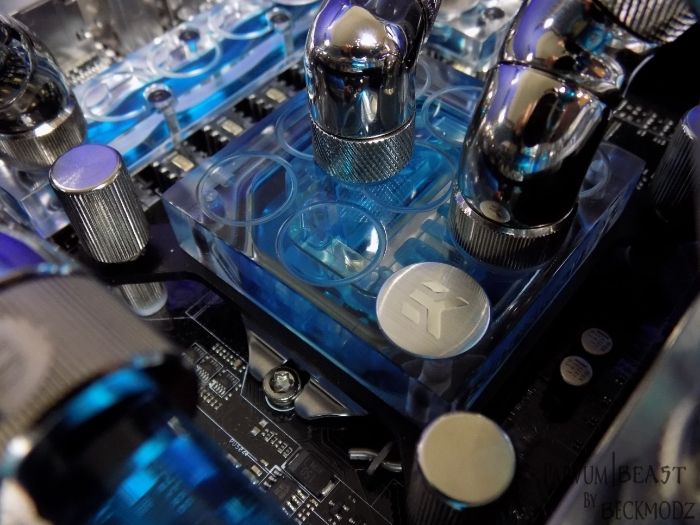
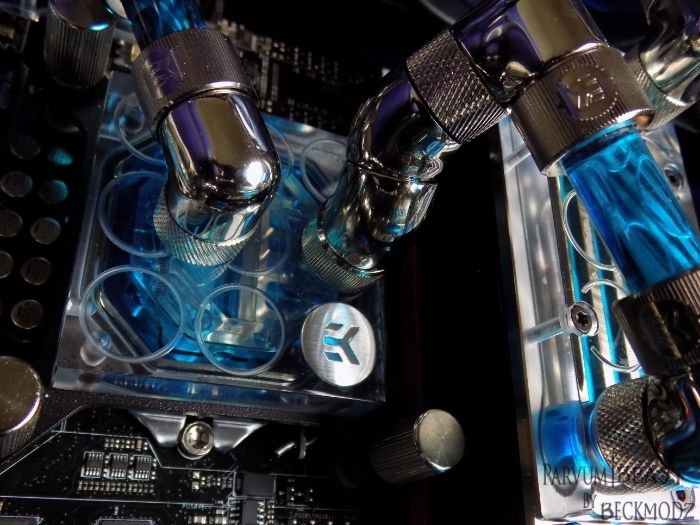
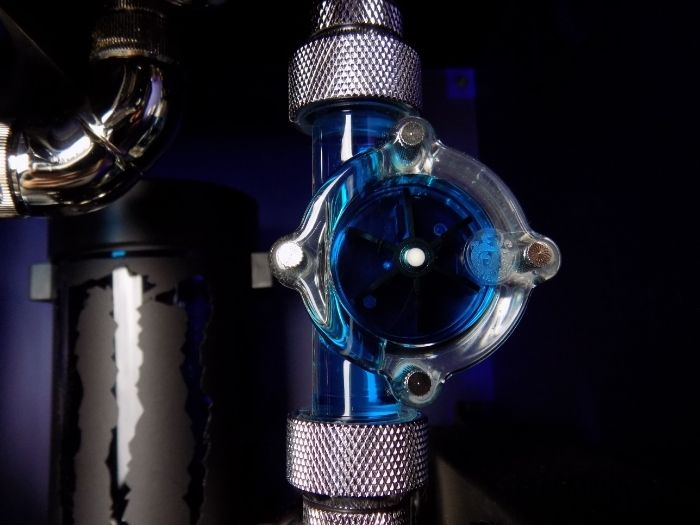
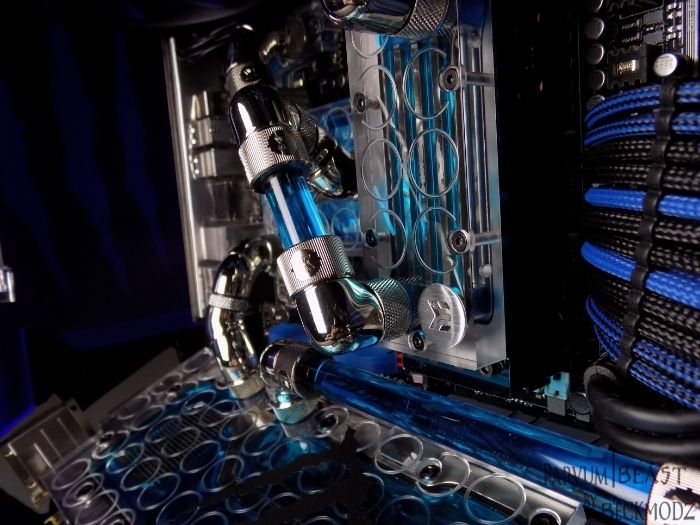
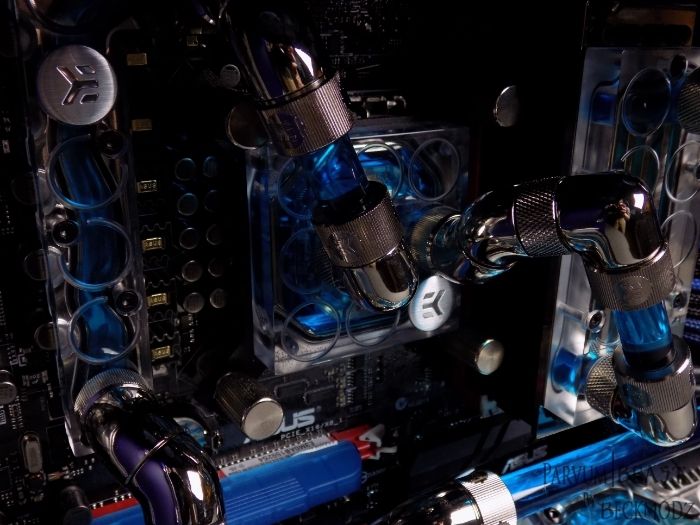
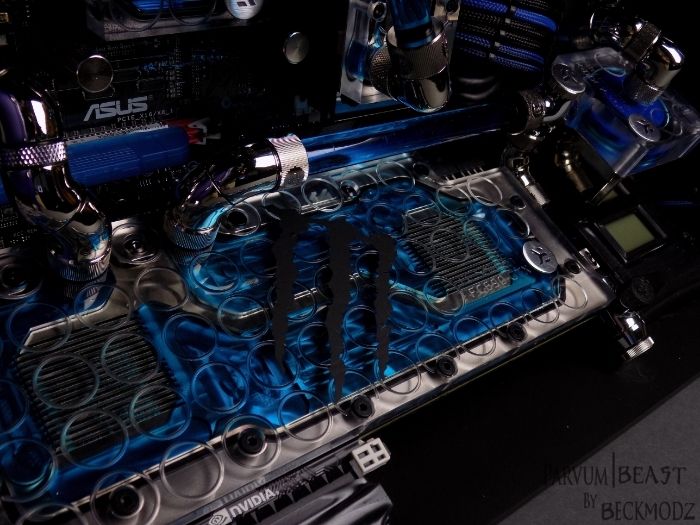
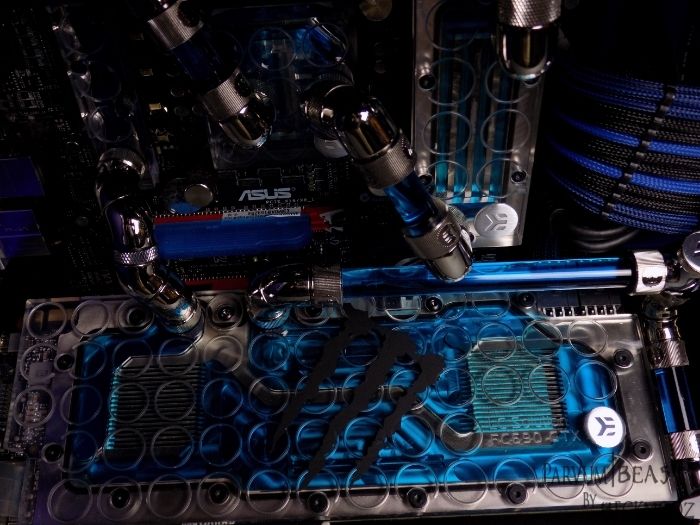
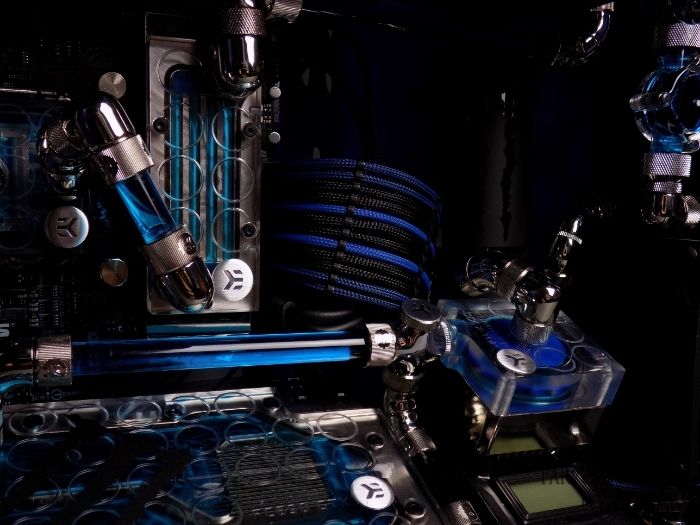
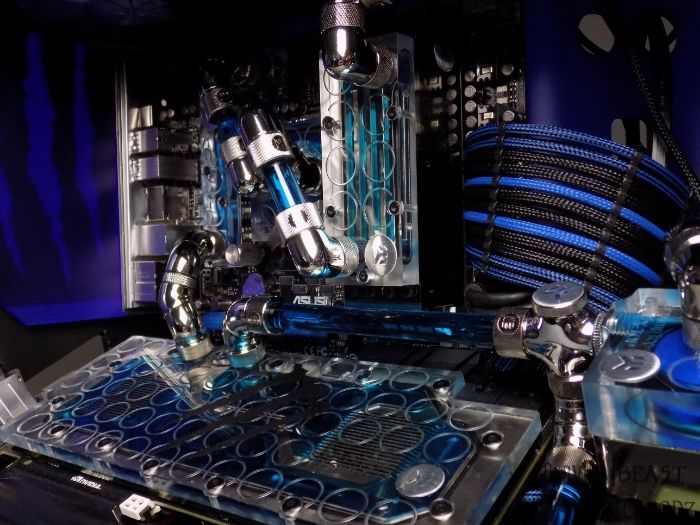
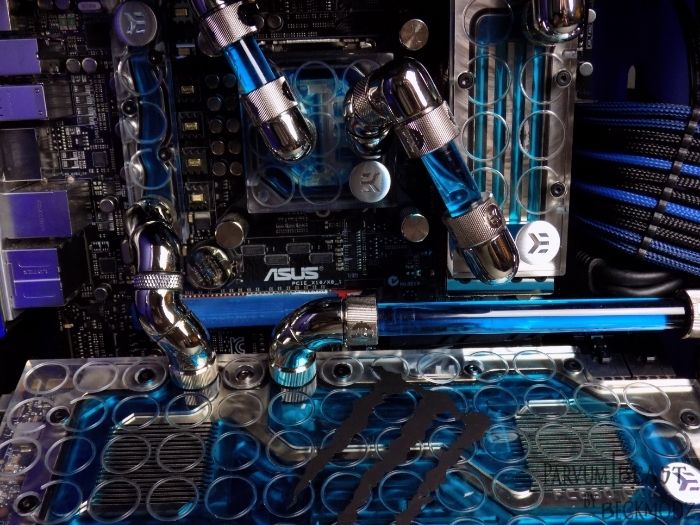
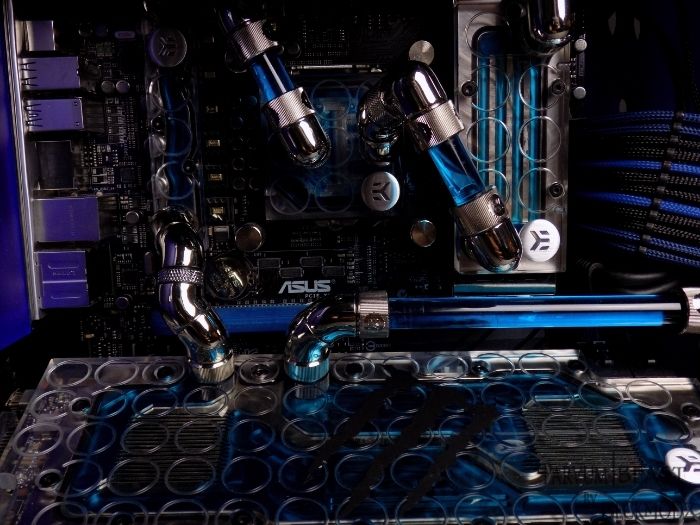
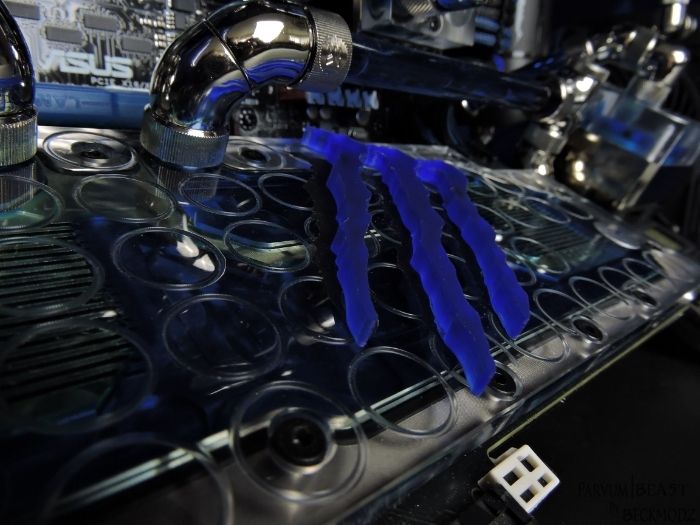
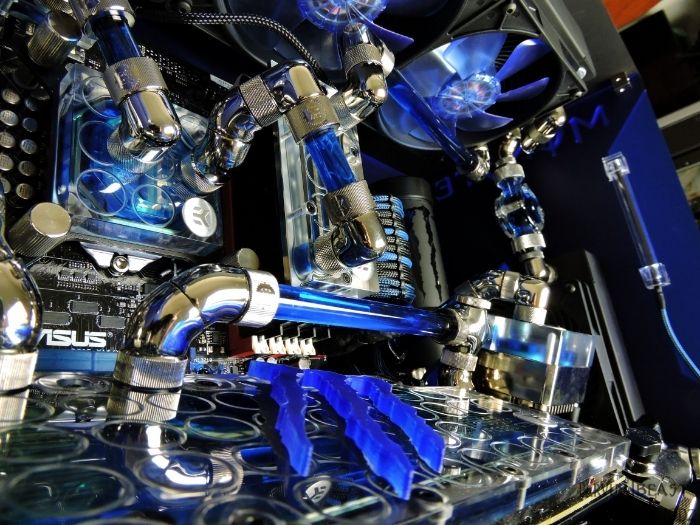
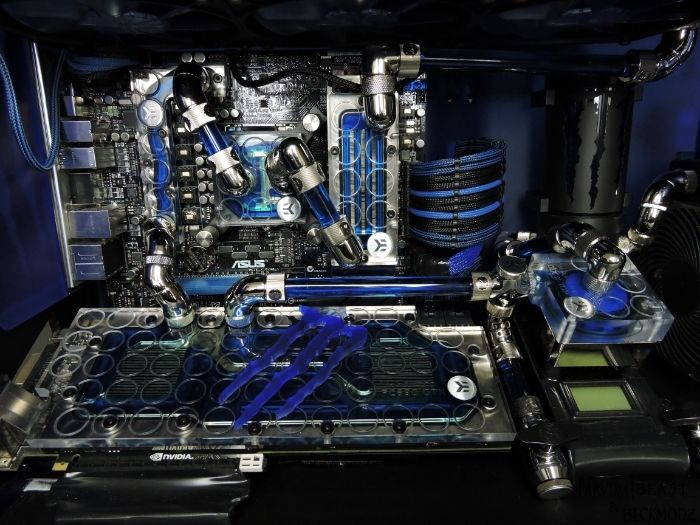
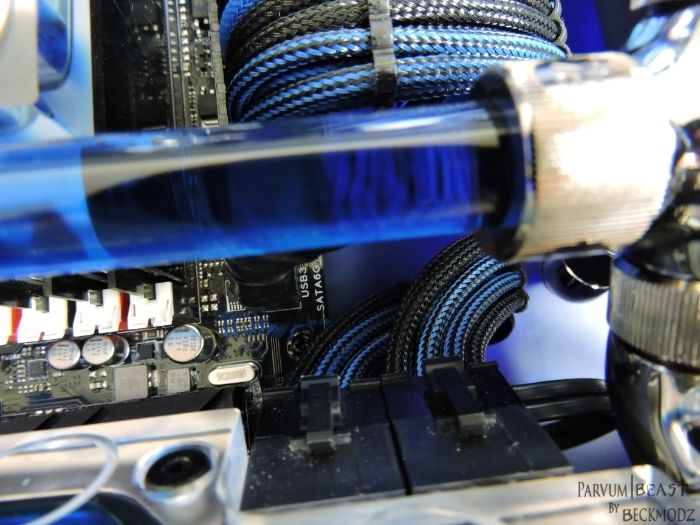
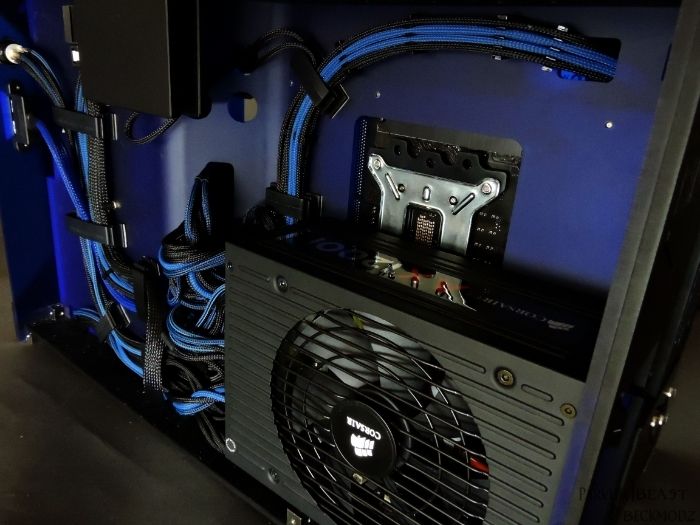
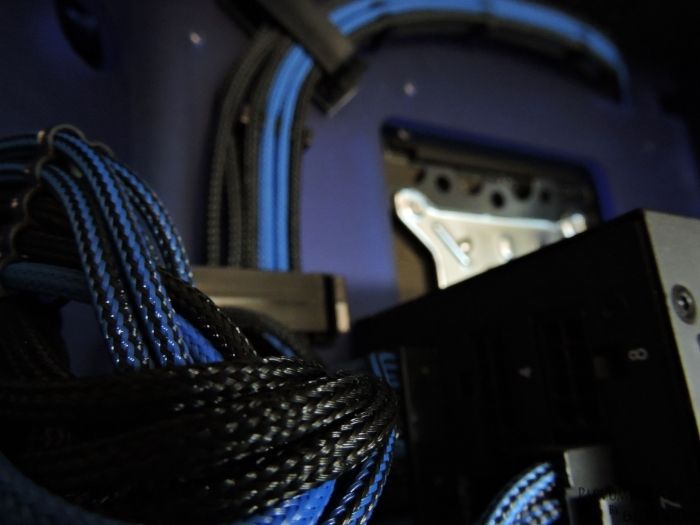
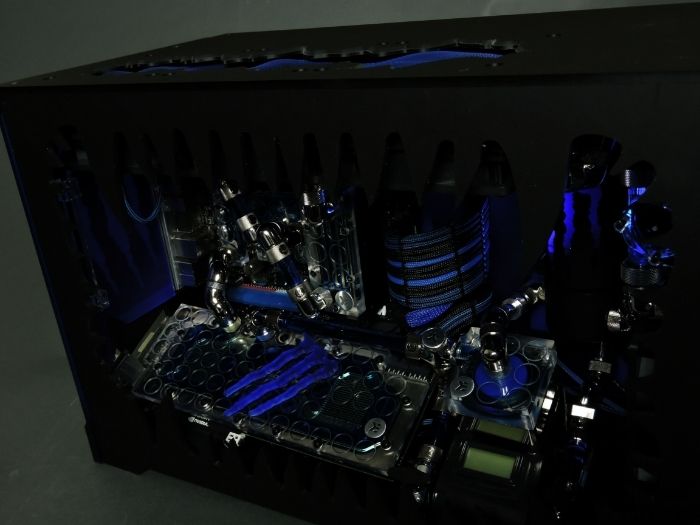
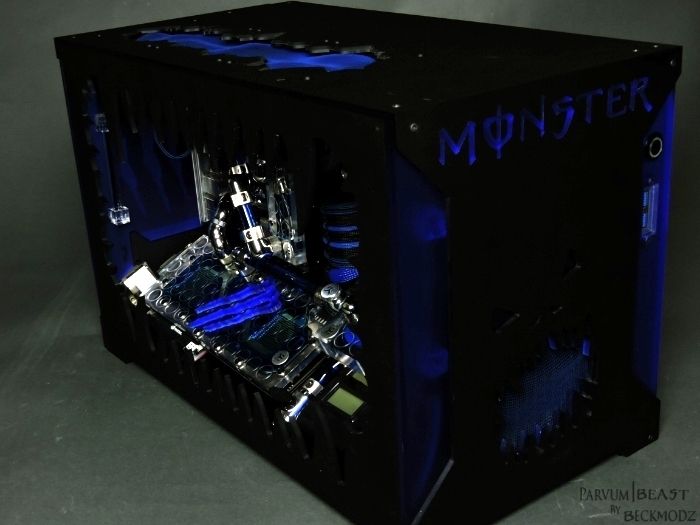
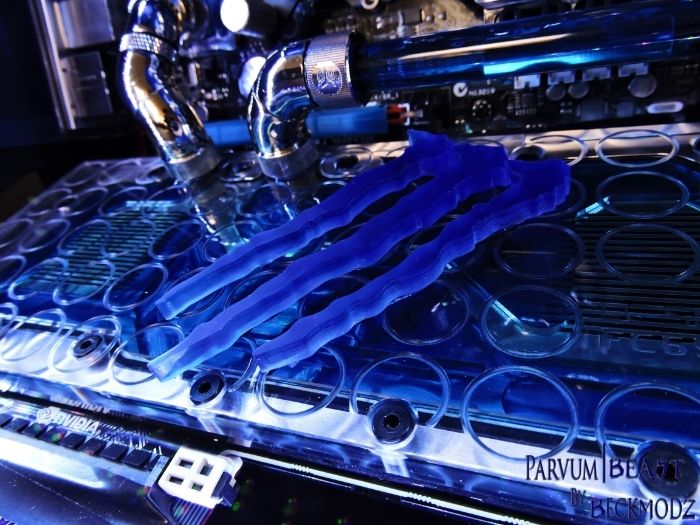
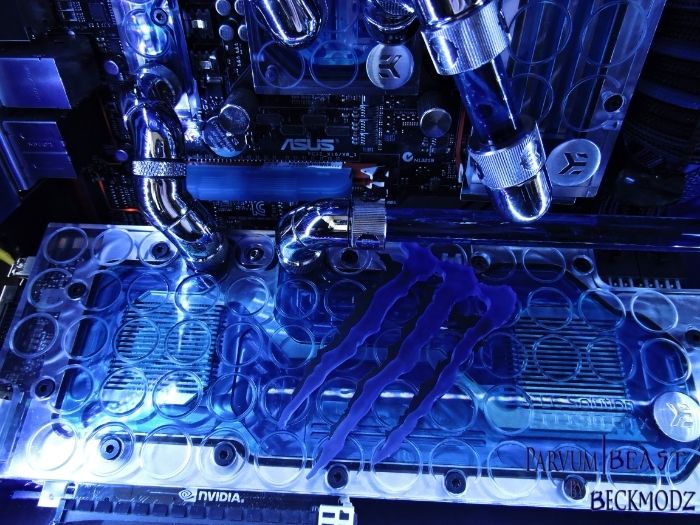
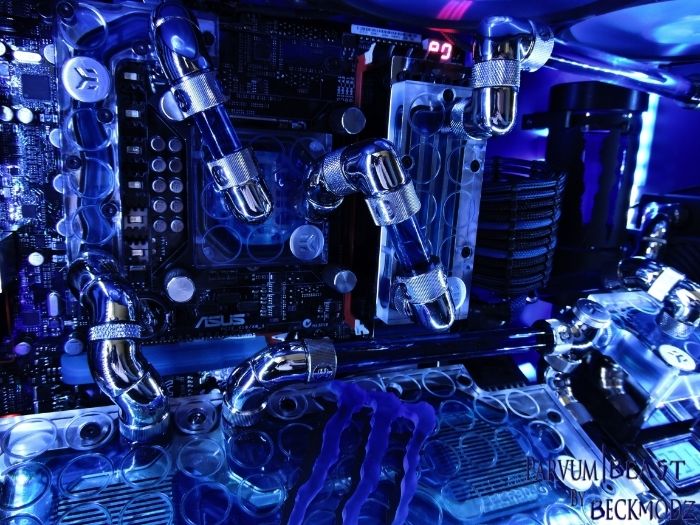
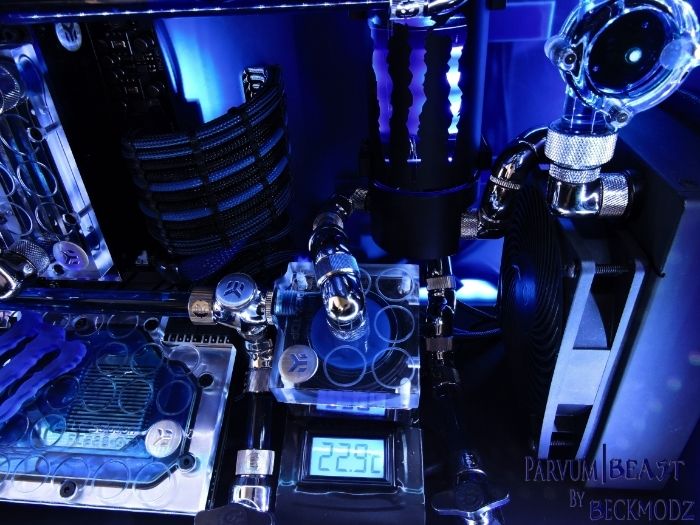
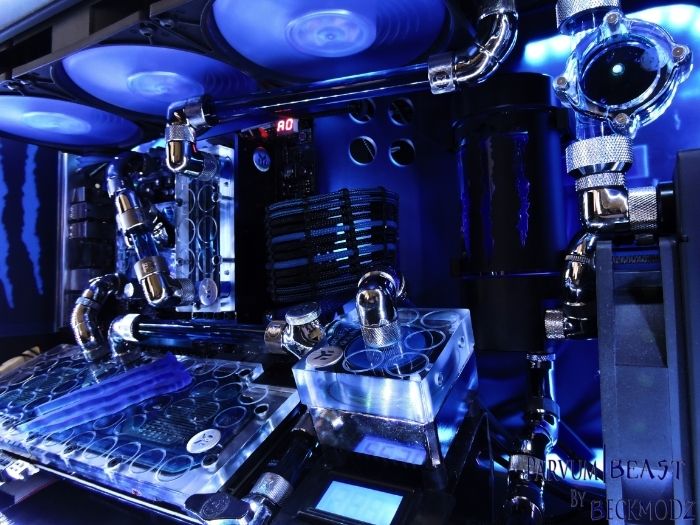
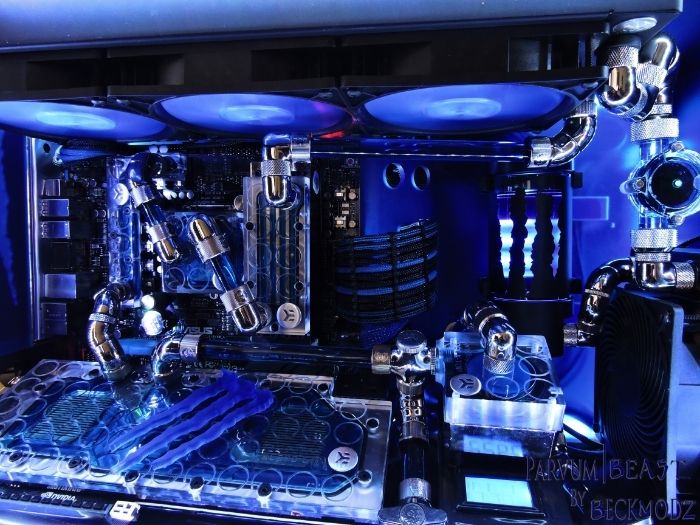
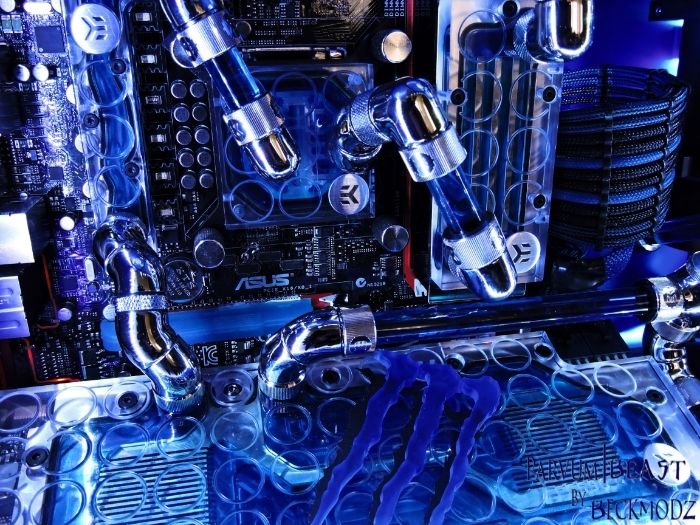
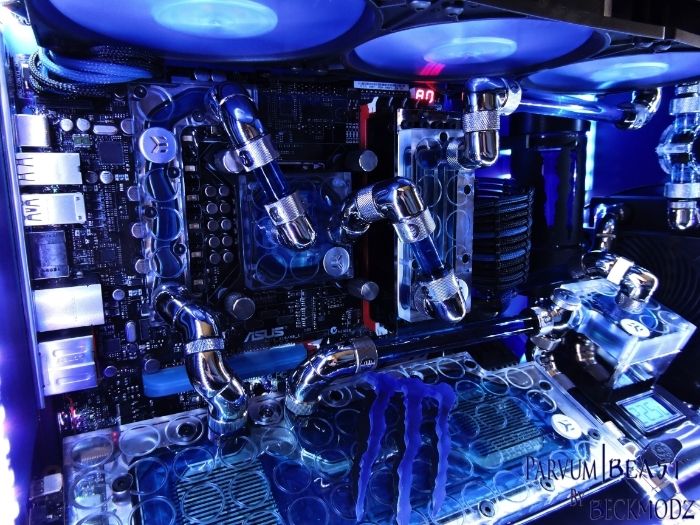
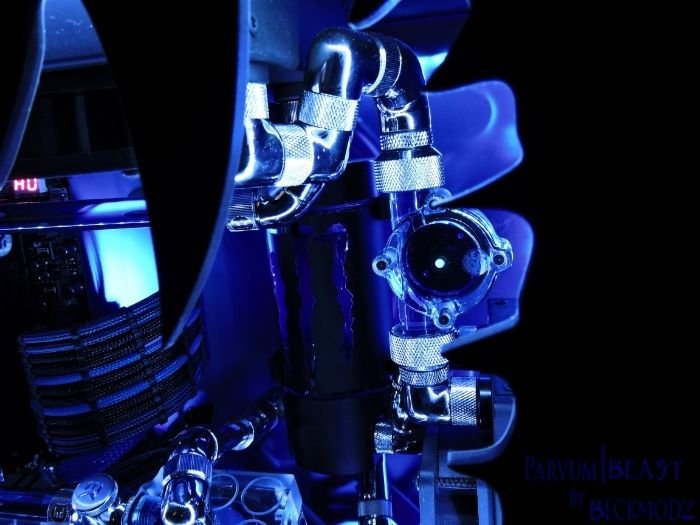
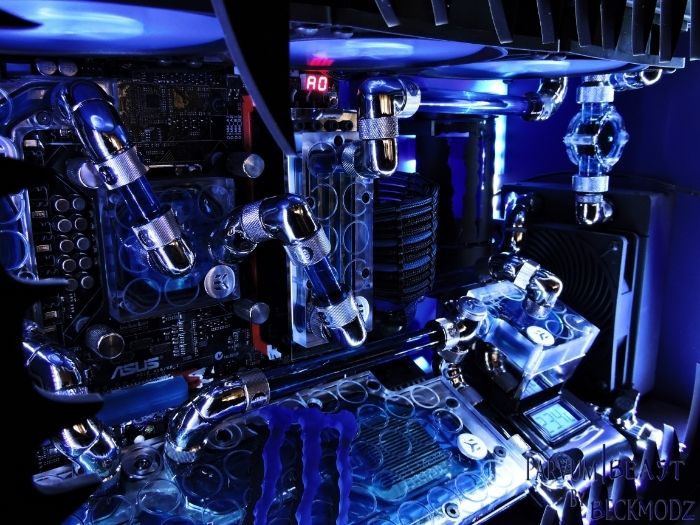
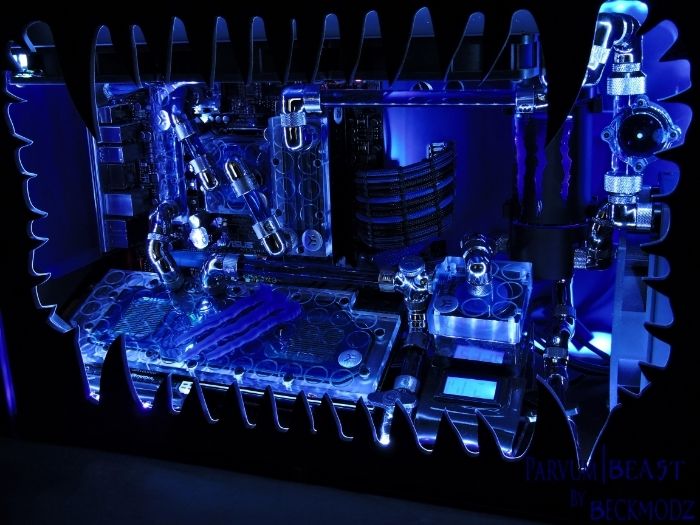
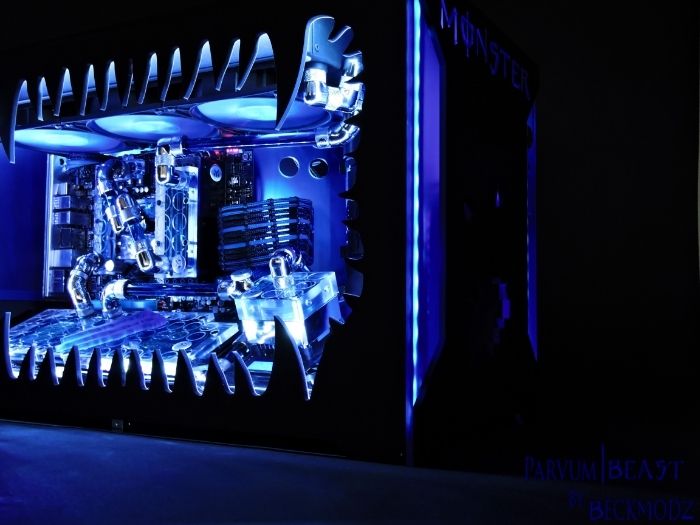
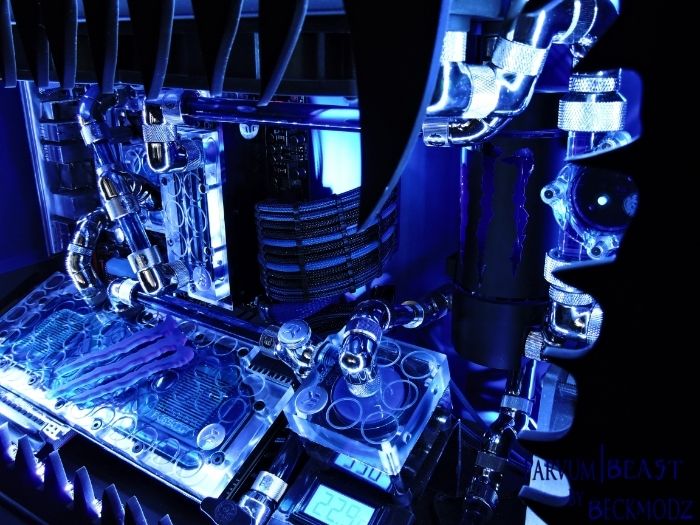
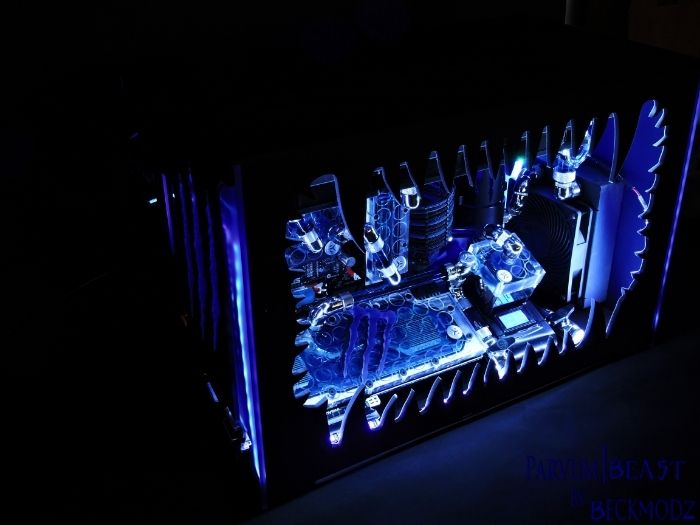
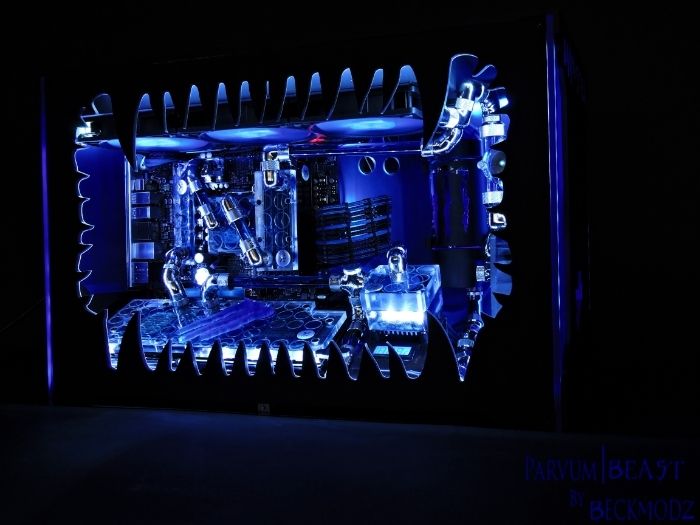
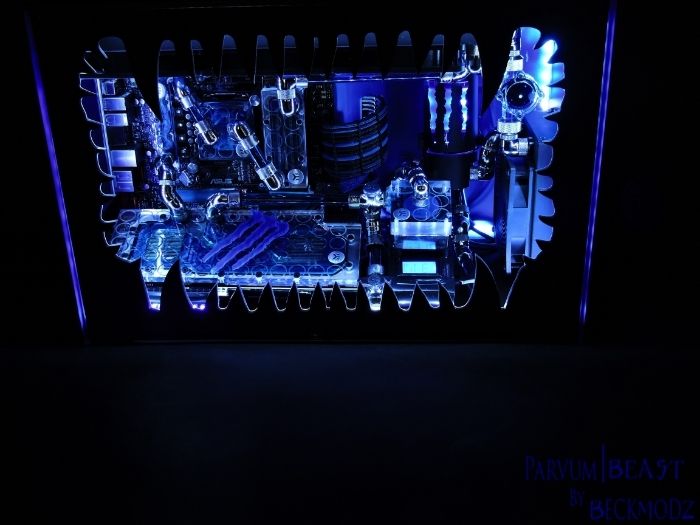
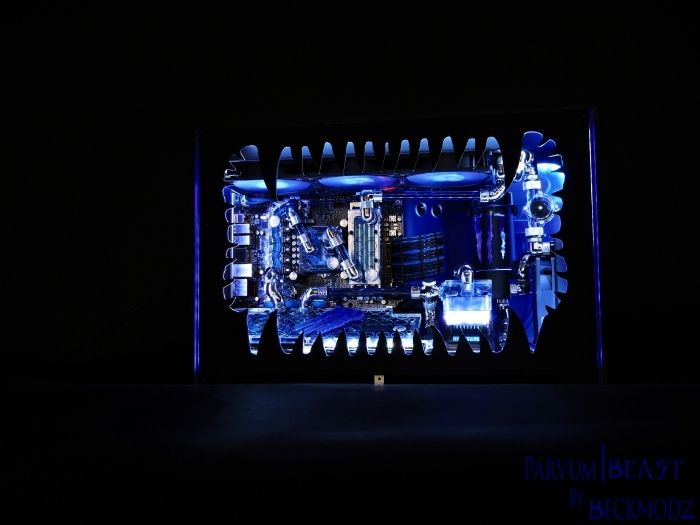
Okay, so this Update is all about the Loop. I took all my beloved fittings from EKWB and CoolerKit, and just went crazy with them ")
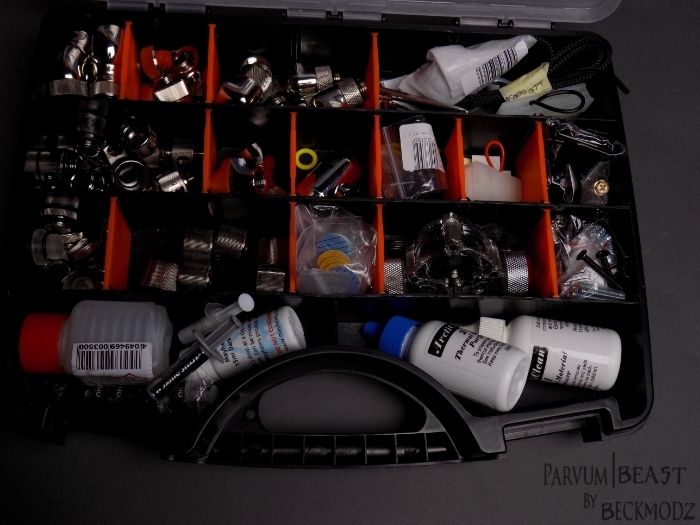
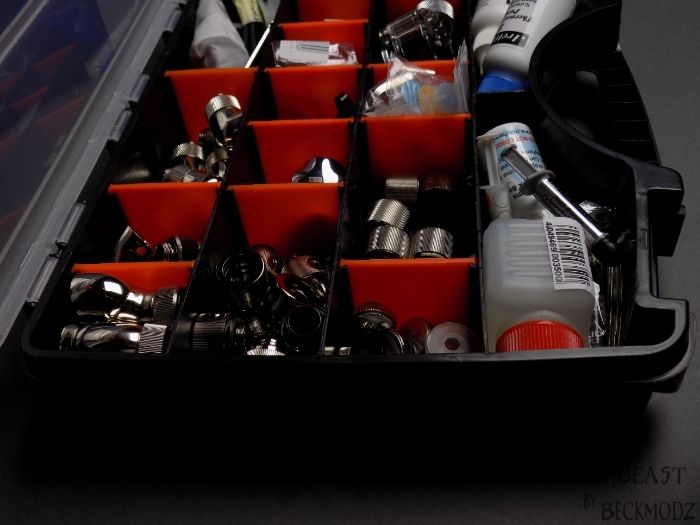
At first i was going to use minimal amount of fittings and instead do alot more of Bending the tubing, But these fittings just look so awesome, that i decided to use as many of them as i could instead hehe ..
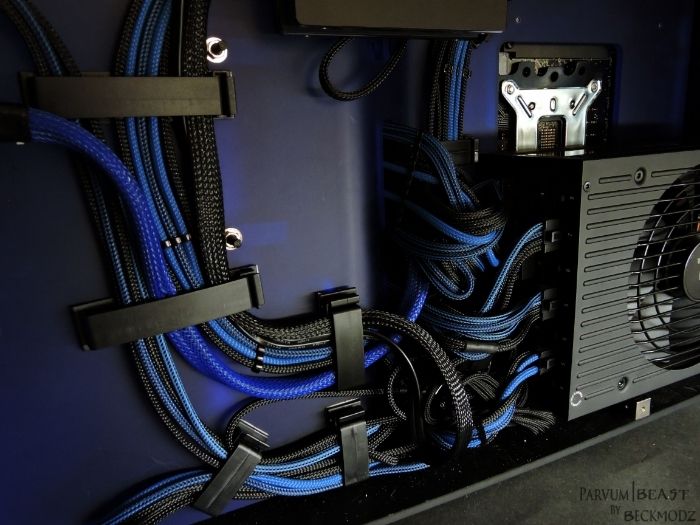
I tried many different loop ideas, and after an hours work i am pretty sure that this one is how i think it looks the best, and cleanest
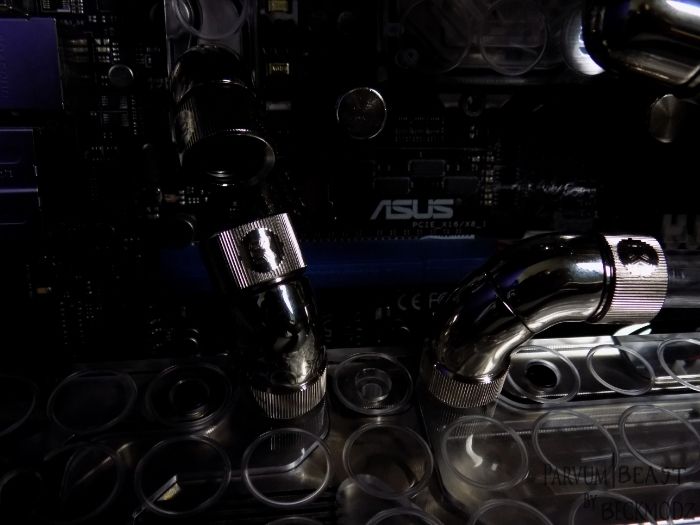
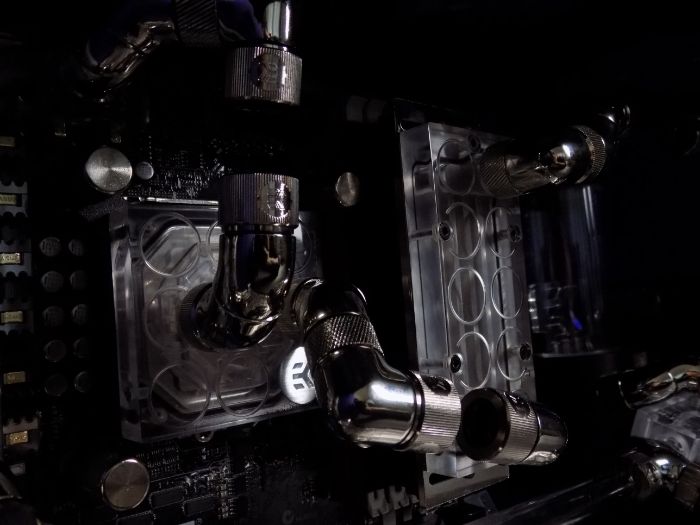
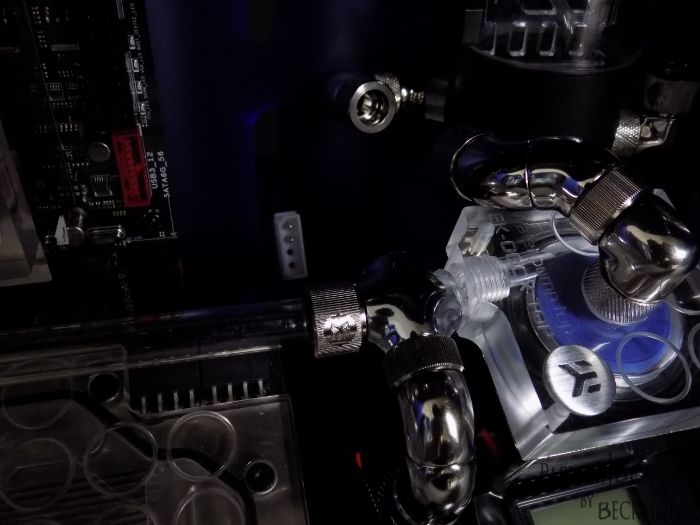
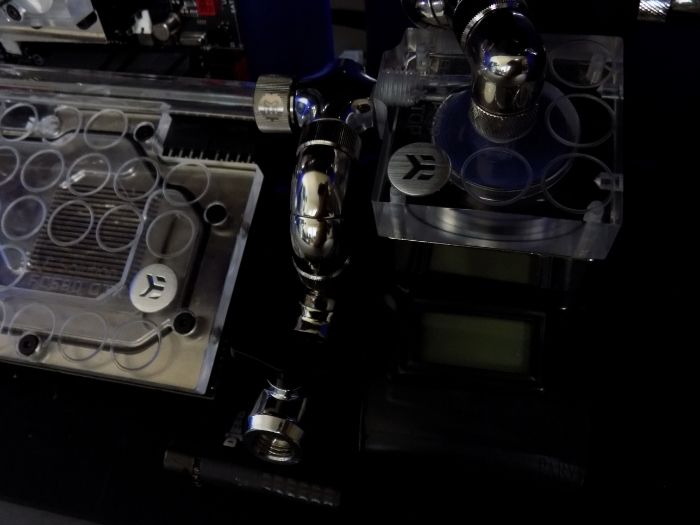
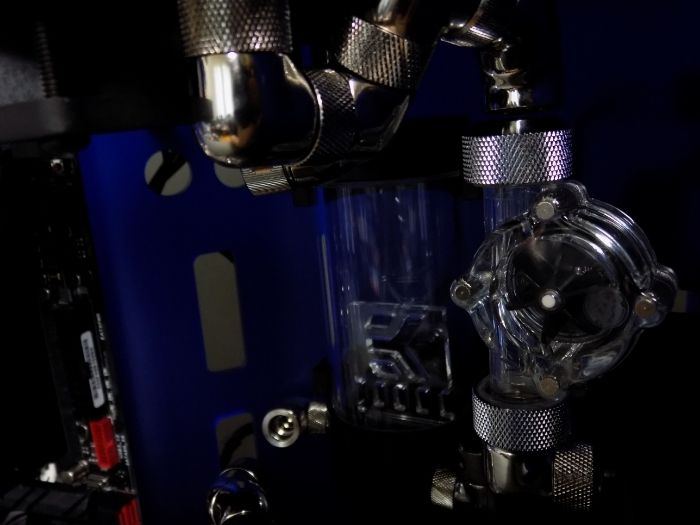
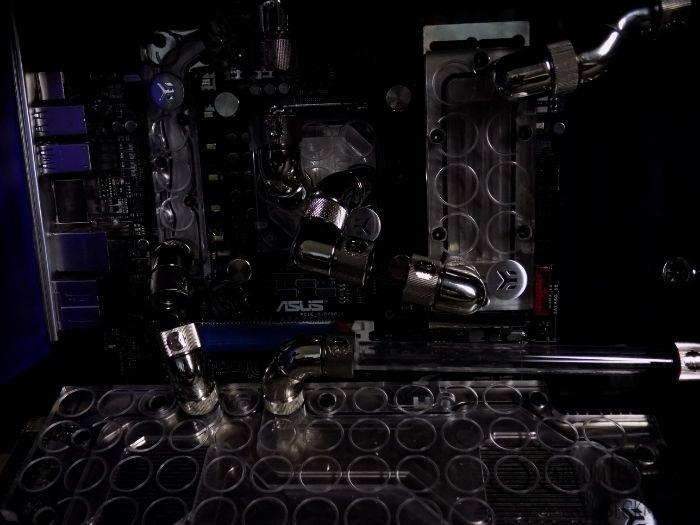

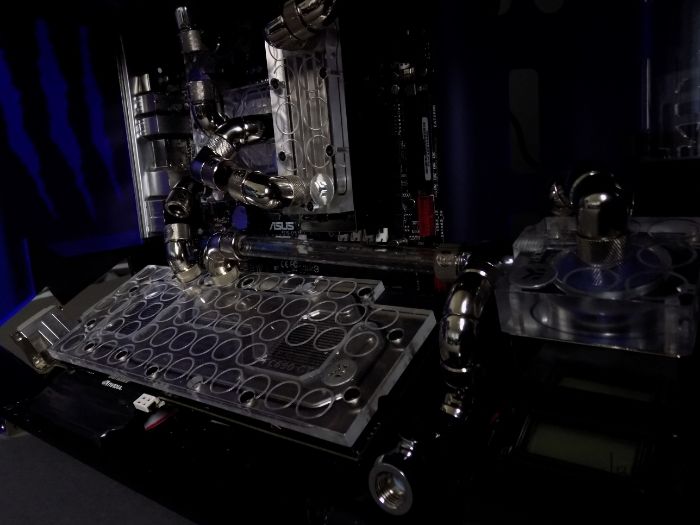
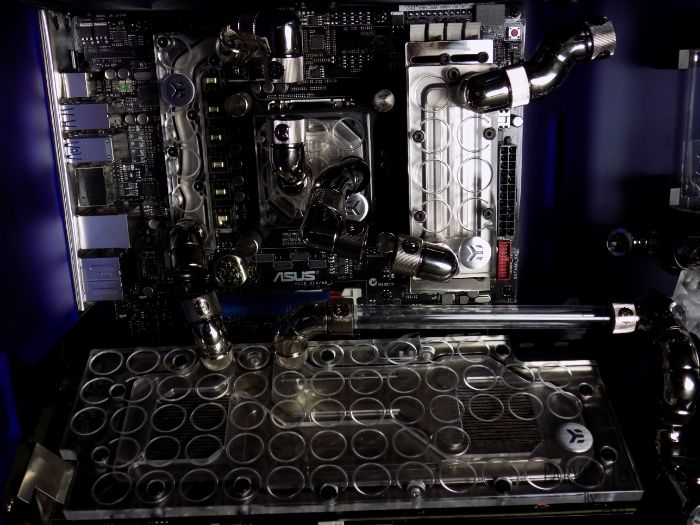
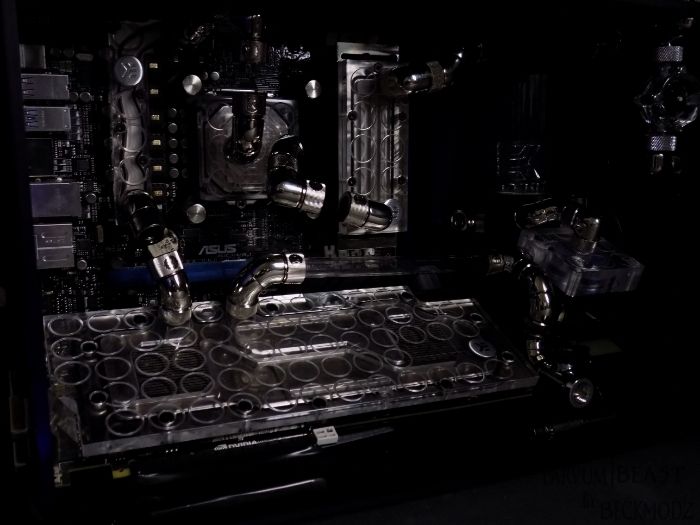
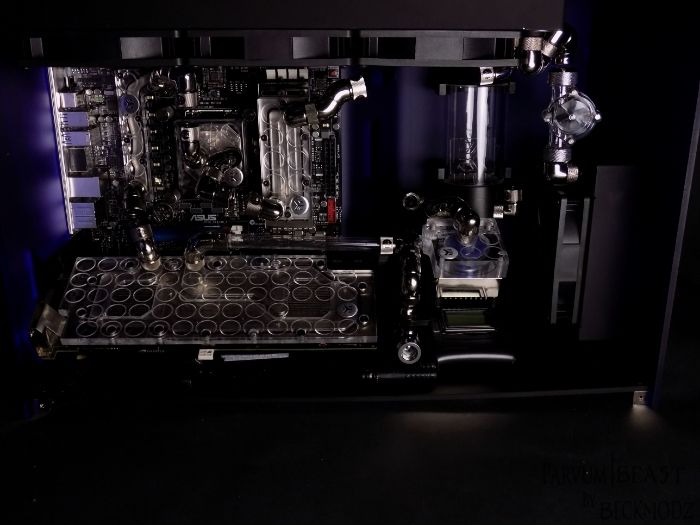

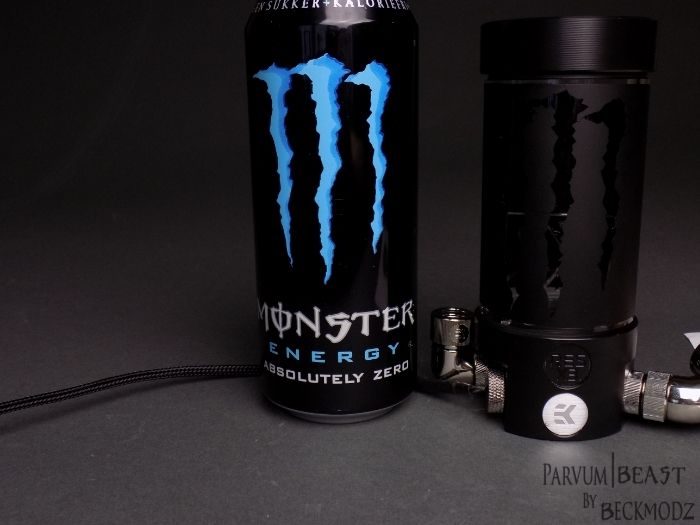
Am pretty happy with how this could turn out!...
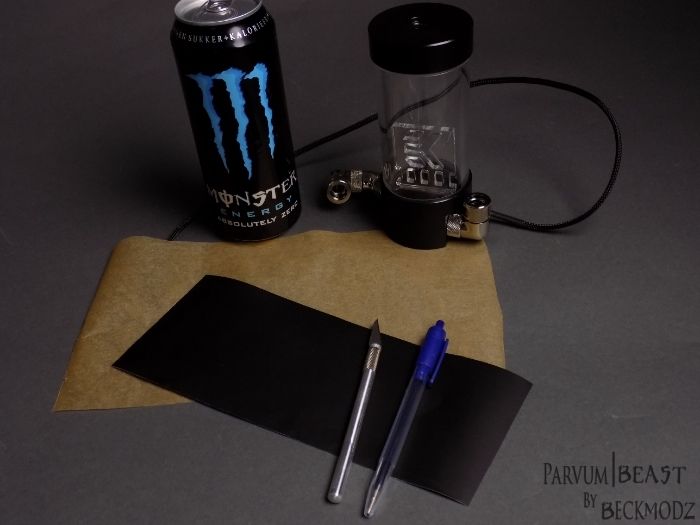
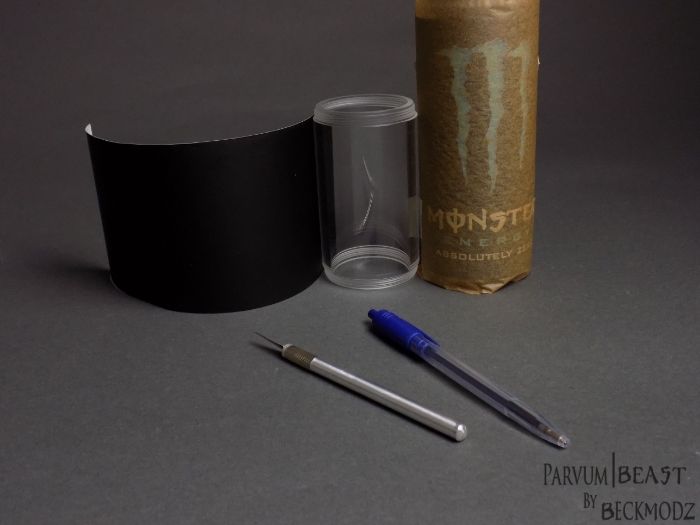
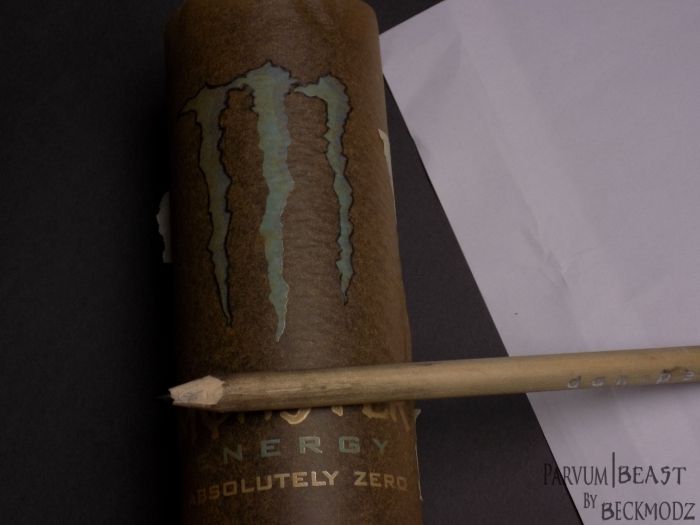
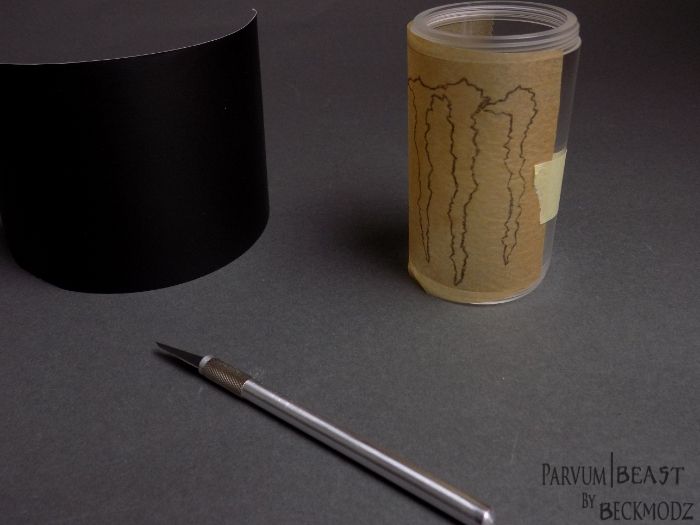
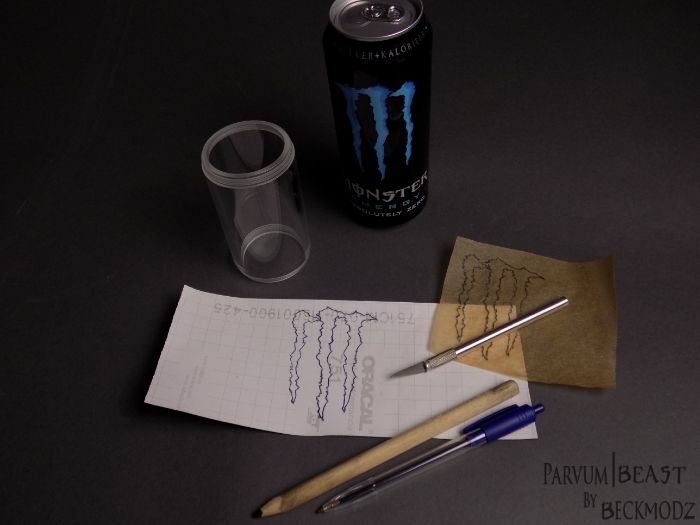
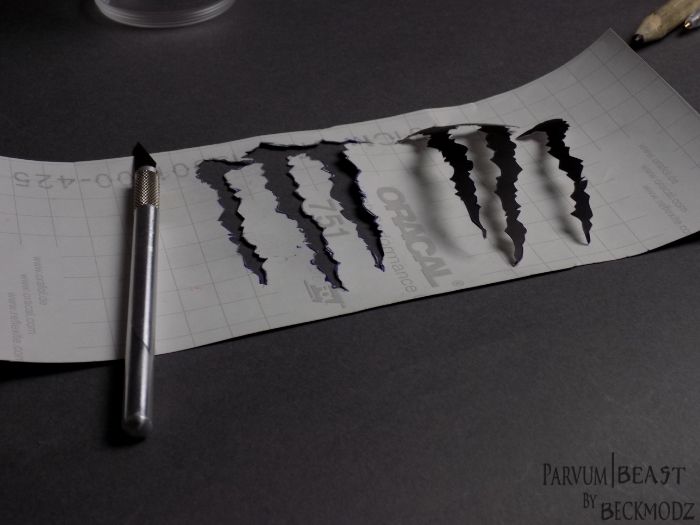
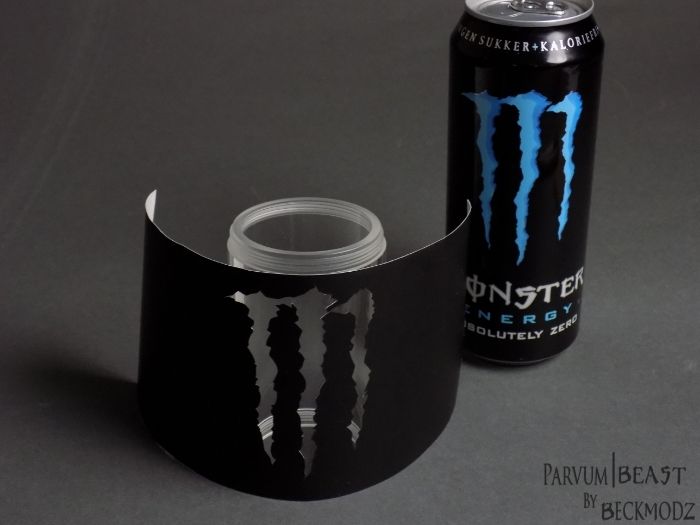
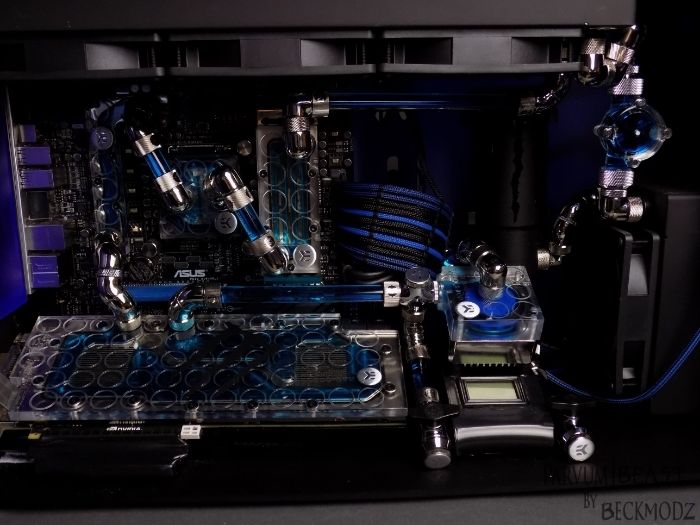
Next up is probably tubing it, and making reservoir cover out of something.
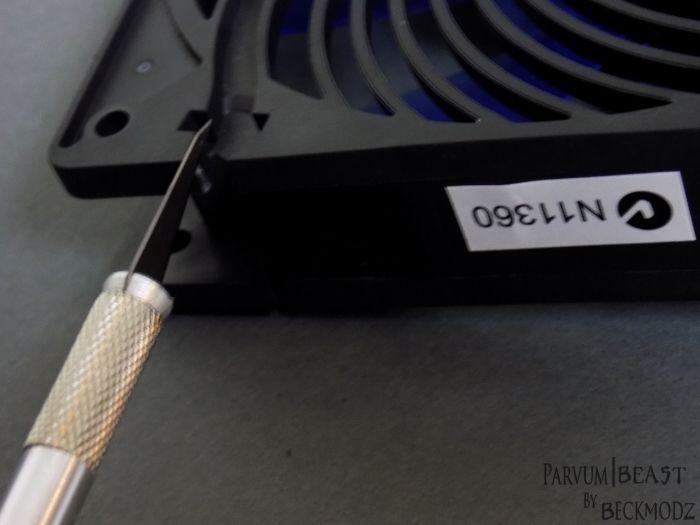
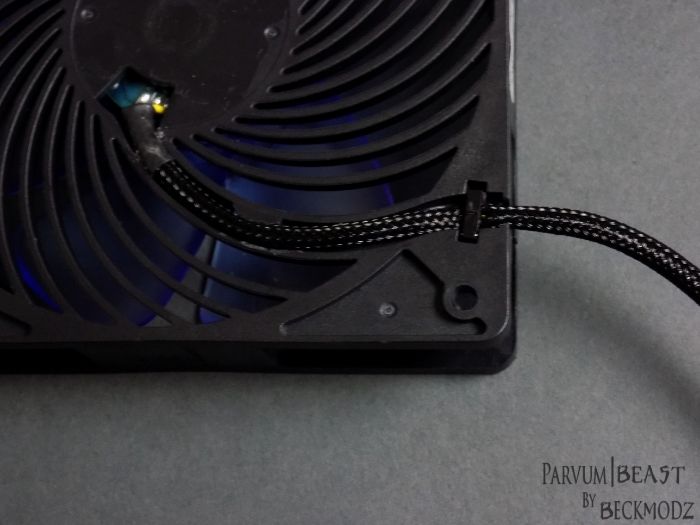
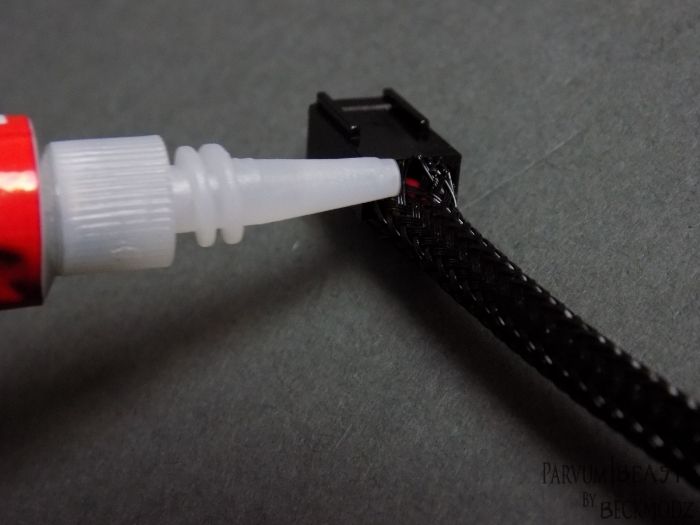
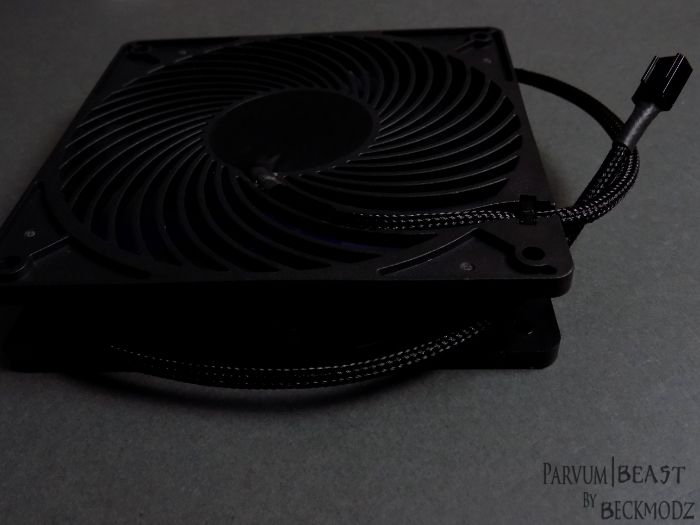
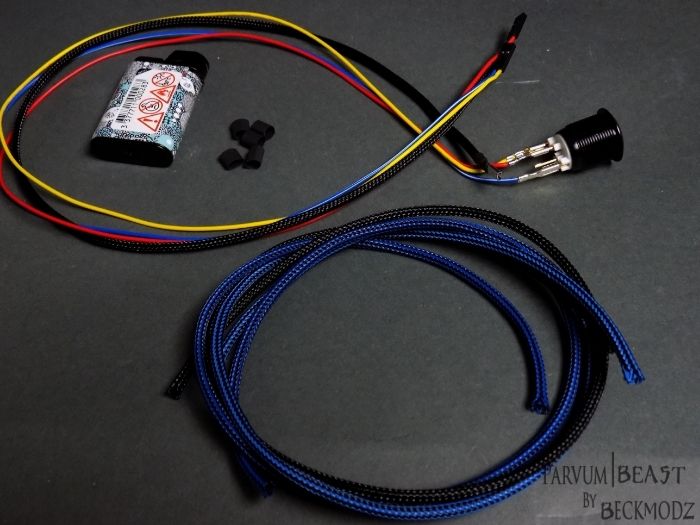
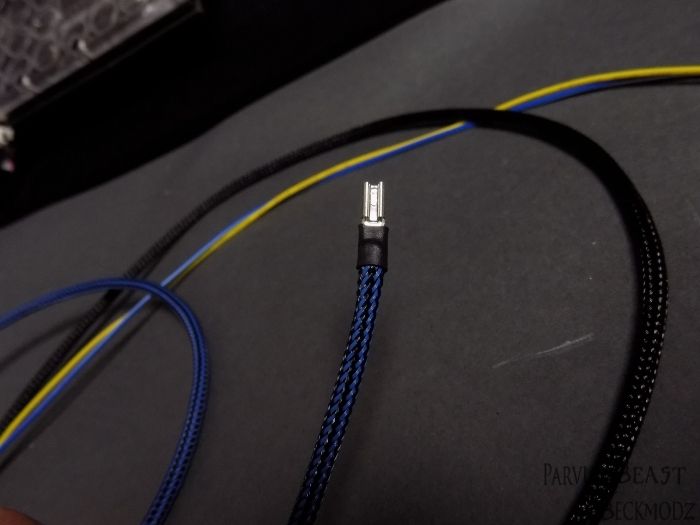
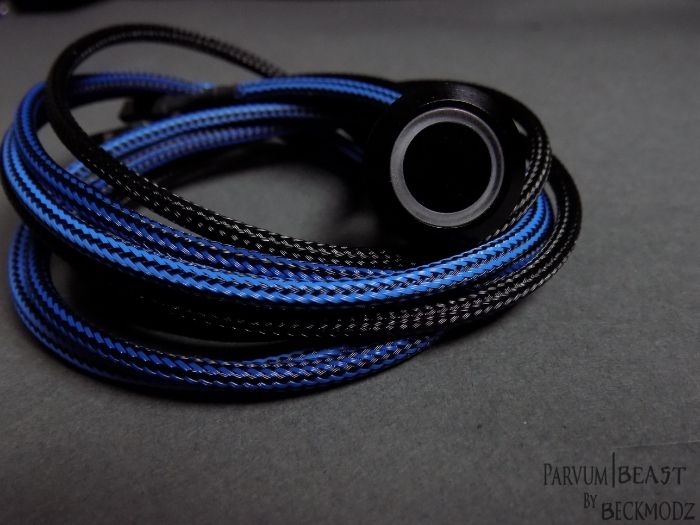
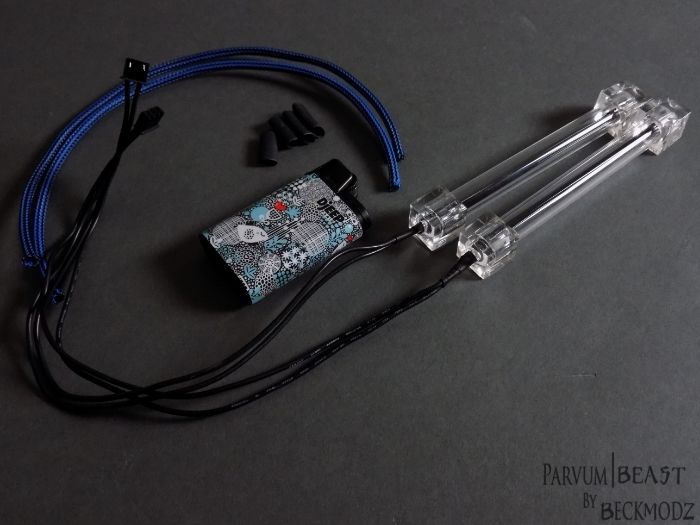
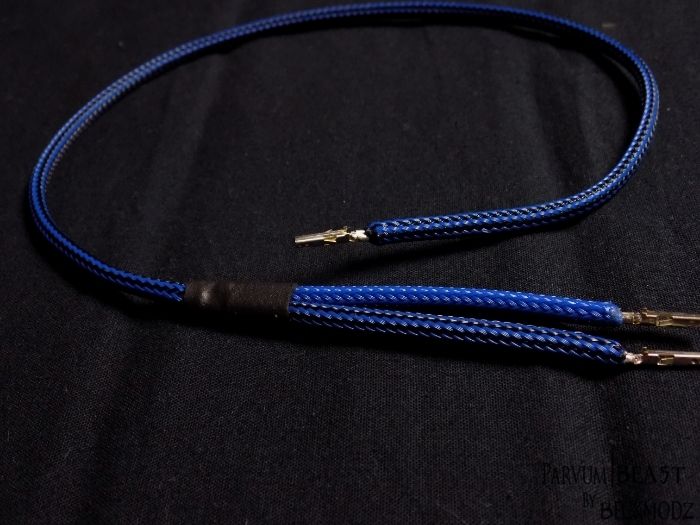
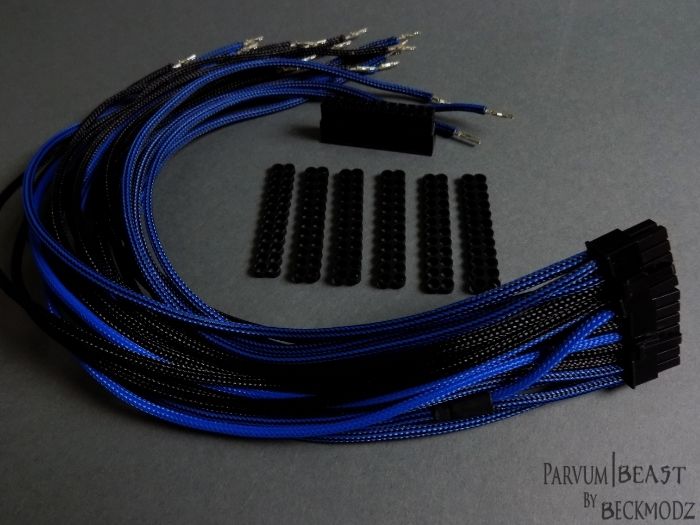
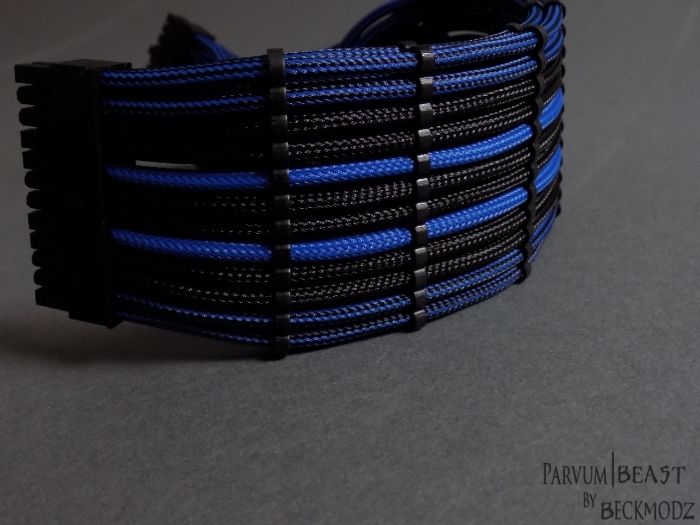
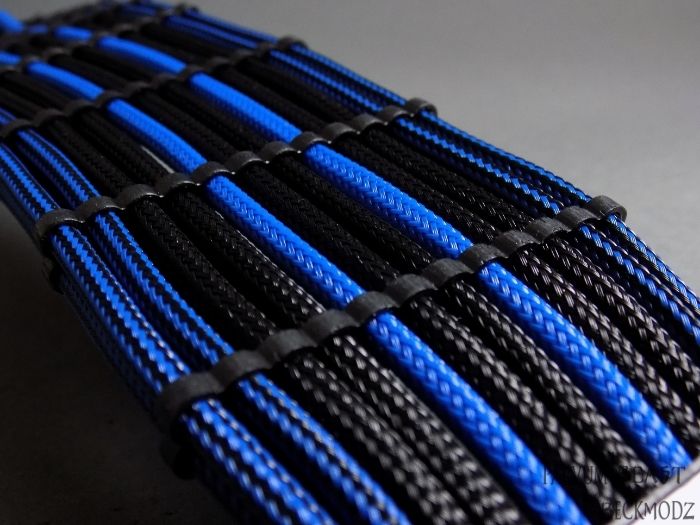
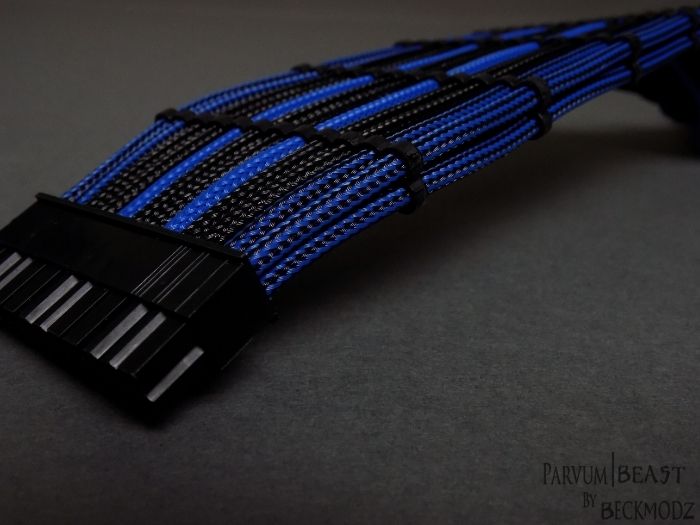
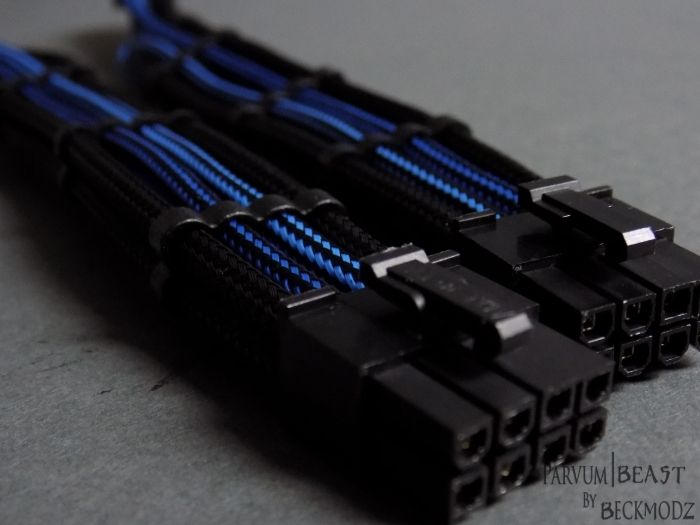
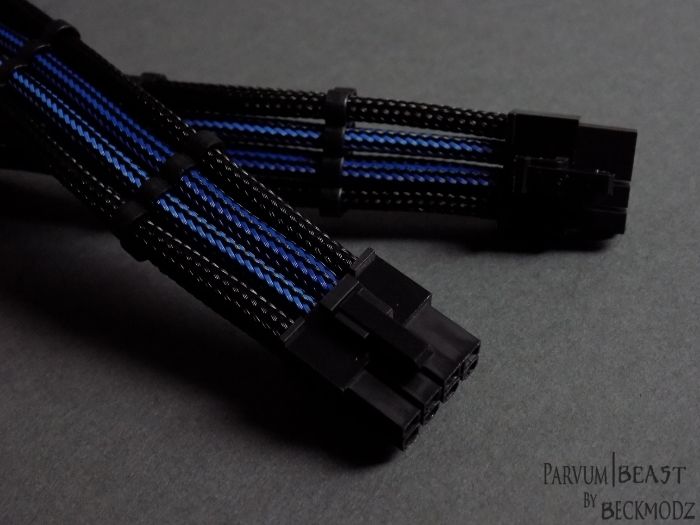
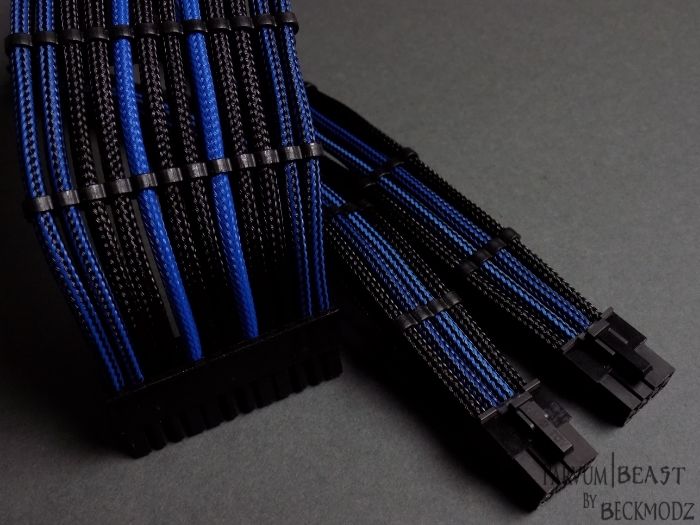
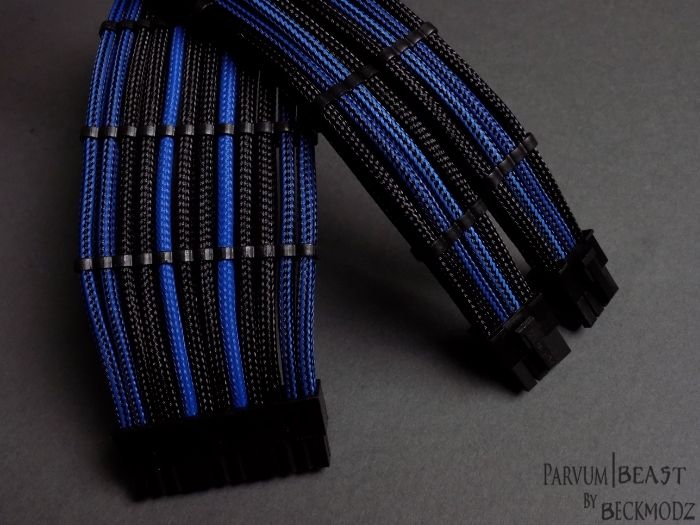
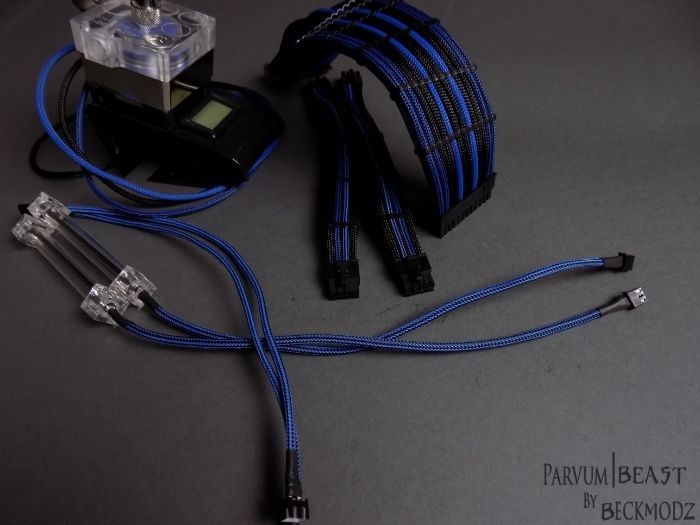
and then alot of sleeving later !
Hope you like it !!
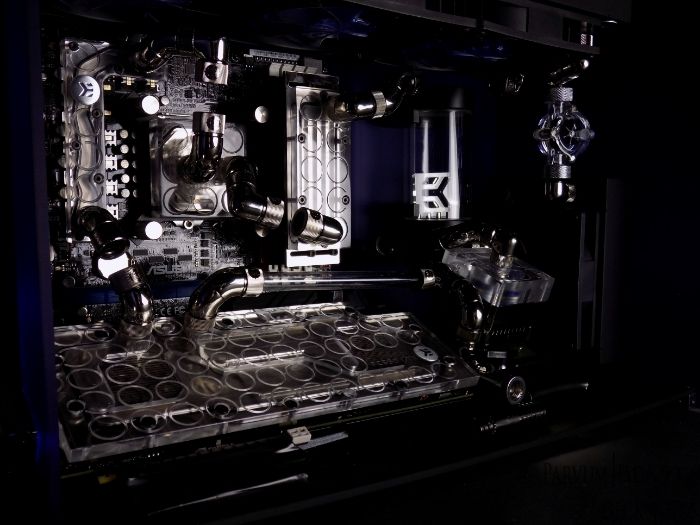
At first i was going to use minimal amount of fittings and instead do alot more of Bending the tubing, But these fittings just look so awesome, that i decided to use as many of them as i could instead hehe ..
I tried many different loop ideas, and after an hours work i am pretty sure that this one is how i think it looks the best, and cleanest
Am pretty happy with how this could turn out!...
Next up is probably tubing it, and making reservoir cover out of something.
and then alot of sleeving later !
Hope you like it !!